We had to remove all the OSB sheets which were used to temporarily cover the windows, these sheets will be used again to clad the timber stud work.
 | |
| Upstairs fully boarded |
 |
| The Weather was awful when the window installers arrived |
 | ||
| Removing the sheets the snow arrived that morning. |
The windows and doors were all fitted in one day, but there were a few problems!!!
The three windows on the first floor southern elevation were all 70mm too small in height, these have now been replaced and I have purchased the wrongly sized windows and I will be using them again for the garage.
The downstairs large patio door was also made incorrectly with the spacer bar between the top and bottom glass pane being too low, this was also replaced. The incorrect one was also purchased by me, to use later on in the project.
The windows themselves are a fantastic design being triple-glazed and Passive House certified with a very low U-value of 0.65W/m2K.
 |
| Spray foaming the window |
 |
| Installing our bedroom window. |
 | |
| The view from the window |
 | |||
| The New and Old patio window now with the spacer bar level with the rest of the windows |
 |
| The upstairs windows with the wrong ones on the floor!! |
We also went to see the plant supplier from whom we will be getting all the plants and trees from, they are based in Donegal. We bought 200 Hornbeam whips to plant in the border with the road to start off with.
 |
| All the hedging in planted in the fields |
 |
| Then bundled up moved to a sandy bed |
 |
| The finished product. |
We have also continued with all the timber framing inside the house. The downstairs spine wall was added too, and all the ceiling/floor noggins were completed.
 |
| The floor/ceiling noggins were all done |
 |
| The spine wall this will take one third of the weight of the floor above. |
 | |
| Sheets of OSB was used to give it extra strength. |
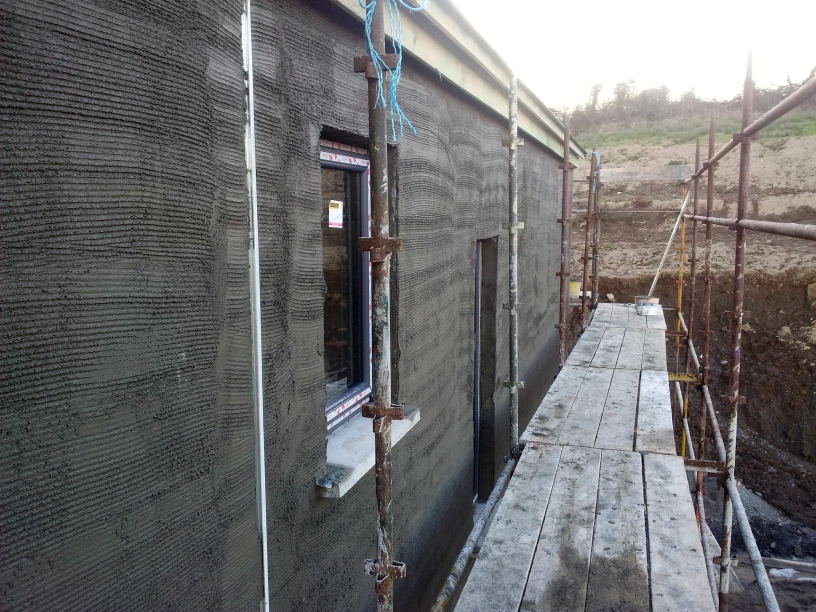
The reveals are a 25mm border around the all the door and window openings.
 |
| The scratch coat done on the South-east corner elevation |
 |
| First floor Northern Elevation |
 |
| View from the North-West elevation corner |
 |
| Around the front door |
 |
| Timber battens are used to form the reveals |
 | ||
| The finished reveal |
While all the rendering was going on out side we carried on with the timber stud work inside the house.
 |
| Upstairs stud work |
 |
| View from our bedroom |
We made a hole in the west wall for the twin-wall flue that will take the smoke from the stove. This was stitch drilled by making lots of small holes.
 |
| We used a guide to keep the drill at the right angle. |
The plasterers then started on the finish plaster due to the higher quantity of lime in the mix the colour was much lighter.
 |
| The Northern elevation with the ESB and Telecom Boxes |
 |
| The South-West elevation |
 |
| The Northern elevation |
 | |
| The South-East elevation |
We are ready to install the rainwater goods like the fascia boards, guttering and down pipes.
After which we can paint the outside so the scaffolding can be taken away.
This will make the house feel finished, but we still have along way to go.
 |
| Ready for painting |