Sunday 22 February 2015

Light at the End of the Tunnel

January 2015

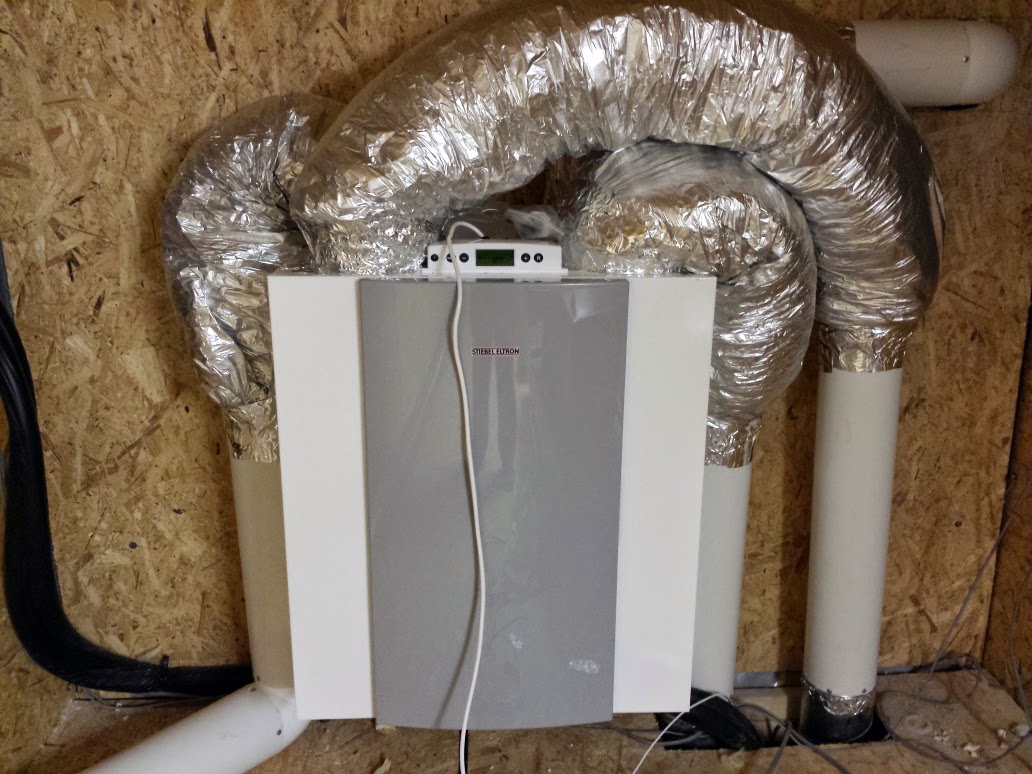
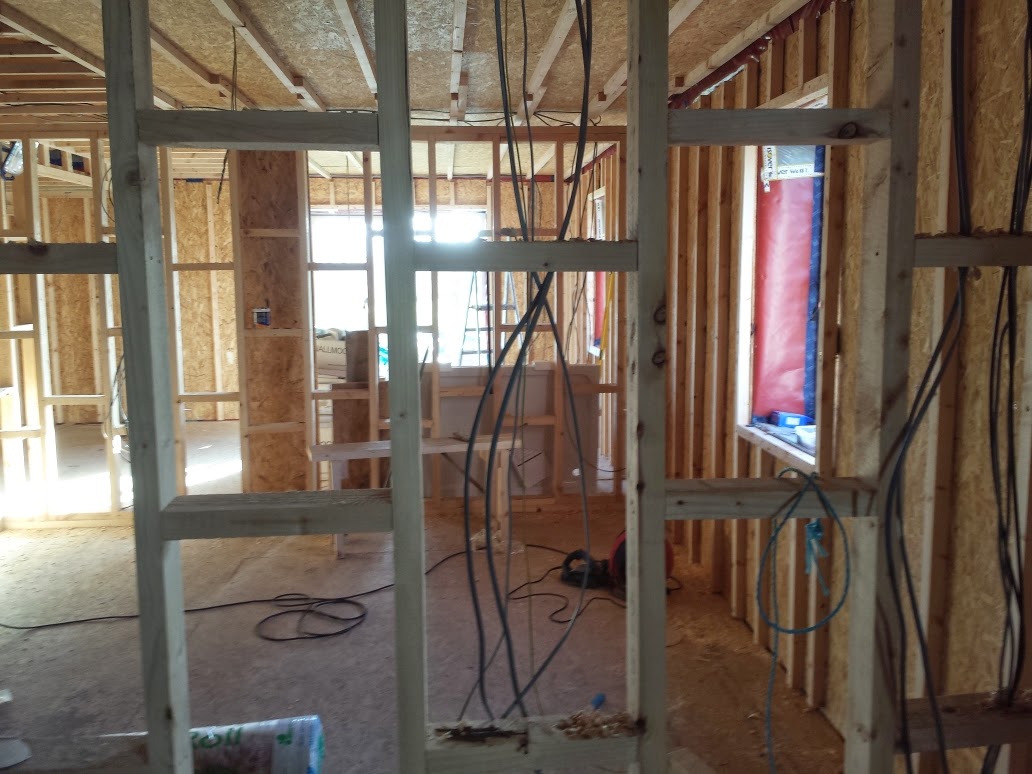
The new year brought with it the promise of very bad weather. So the electricians came back to connect the heat recovery ventilation system's pipework to the HRV unit.

This meant that what ever heat we created with the stove this would be distributed throughout the house and would help dry the house out.

The pipes coming from the different rooms to the system unit are 150mm but the units connectors were 200mm so we had to put flexible connecting pipes. This is only a temporary measure until we can get the appropriate reducers and solid piping from Germany. 
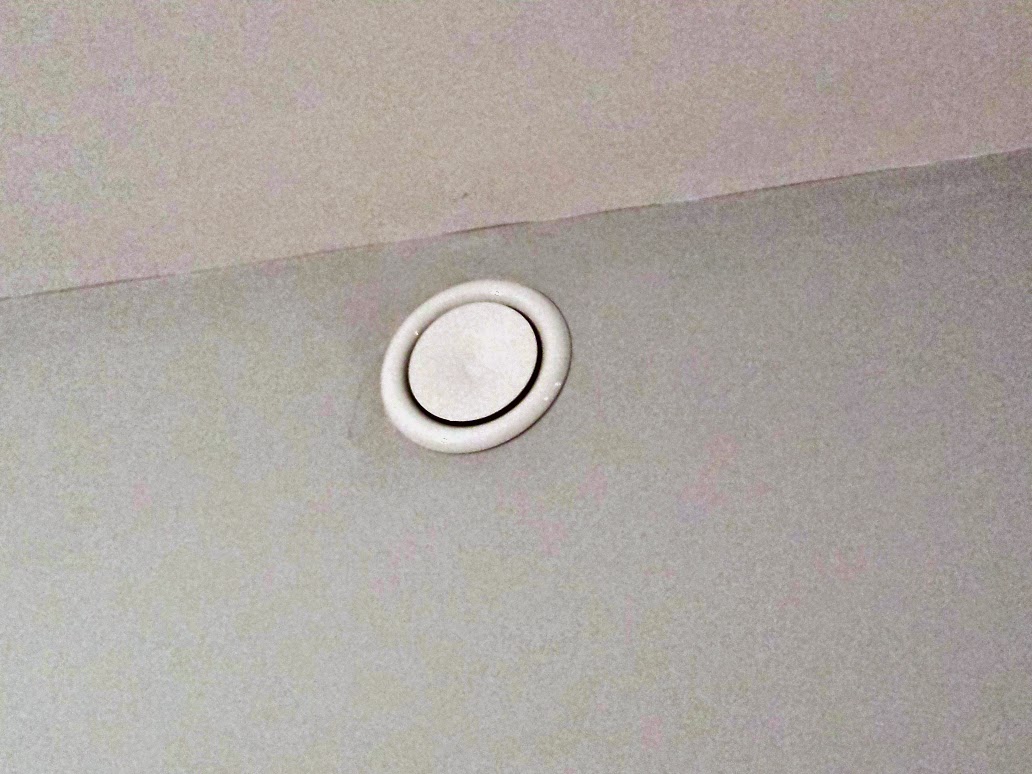


A room outlet.

The connecting pipes are flexible and they should be rigid.

The link building was next on the list of items we had to finish. During the Christmas break I sourced a double glazed patio door that we could install into the link building. This will mean we can get to the terraced garden directly from the link building. 

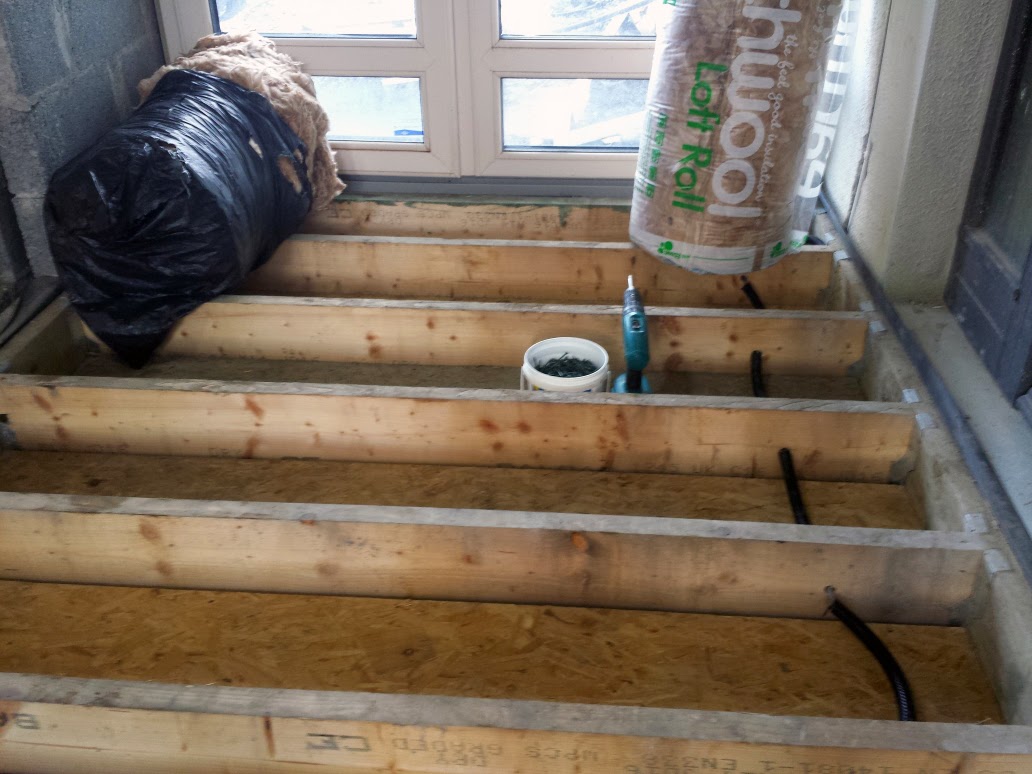
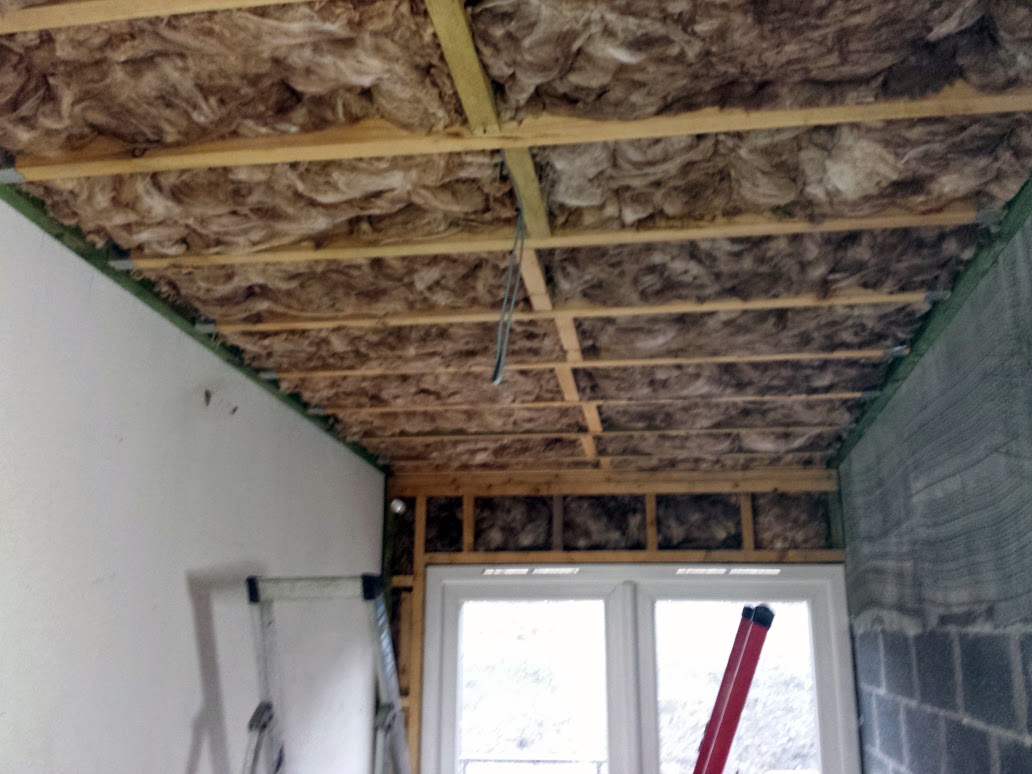
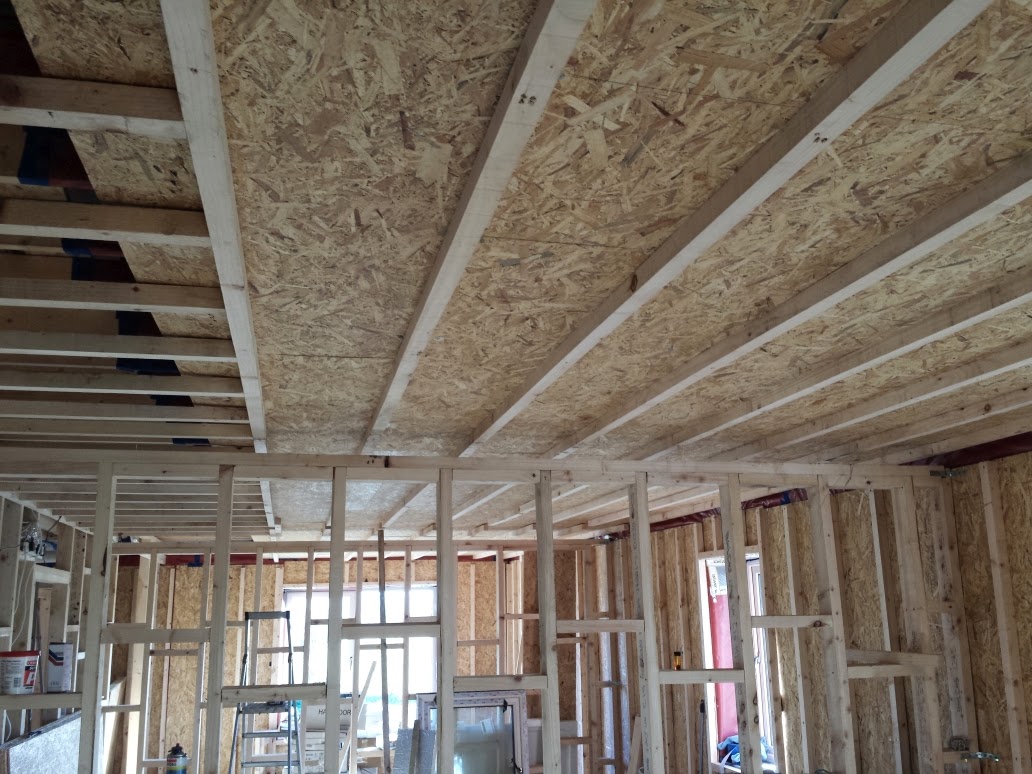
We insulated the floor and applied a waterproof but breathable membrane under it ready to install a timber floor. Insulated the ceiling ready to apply plaster boarded.

The new patio door.


Putting OSB into the spaces between the joists so the insulation doesn't fall out.


200mm of wool insulation in two 100mm layers


Even though the roof panels were insulated we added an additional 150mm of wool insulation into the ceiling.


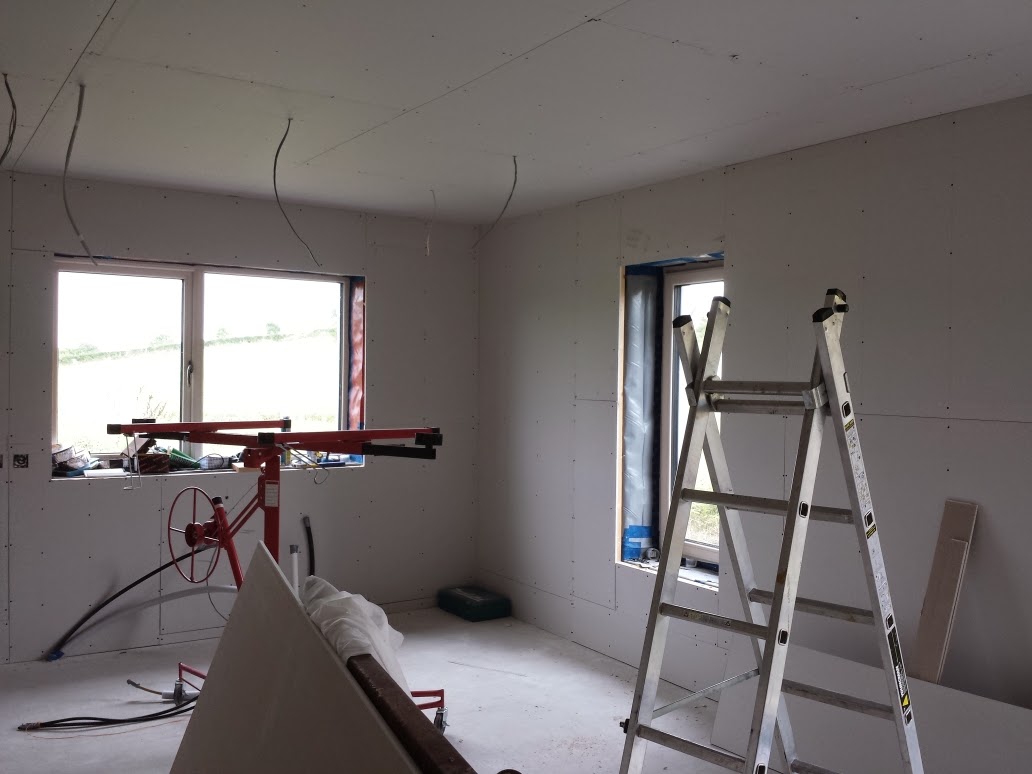
Using the board lifter for the plaster board.


Ceiling done and scratch coat of render on the walls.


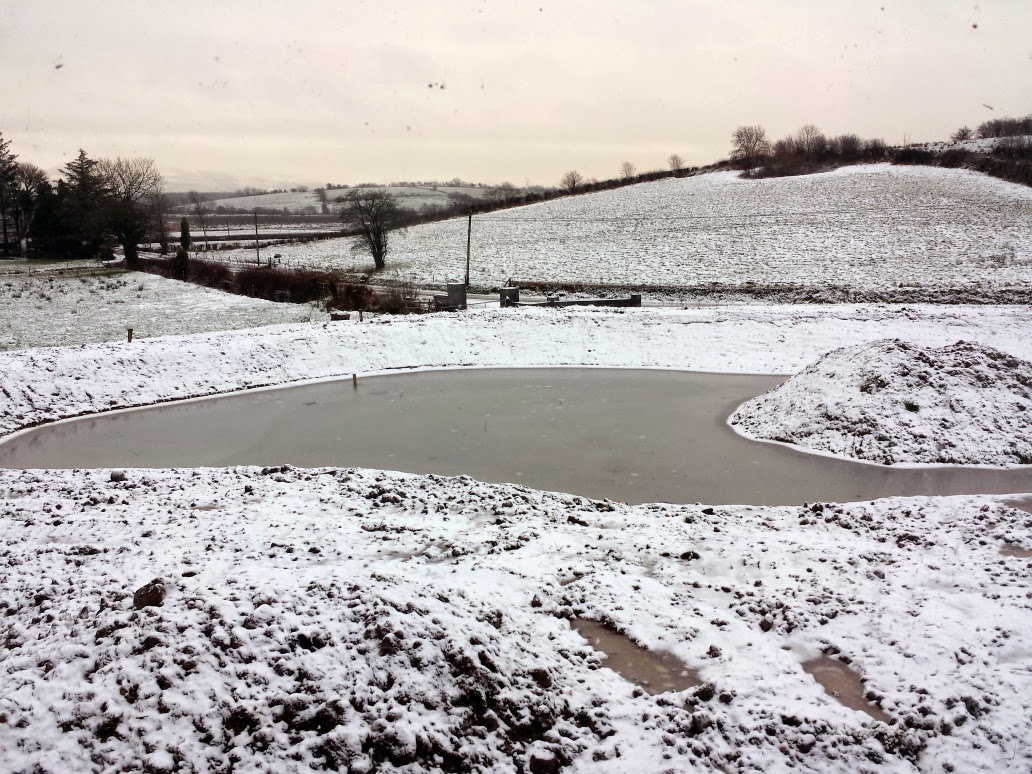
For a few days we have very bad weather heavy snow falls and very low temperatures. Even the pond froze over.
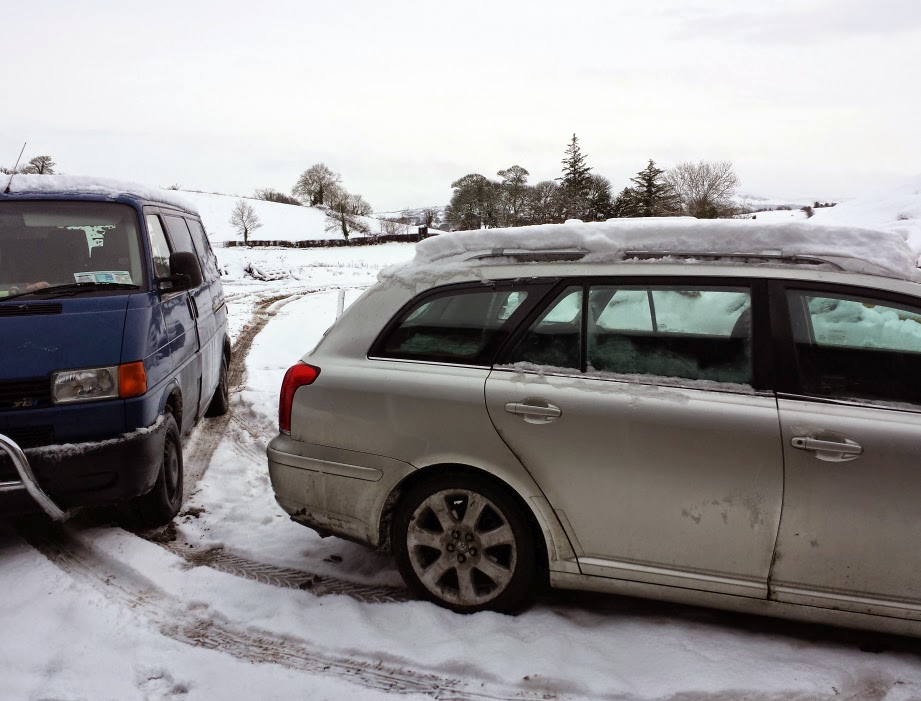

Nearly 150mm of snow in one day. But went away in a few days.


The ice was a good 50mm thick.

During the cold snap the plasterer carried on with the link buliding. He rendered two walls with sand/cement and then plastered it.

Ready for painting.

The plasterer than started with the bottom half of the garage, the retaining, boundary and front walls.

He first "scudded" all the faces with a strong sand/cement mix. He than applied a scratch coat then a finished coat. The finished coat was given a "napped" finish, which was the same at the house. The final coat of render had a greater amount of lime in the mix giving the coat a much whiter and brighter appearance.


The garage wall scudded.

The eastern boundary wall.

The southern boundary wall.


 A section of the front wall.
The back of the garage.
He then started the scratch coat on the garage.

The north side of the garage.


Front of the garage between the garage doors.

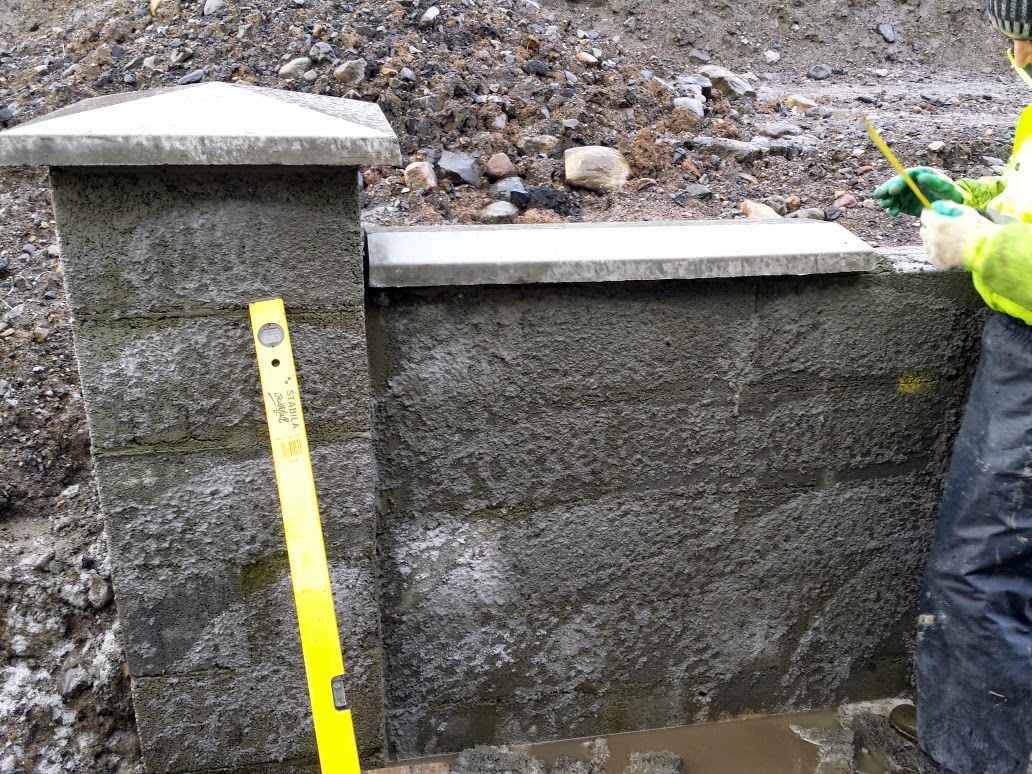
While the plasterer was getting on with scratch coat of the garage we started putting on the pier and wall caps for all the walls. This had to be finished before the plasterer applied his final coat which went up to the caps.

Lots of pictures of walls and piers with caps on them.
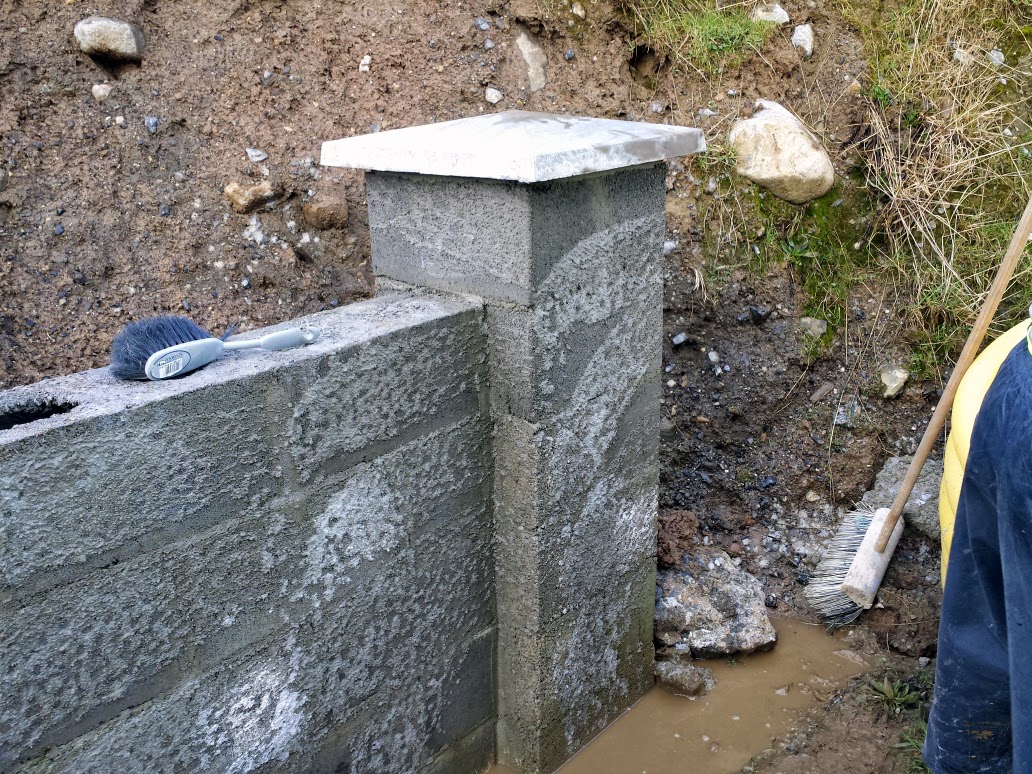

The very first pier cap going on.


The very first wall cap going on.


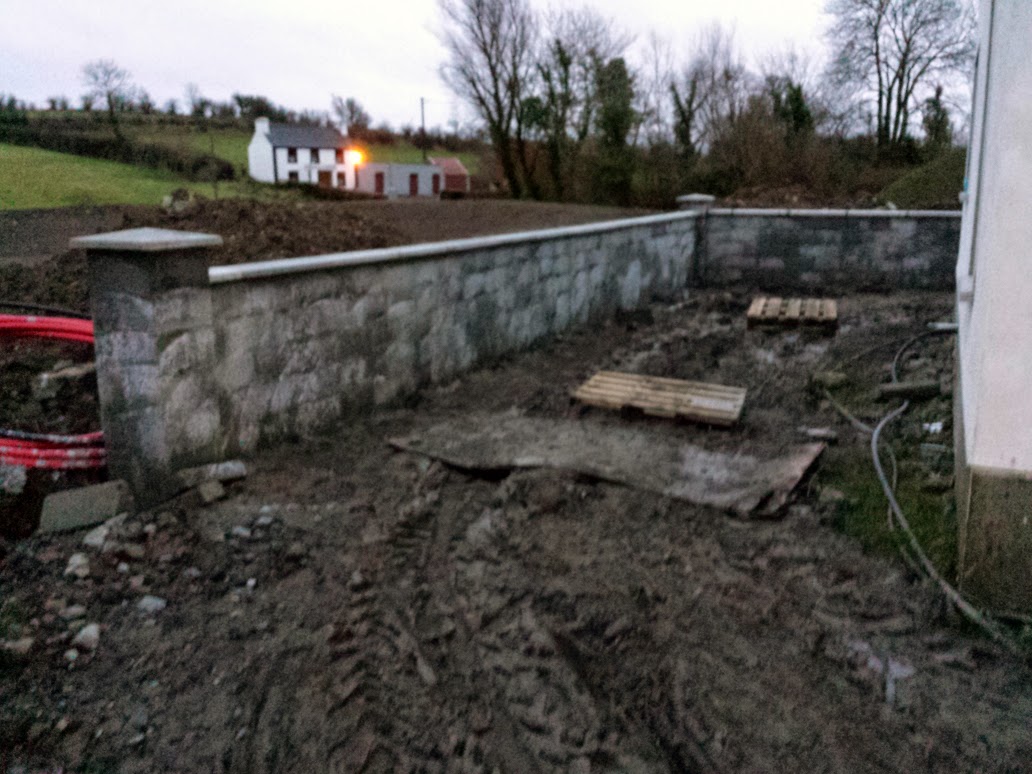
Retaining or west side of the wall finished.


The first section of the south wall.


The east side wall with the second section of the south side wall in the background.

A section of the front wall.


Monday 16 February 2015

The Whole of 2014 Updated.


This will be hard work. I haven't done an update to the blog for over a year.

This will be a very long post. I will break it down month by month to make a bit easier.

January 2014

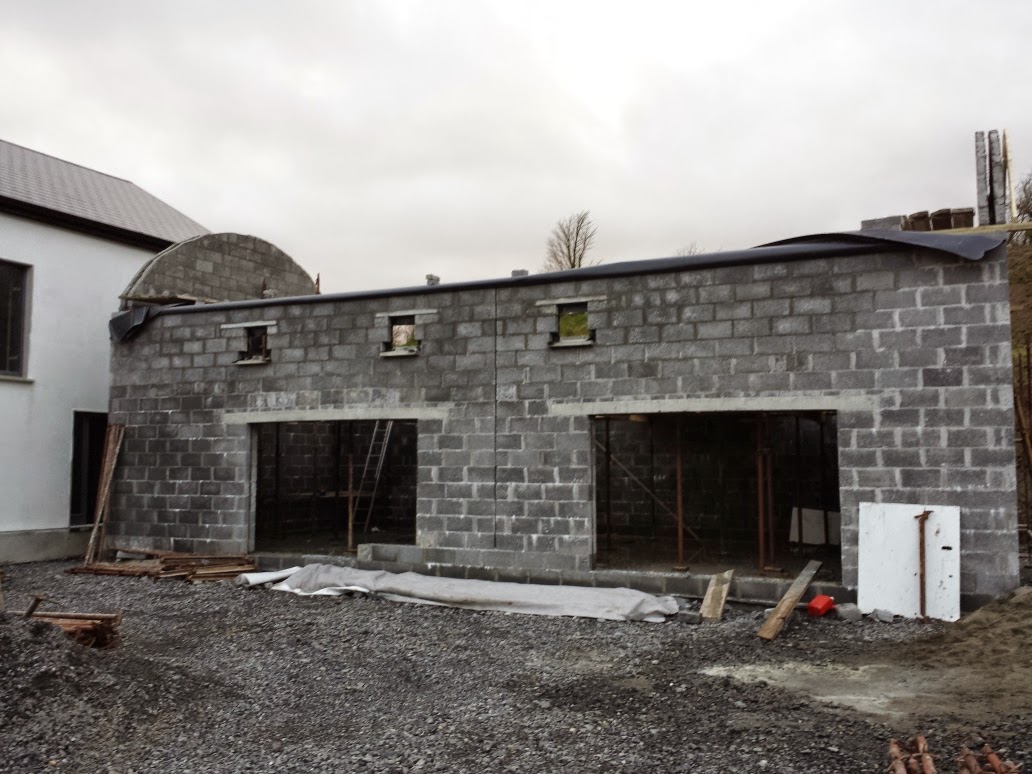
The garage blockwork was started in early January.


First of many loads of blocks


The electricians started the first fix of the Heat Recovery Ventilation System.

We used solid steel pipework


We also brought in the ducting for the electricity and telephone cable


The red duct will carry the main electric cable.


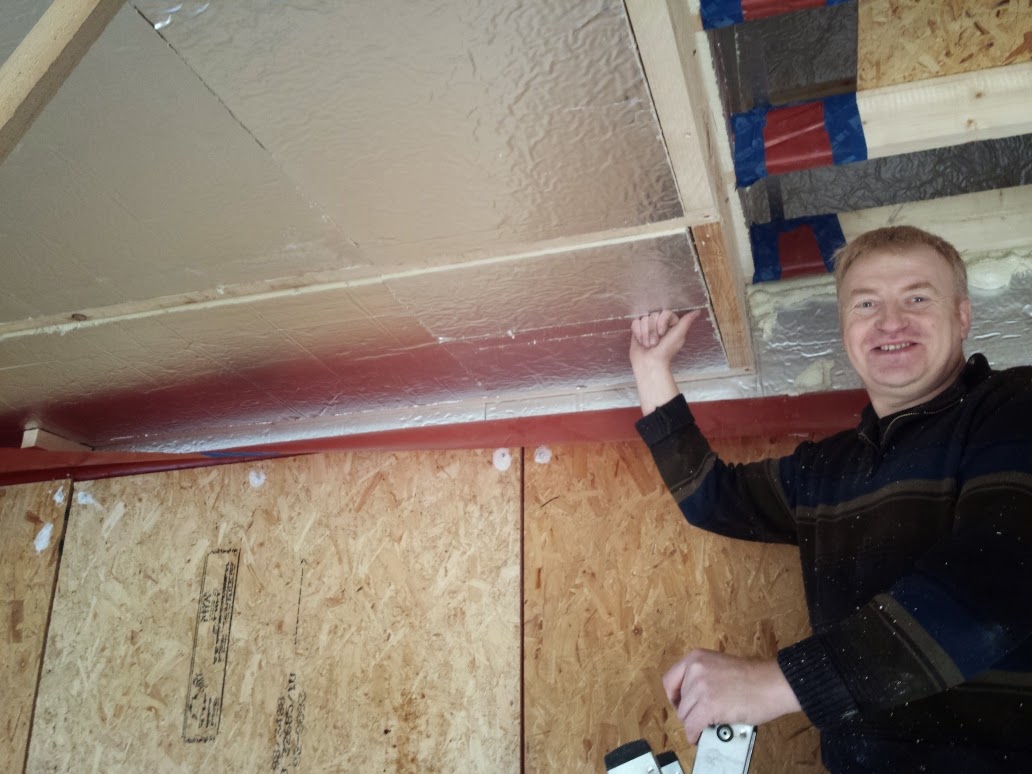
We carried on with insulating the loft space. The loft will have the same amount of insulation as the house. We will first put in 150mm and then 50mm of PIR insulation.


The loft being insulated.


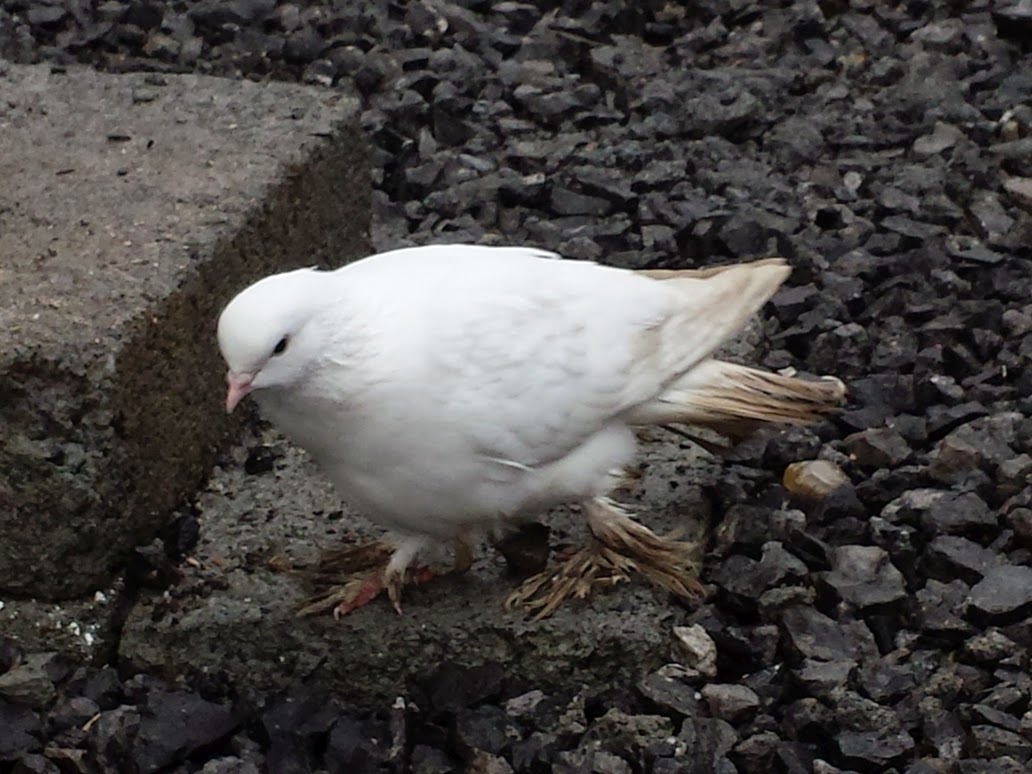
We had an unexpected visitor on site. 


A dove of some sort maybe.


The last piece of wall and ceiling insulation was put into the house. Great day because the insulation of the walls and ceiling was a tedious, but important part of the houses make up.

Still a long way to go. 


Michael helping to install the last piece of insulation.

Michael putting in the first piece of insulation April 2013.

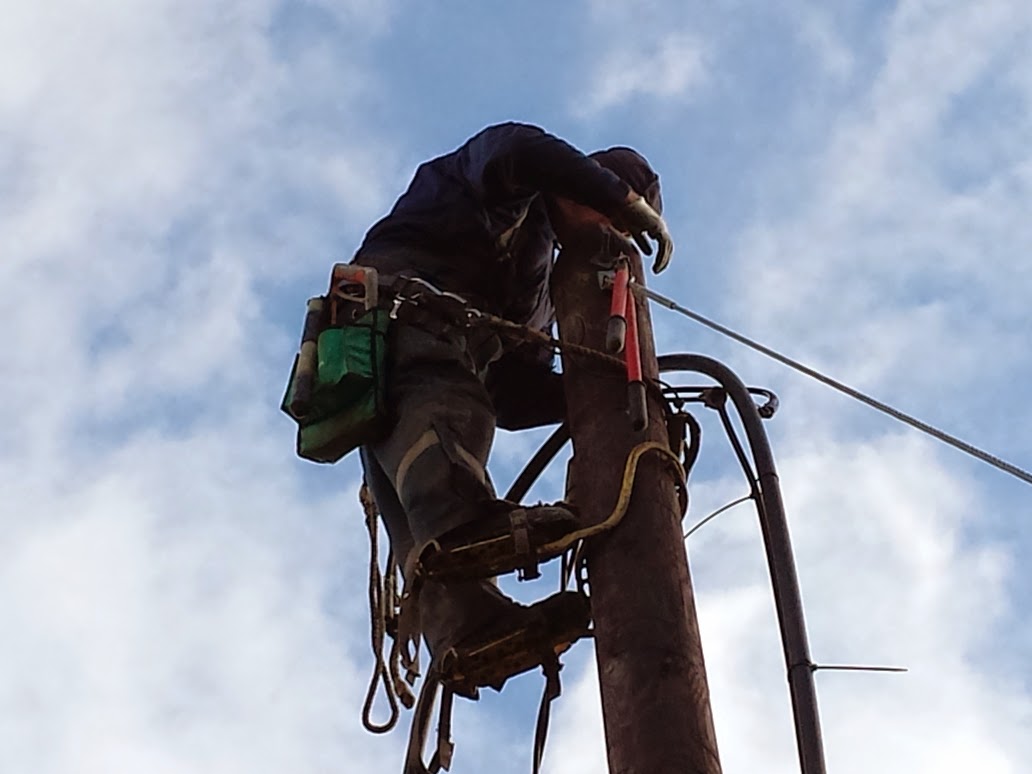
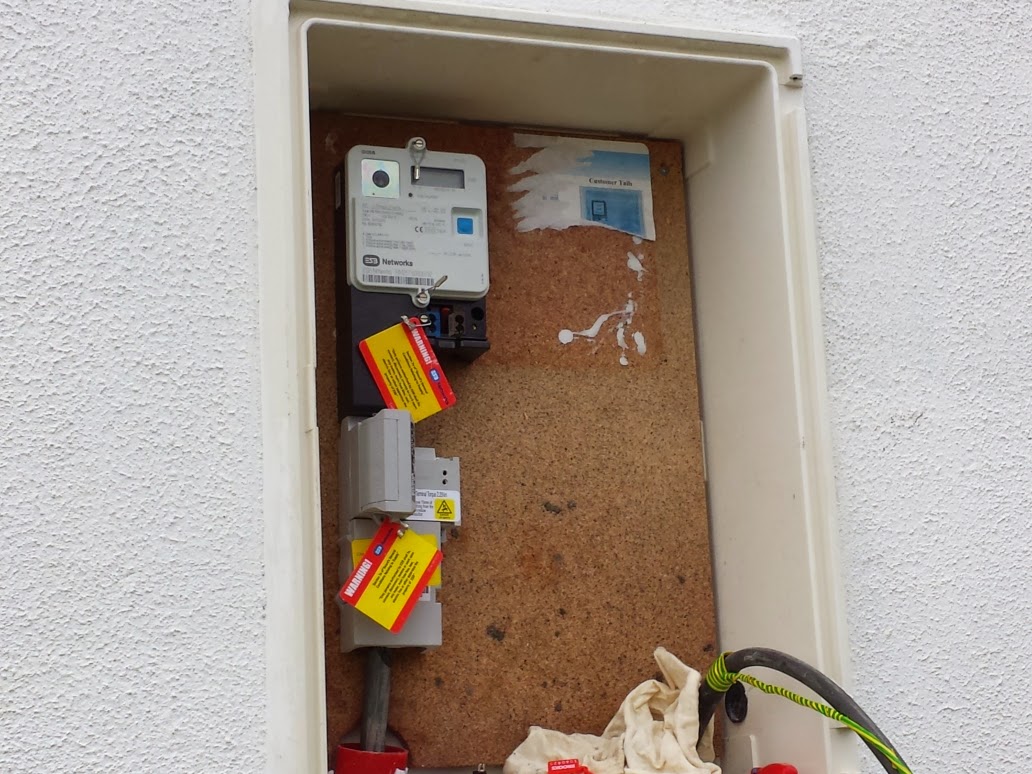
The end of the month the electricity supply company came in to install the electric cable from the pole to the house and fit a new meter.The pole is on the boundary of our land then comes underground to the meter.


Up the pole.


The new meter with our cable next to it.

February 2014

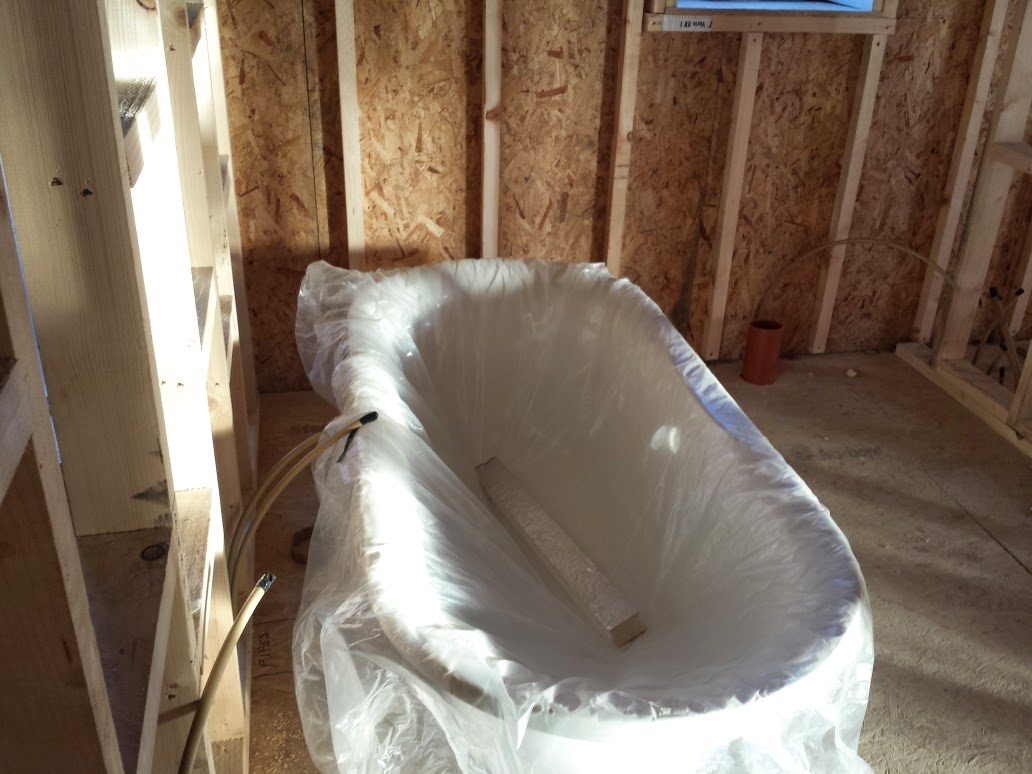
February we carried on with the internal timber stud work. We brought in the bath and sanitary ware to work out their final positioning ready for the plumbing first fix.

Ready for the electricians to do the first fix.


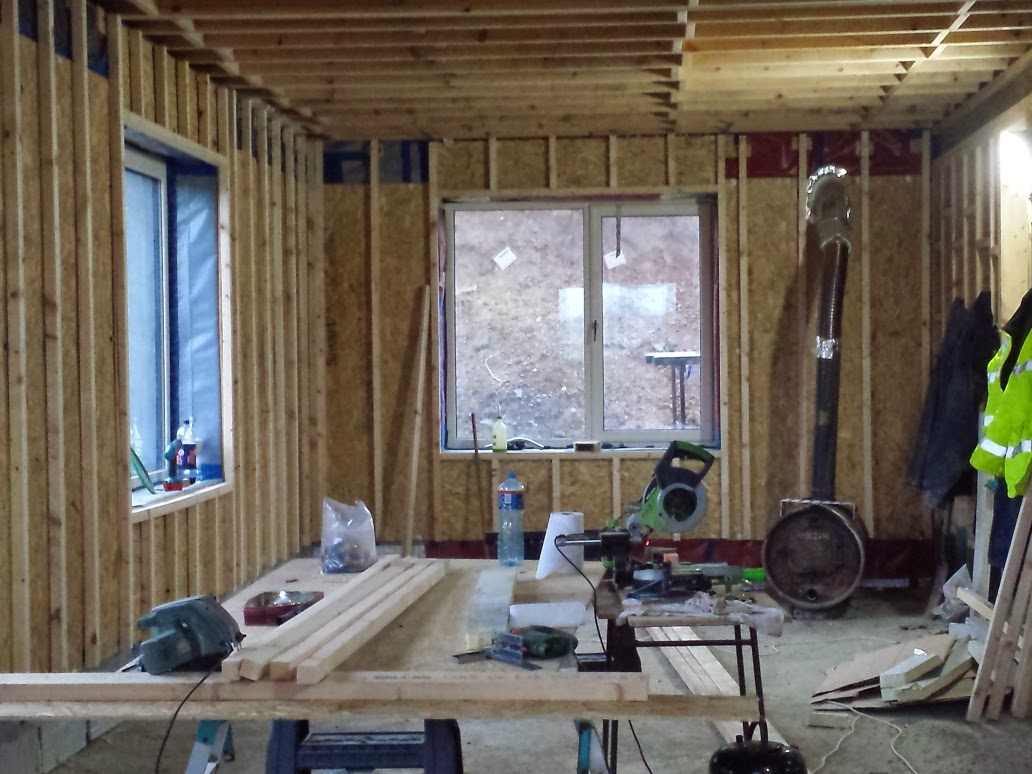
Looks like a timber workshop with our barrel stove "Thomas" working brilliantly.


The bath in its place so we can work out pipe runs.


The weather in February wasn't the best with the snow arriving.

Looked lovely but not great for working out side.


When the weather improved we carried on with the garage.


Using the telehandler to install the lintels for the garage doors.
  

View taken from the north side window of the house.

When the weather turned bad we came back in to carry on with the timber work inside.


The void above the north side ground floor ceilings. This will be used to run all for our services through. All the pipe work will be lagged with insulation.
March 2014


We completed the stud work for the south side upstairs ceilings. Ready for the electricians then for the plaster board.


Ready for electricians.
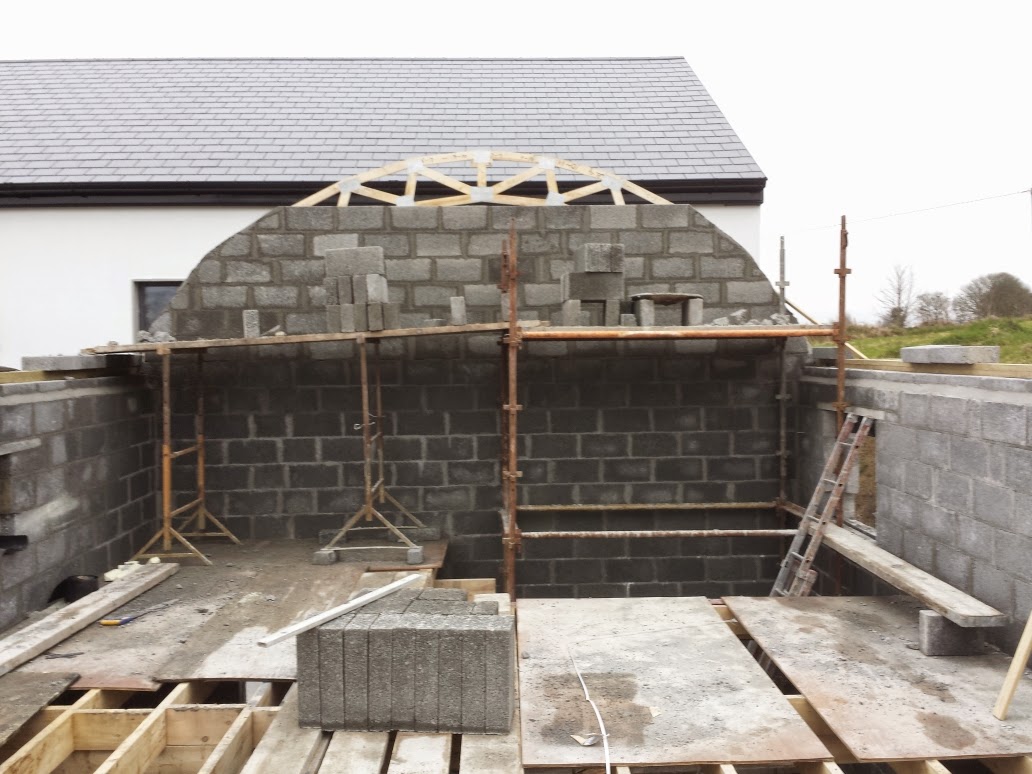
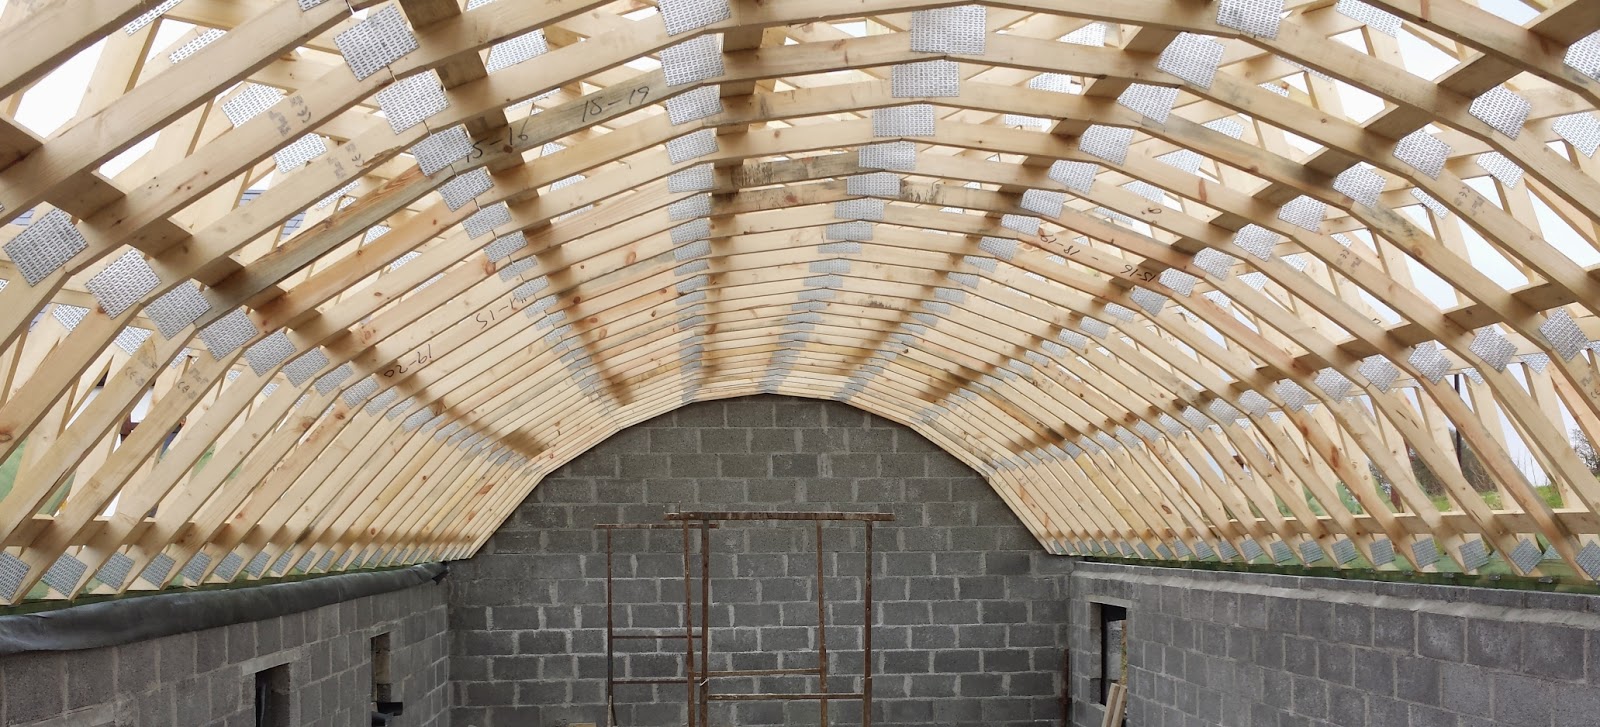
The timber pre made trusses arrived for the curved garage roof. We used a couple of them as a template so that we could use them to form the curve in the gable walls of the garage.


The trusses where pre-made by Quinn Building Products same people who made the house ones.

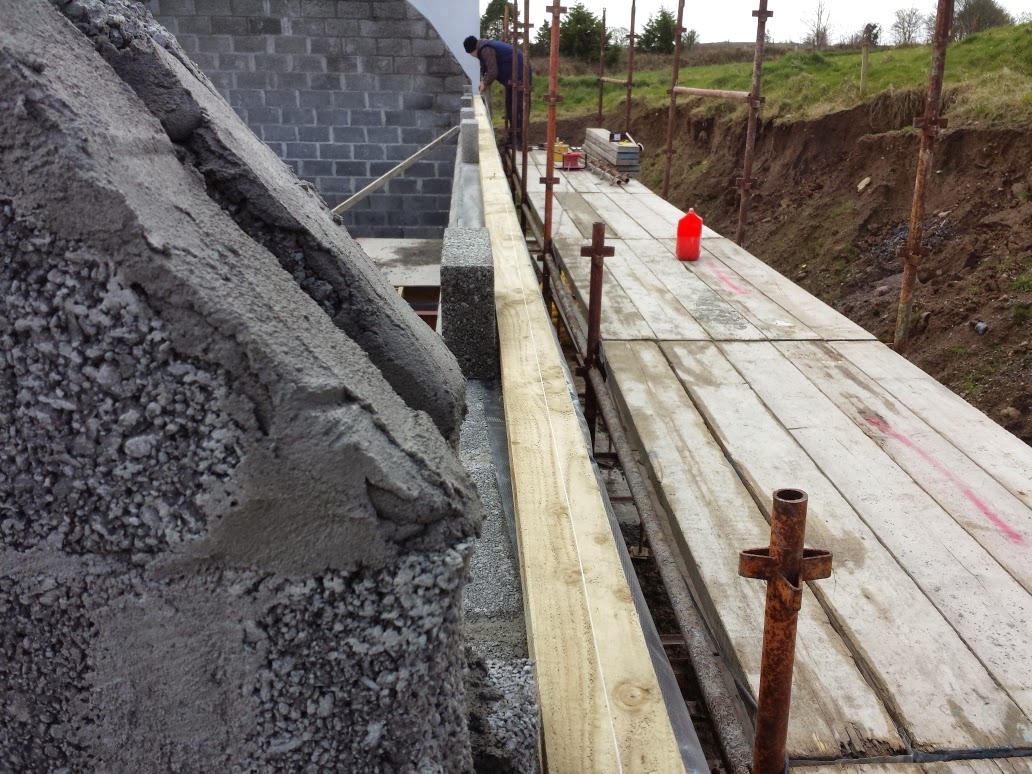
Using the trusses as guides for the blockwork.


Both gable walls now finished.

We than where ready to put on the wall plates ready for the trusses.


The wall plate was fixed to the blockwork using bolts with damp proof membrane underneath them.


The trusses where fixed to the wall plate using special truss clips and to the wall with heavy duty steel roof straps. We also put on wood preserver on the ends of the trusses and the wall plate.


With added bracing as per the roof designers specification.


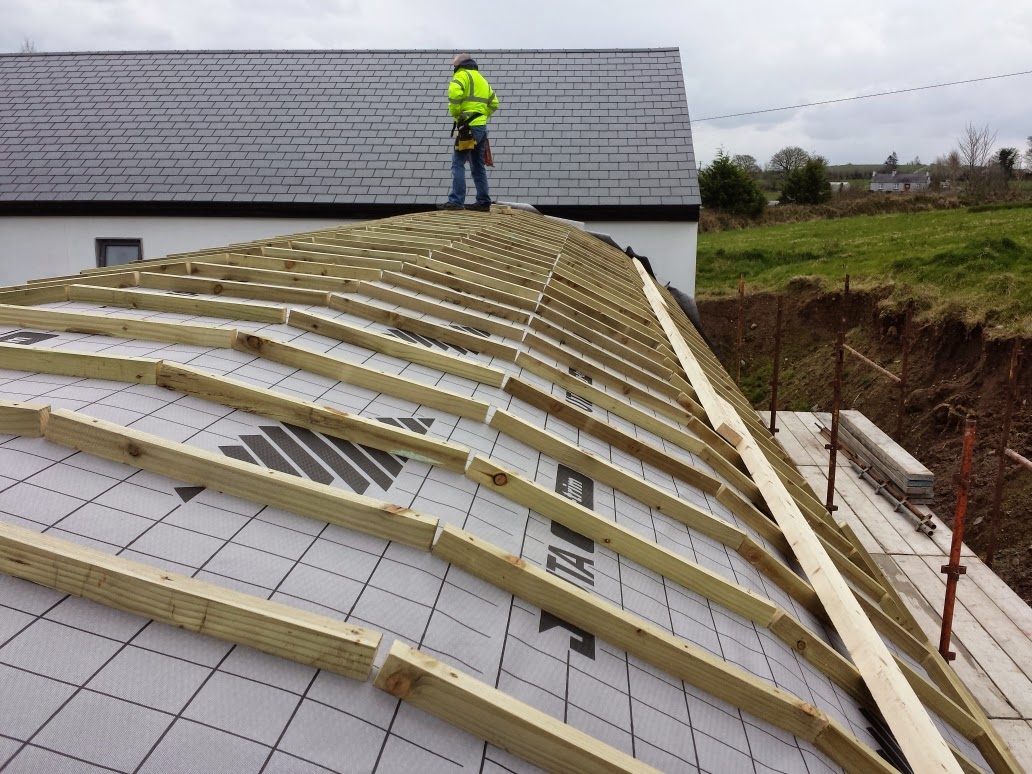
Completed roof ready for the "felt"

The felt is actually a barrier that stops the rain coming in but lets the excess water vapour out.


Felting done and battened. We will be double battening for added security against water ingress.

The electricians came in to start the first fix and finish off the HRV system pipework.

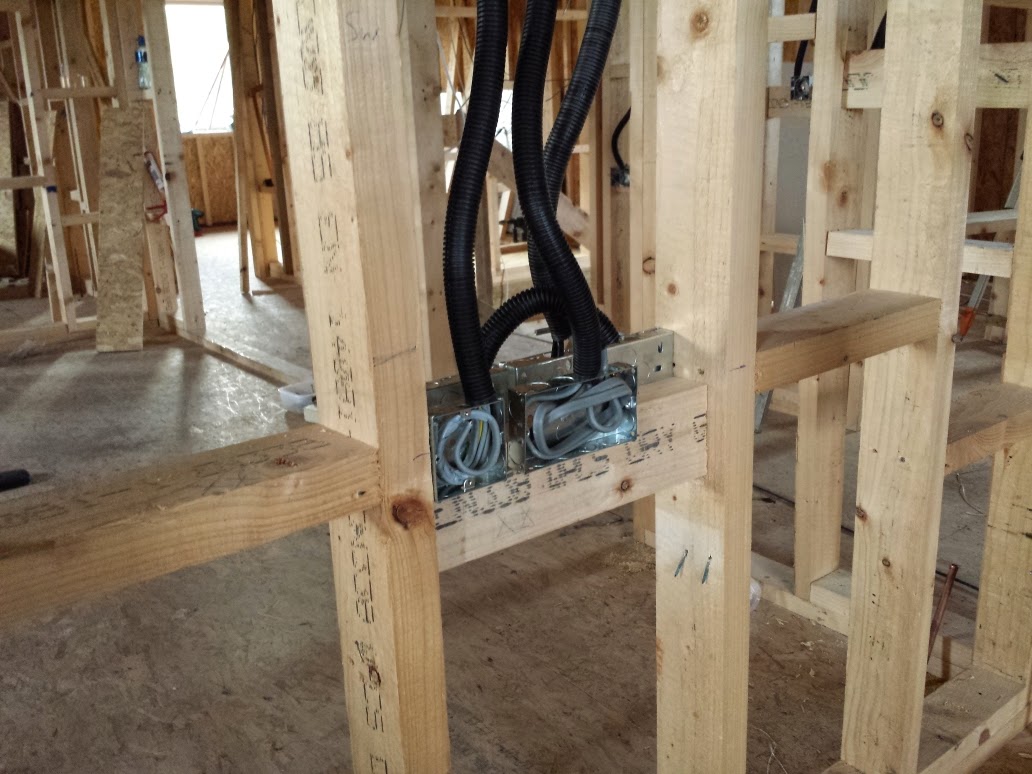
A lot of cables used.


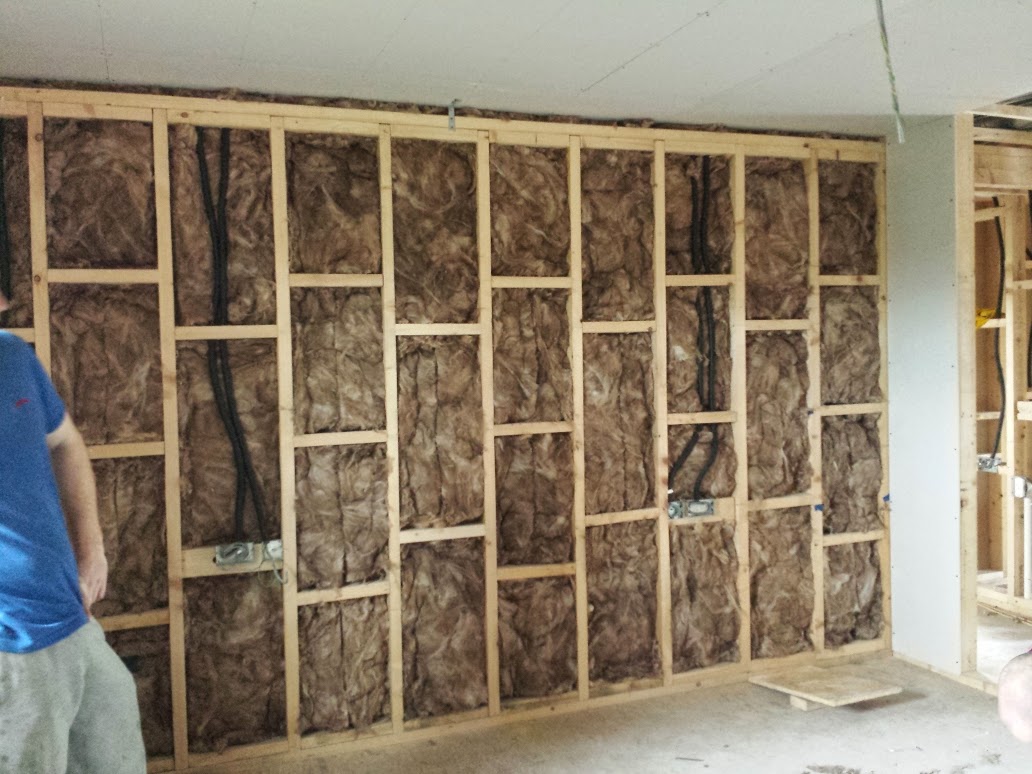
Where the sound insulation was going to be used, the cables where put into conduit. We used 100mm wool insulation for the sound barrier.

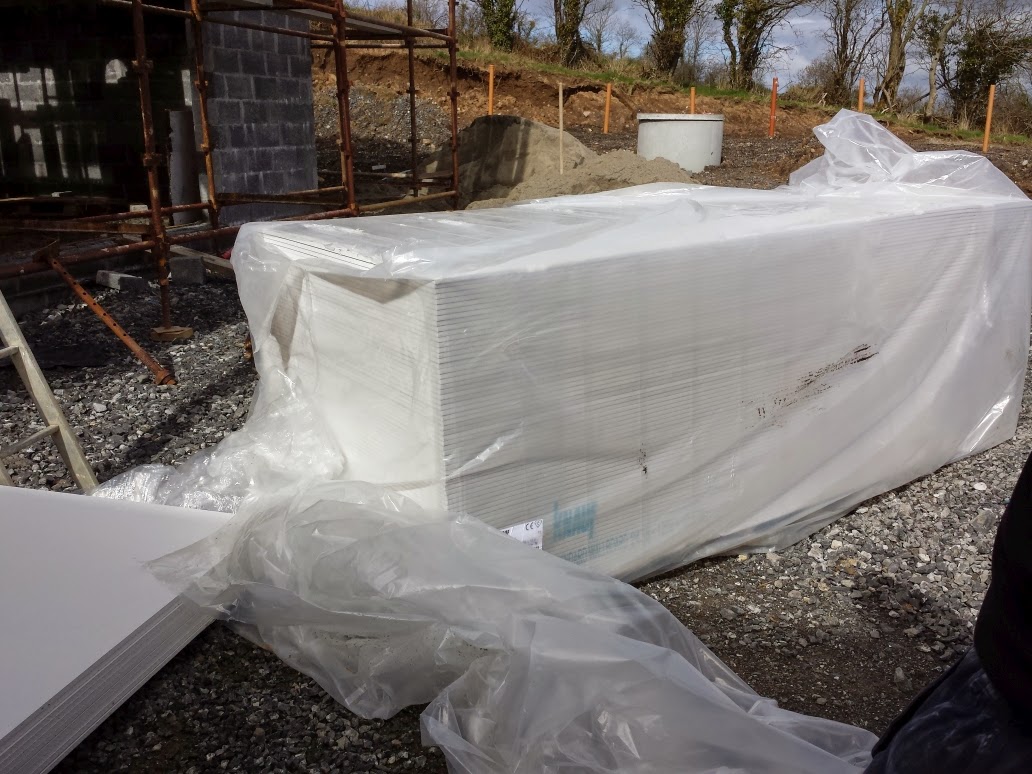
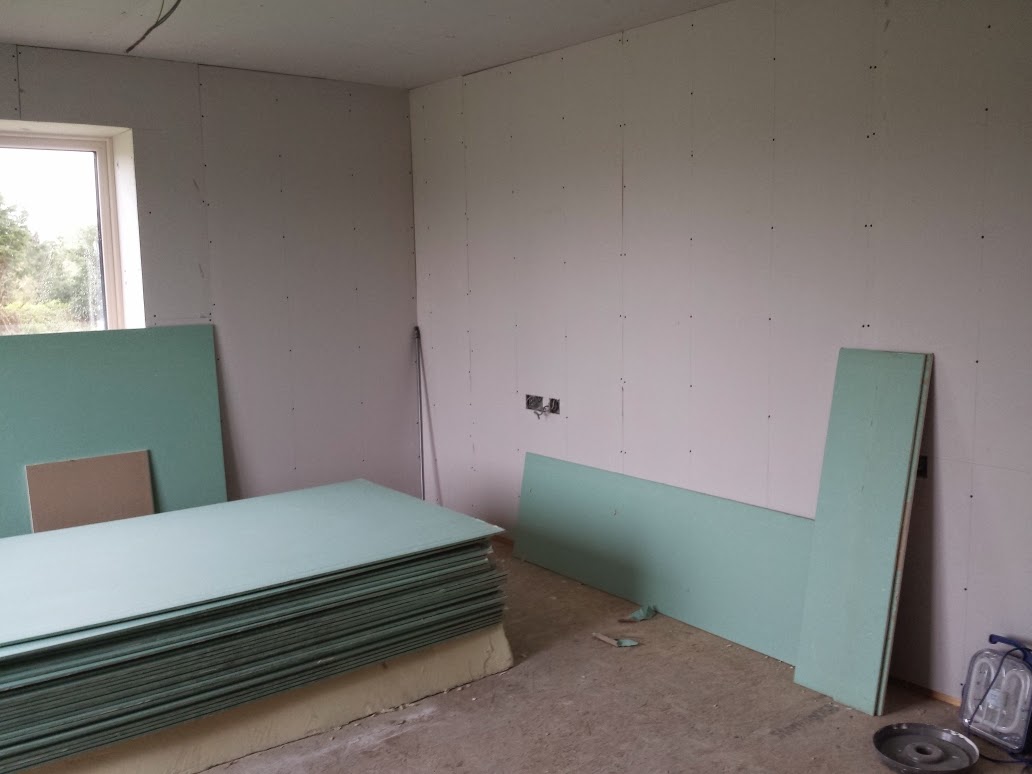
Some of the plaster board to be used in the house arrived.


144 1/2" plaster board delivered and brought into the house.

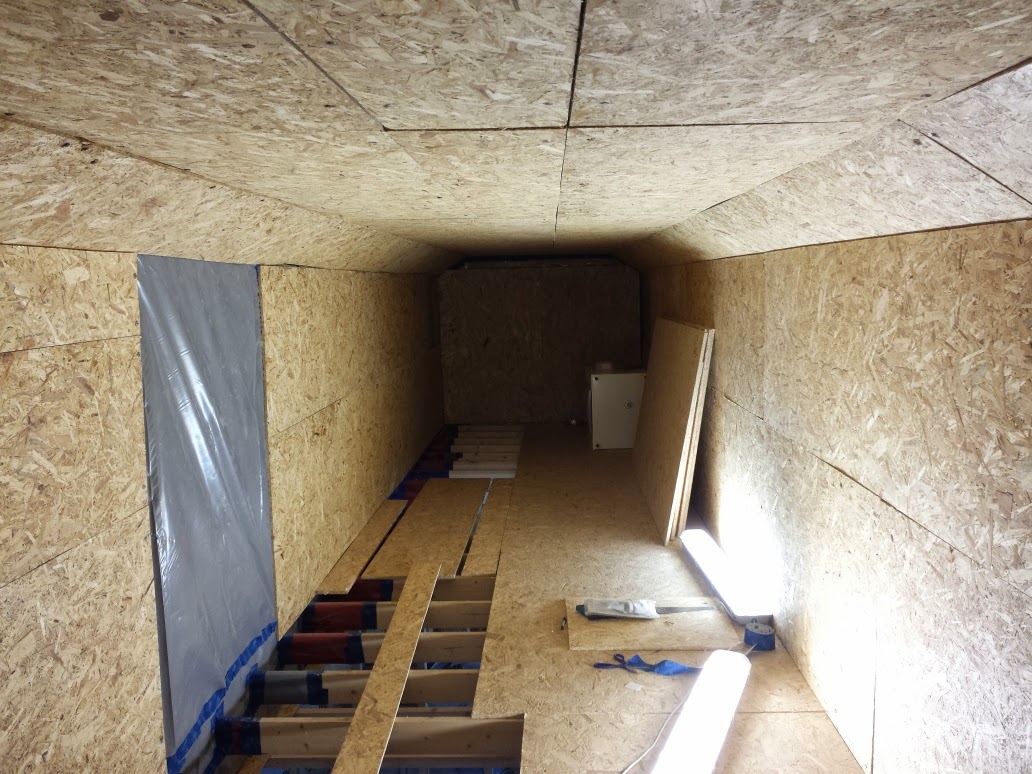
The loft was finished with 11mm OSB board to protect the air tight membrane underneath.


The loft now finished with the HRV unit in the background yet to be fitted.

April 2014

At the beginning of April, Gusclad the company that we will be using for all the cladding of the garage, delivered the curved cladding sections for the roof. The cladding is corrugated steel with a heavy duty PVC coating.


The curved garage roof cladding from Gusclad.
   
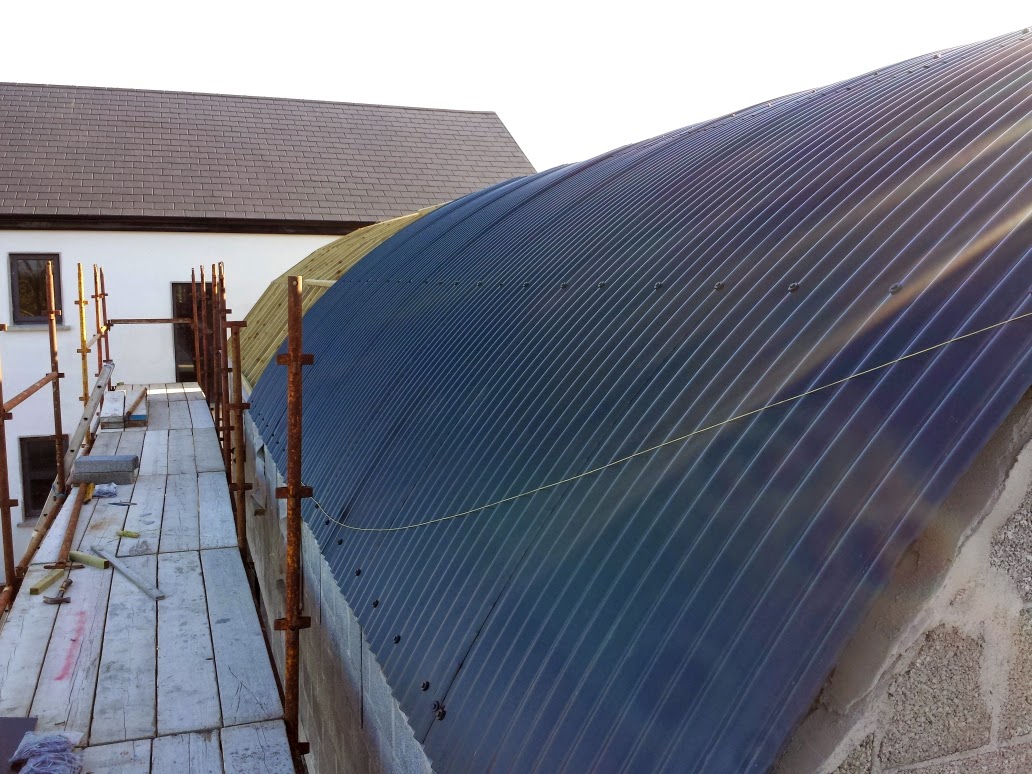
The two bottom sheets where installed first, than a top curved sheet going over the top of both edges to create a waterproof seal.


The bottom sheet installed first. This was done again on the other side and a top sheet was put on last.


Special screws were used these where then covered with a plastic cap. The caps were coloured to match sheet material.


The west facing side of the garage roof.


A string line was used to make sure all the screws lined up.


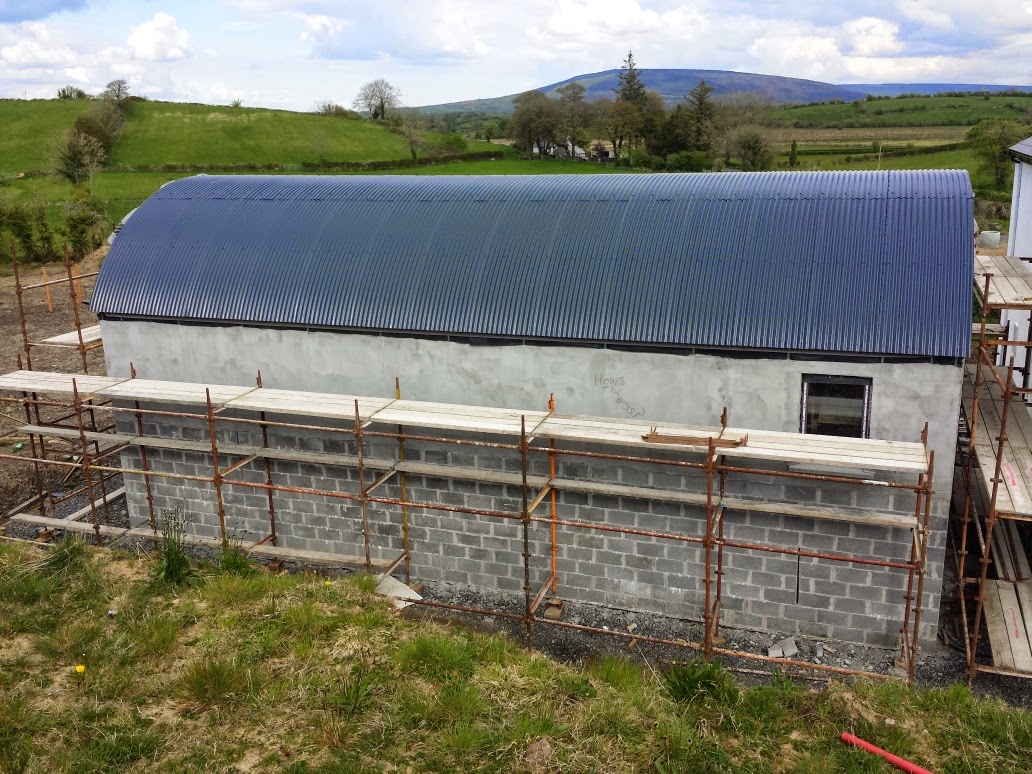
The completed roof.

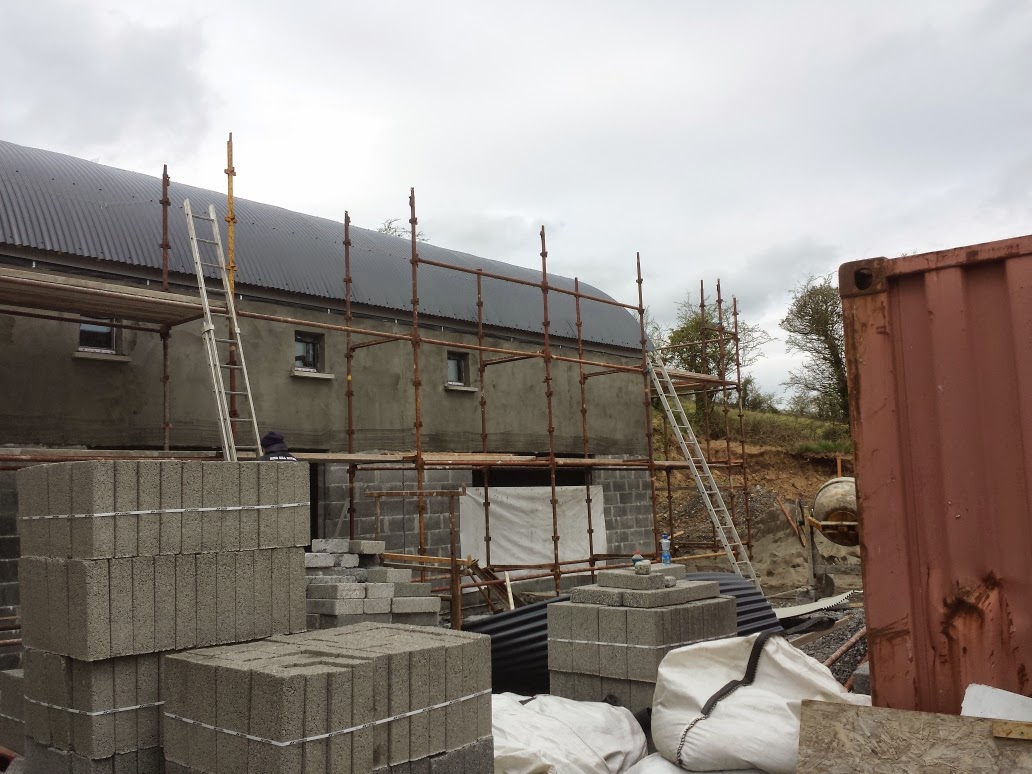
The top half of the garage will also get the corrugated steel sheeting and in preparation the top half of the garage was also rendered to help stop water ingress behind the cladding.


The top half of the garage after rendering. The bottom half will be rendered and finished to match the house.


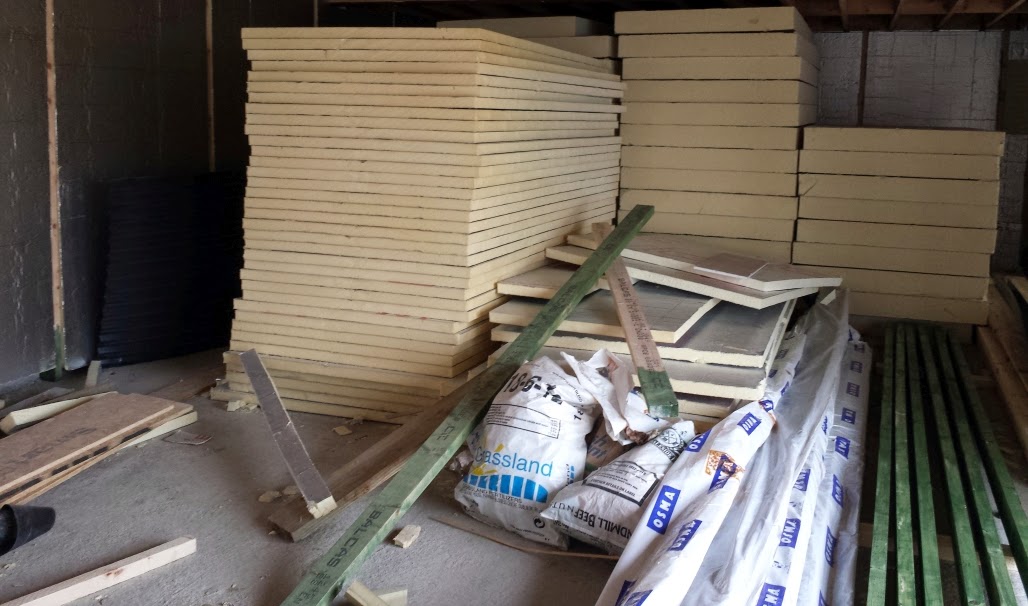
The garage was cleaned up ready to receive the last load of PIR insulation that we will use in the house. This will be for the floor in the house.


The garage looks massive all cleaned up.

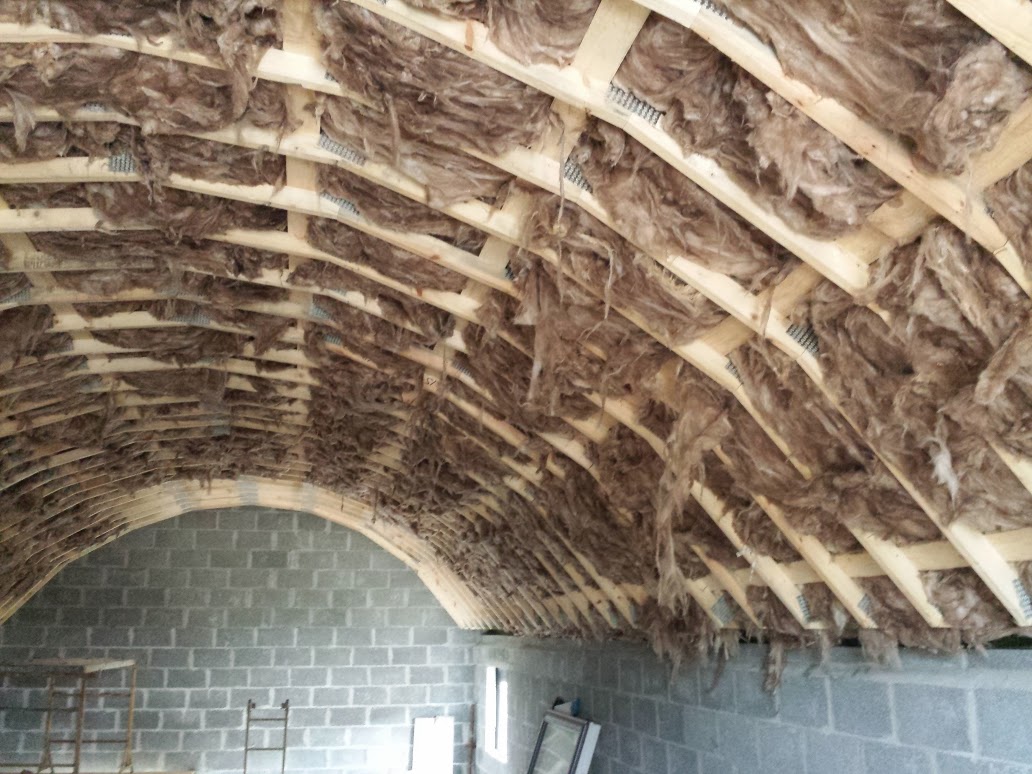
We insulated the roof of the garage with 400mm of wool insulation. This was done in two layers of 200mm each.


The insulation added.

We started plaster boarding the upstairs house ceiling. We used a slab lifter to make this much easier.


The slab lifter in action.


All the ceilings were done first.


We then started on the walls. All the walls were filled in with 100mm of wool insulation before the plaster board was added.


Wool insulation was added as a sound barrier.


The wall coming along.

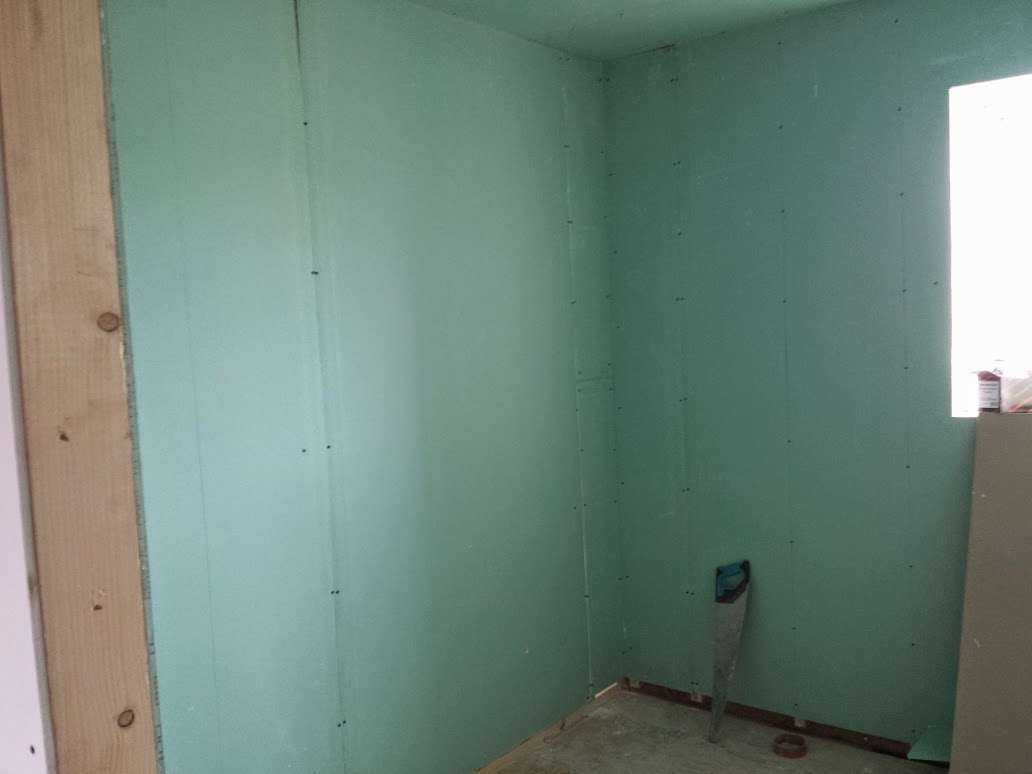
The green waterproof plaster board was used in the ceilings and walls of all bathrooms and toilets.


May 2014

We carried on with plaster boarding of the house. We had most of the ceiling completed in May and some of the walls. Very hard work with only a couple of us on site.


The extract for the HRV in the main bathroom


200mm of wool insulation in the ceilings to act as sound suppressant


The green waterproof plasterboard used in all wet spaces.


We temporarily installed the towel radiators and room radiators to work out where we should install the timber bracing for them to be fixed to in the stud work. 


I love these towel rads.

The last of the PIR insulation order was delivered in May. This will be used for the ground floor in the house.


Last load of insulation.


We also started to put up the battens for the wall cladding that we will be using on the garage. These will also be double battened like the roof section.


All the battening timber was pressure treated.

June 2014

June was going to be a big month for the house. We had to get the floor ready for the flowing screed which I was going to use for the house. I was the Specification Manager for the flowing screed in Ireland. The product is called Supaflo in Ireland and Gyvlon in the rest of the UK. 

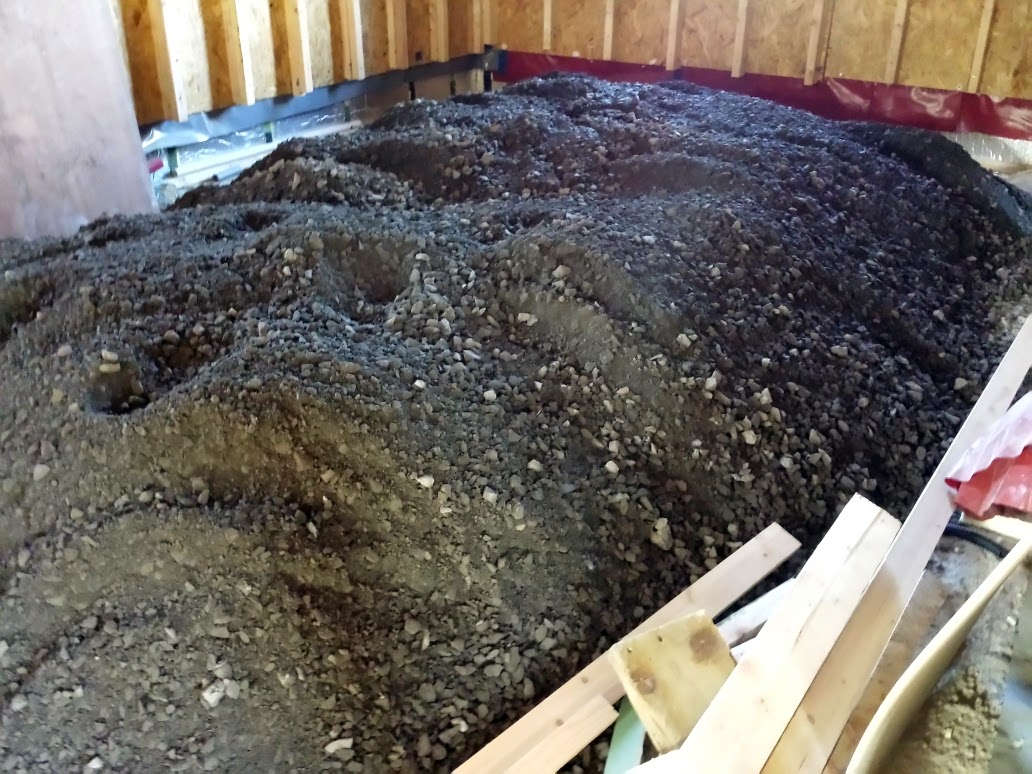
The first thing we had to do was to bring up the levels of the floor by 400mm. We were going to use 150mm of crushed stone, then 50mm of sand. These layers were both levelled and compacted using a vibrating compactor. 

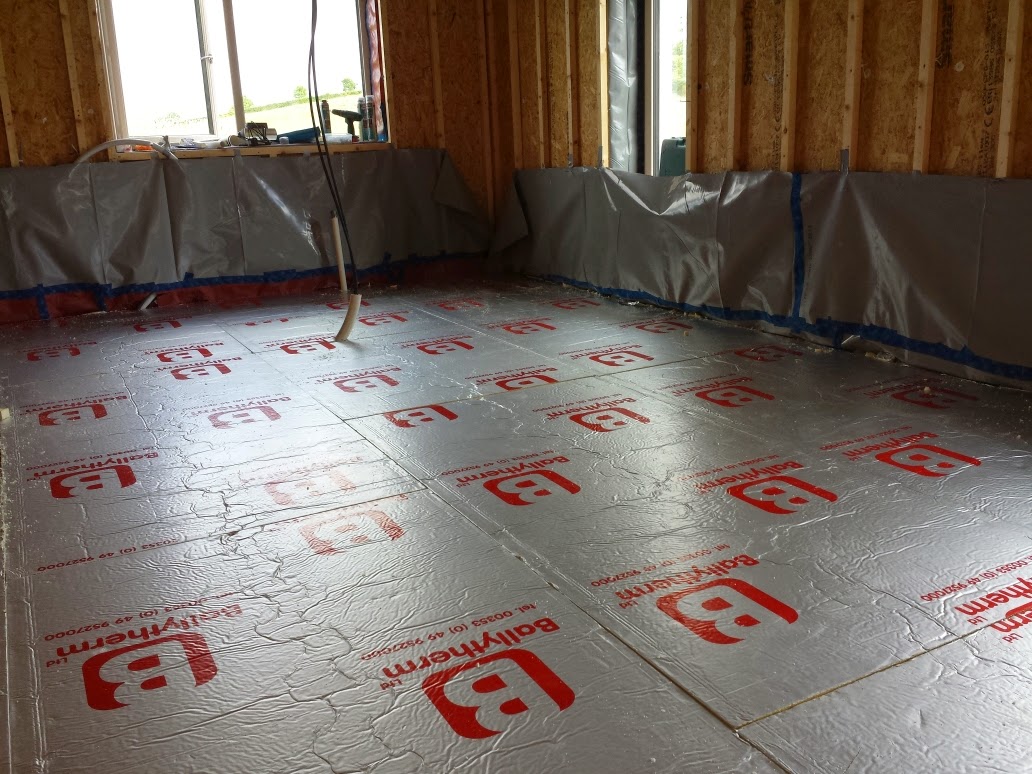
After the stone and sand we added the 200mm of PIR insulation. This was done in two layers a 150mm one then 50mm.

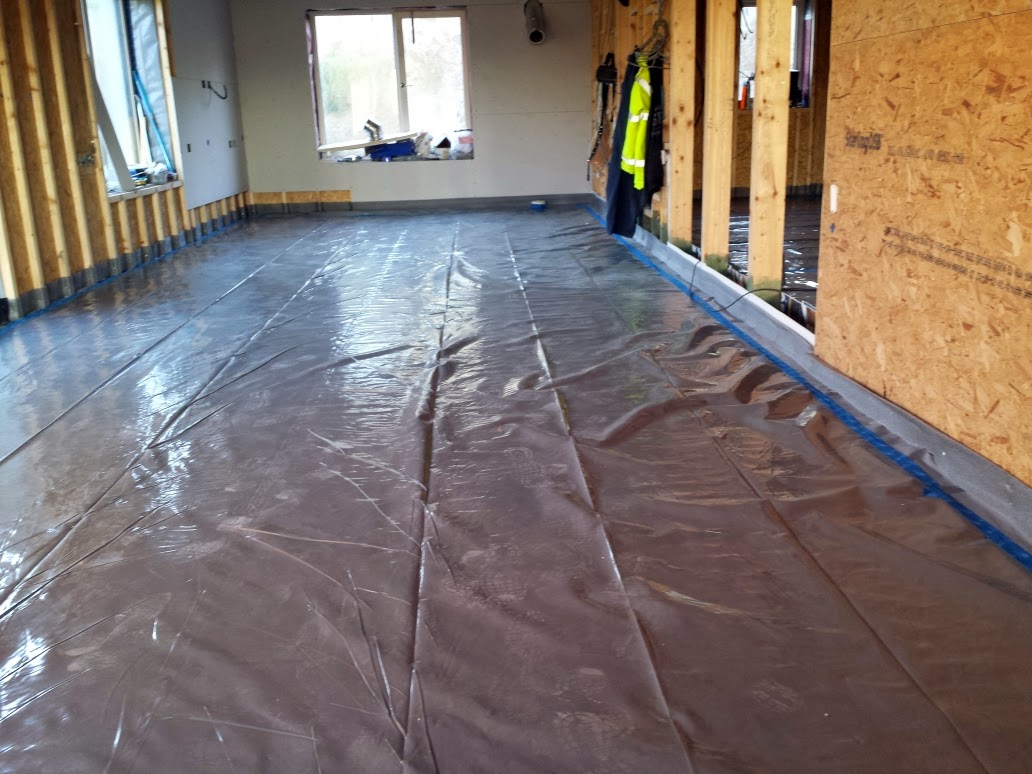
We than added an airtight membrane which also acted as a secondary damp proof membrane.


Over 25 Tonnes of stone used for the floor.


All the stone was wheel-barrowed in to the house. I slept well that day!!

Levelled

Compacted.

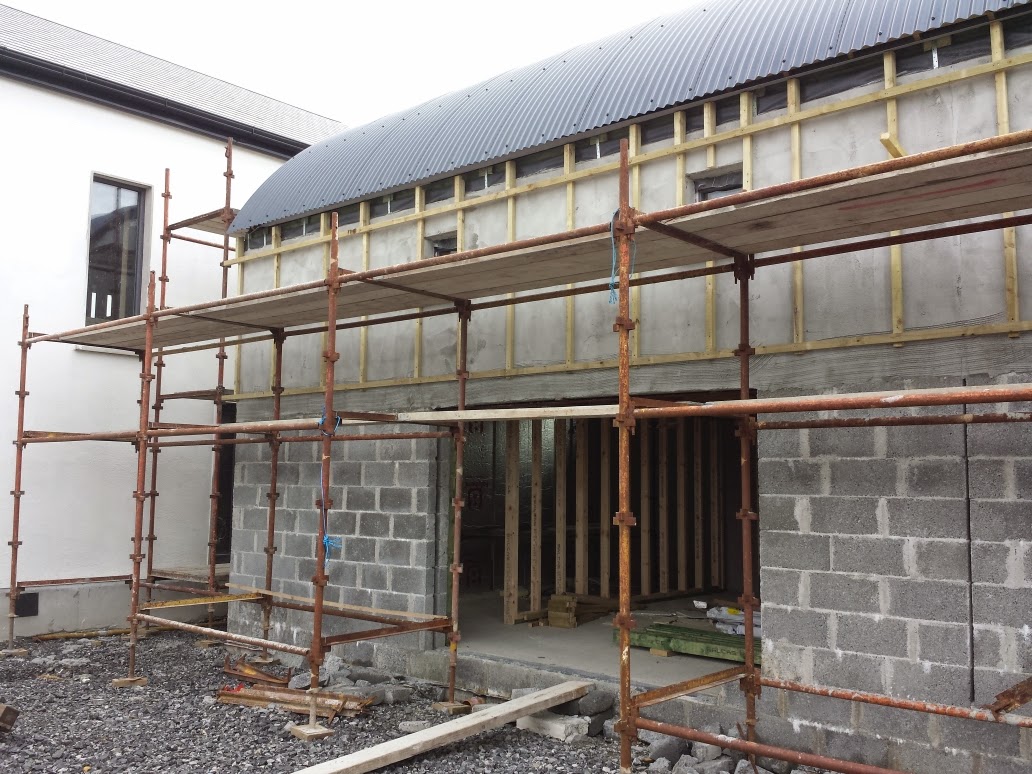
We started work on the link building, which will link the house to the garage. Also it will make it a lot easier to bring materials into the house.


The timber floor.

A double glazed door. To match the house window colours.


The porch roof.


The main roof.


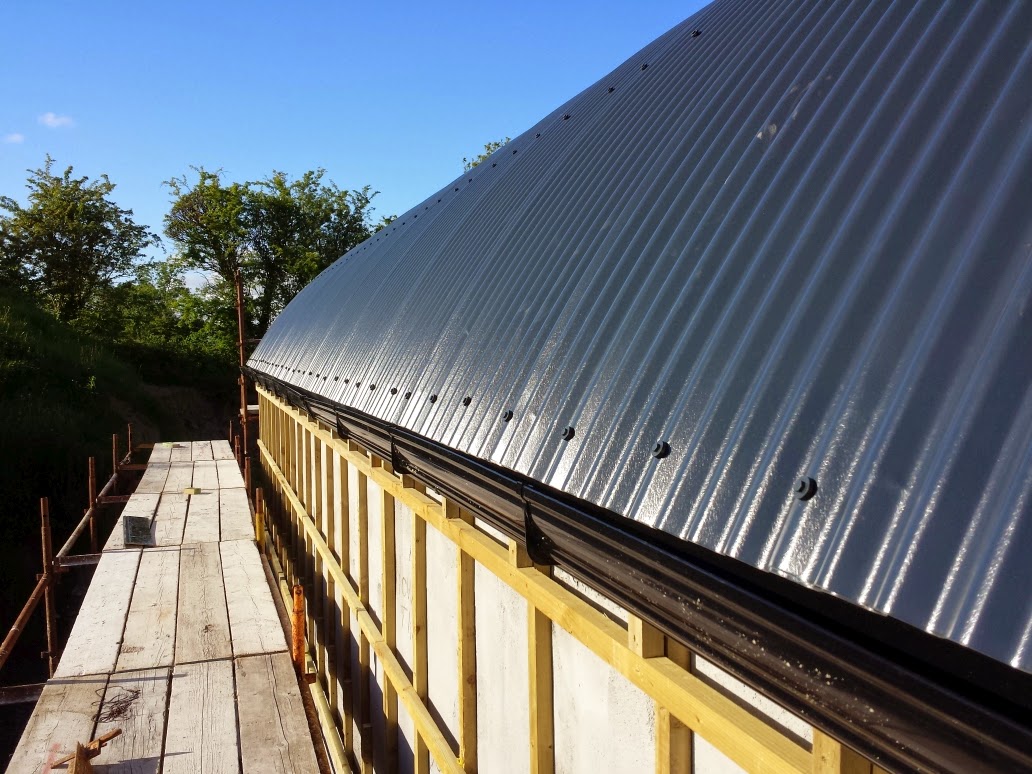
We had the a delivery from Gusclad who are also supplying the cladding for the garage wall and the insulated roof panels for the link building. Since we had the wall cladding on site we could measure and completed the battening out of the garage wall ready for the cladding. We also installed the rain water guttering.

Gusclad delivering the garage wall cladding and the insulated panels for the link building roof.


Wall battening done and guttering installed.


Installing the guttering.

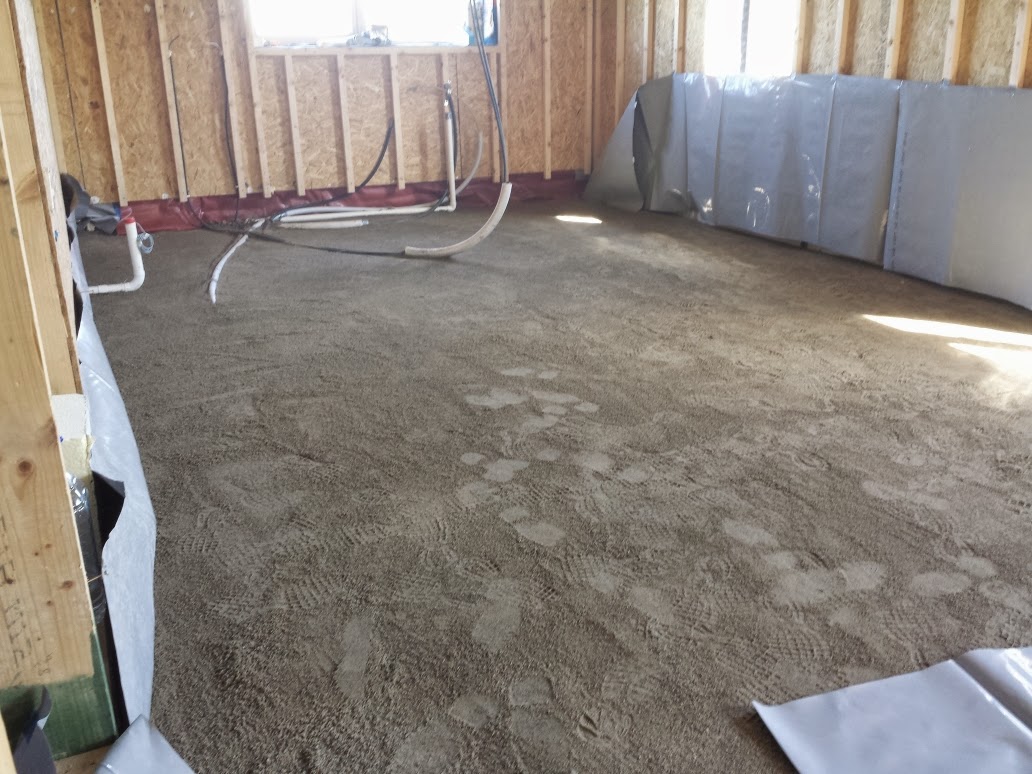
We than started on the next phase of the floor install. We added a 50mm layer of sand on the floor this was accurately levelled and compacted.

My friend Shabbs came over from London to give us a hand. The following few days were the hottest we have had in many years. Some days the temperature reached into the 30*C.


All hands on deck to bring in the sand.


Sand levelled and compacted.

After the sand came 200mm of insulation in two layers 150mm than 50mm than the air tight membrane. The membrane was taped to the wall membrane creating an air tight box inside the house. The taping of the membrane was at times a very fiddly and time consuming job.

We also installed a compressible edge strip insulation around the perimeter of the floor. This is to let the screed expand and contract due to temperature changes. This insulation strip must be compressible or the floor could crack.

The insulation was now in.


Membrane all taped


Ready for the screed with edge strip insulation installed.

The screed was the next big part of the house built. Due to its specialist nature a company, which has been approved to lay the product, was used to lay the floor.

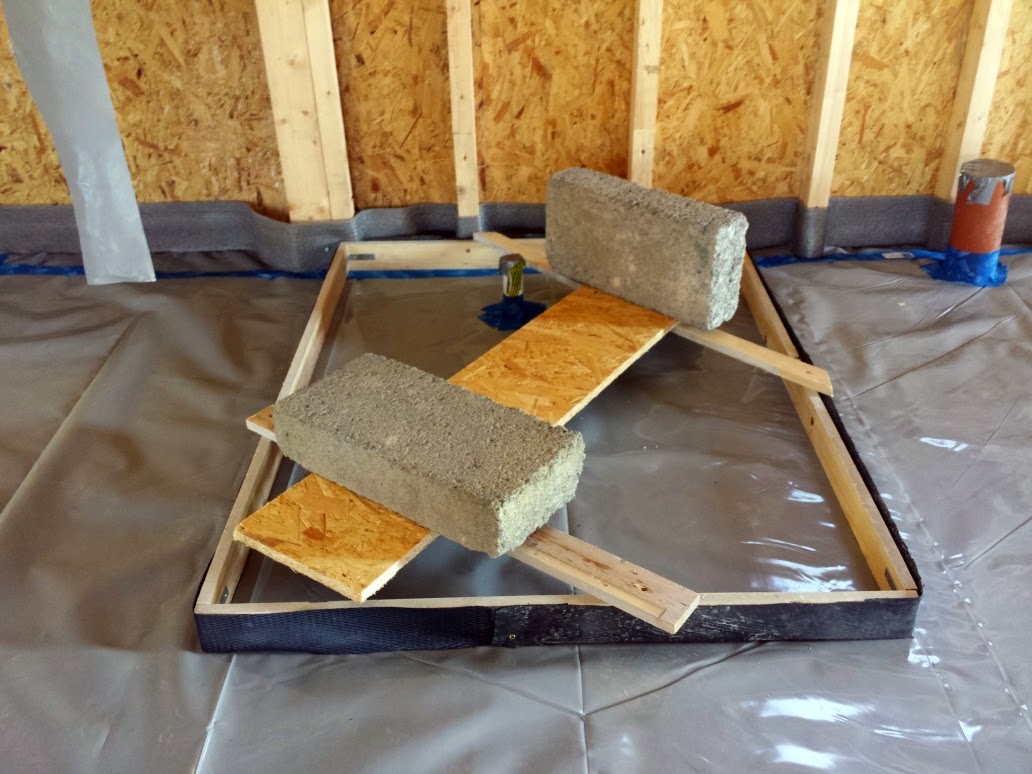
There are area's that is not suitable for this type of screed, around shower trays, this was boxed out so the tiler could use a product to fill in this area before he laid his tiles.

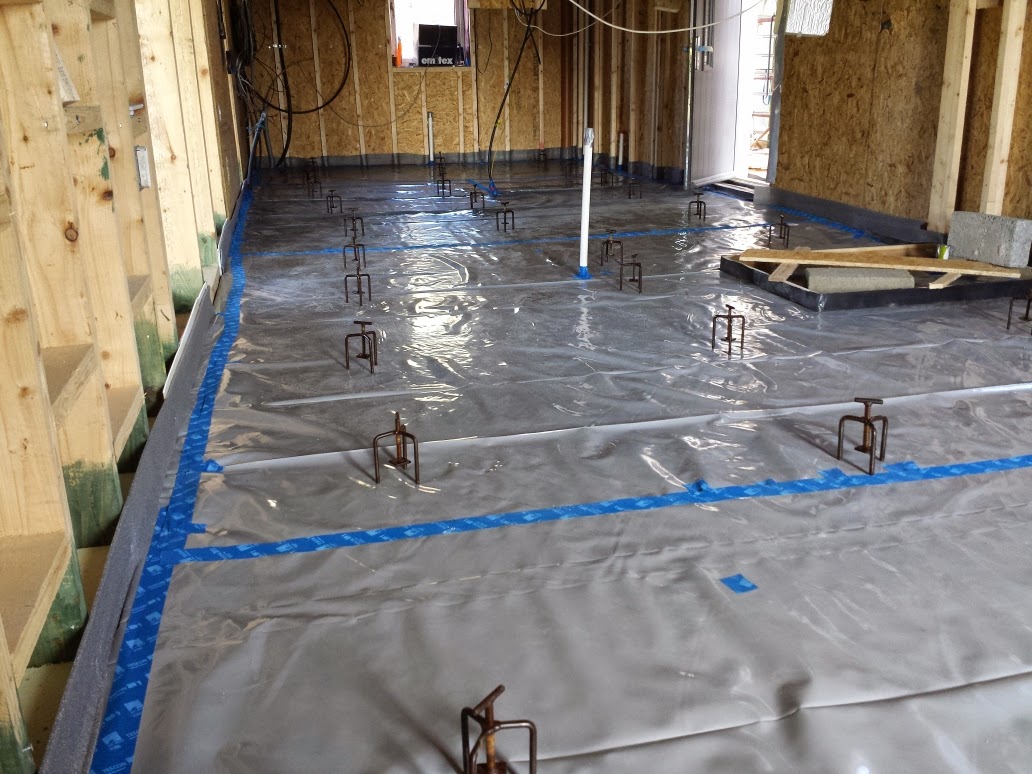
The floor company first came in and put down some gauges to work out the actual depth of screed. The gauges were all laser levelled to get a very level floor.


Making sure the floor is clean before the screed is laid.


Boxing out around the shower tray.


The gauges are put on the floor and adjusted using a laser level.


Same done on the north side of the house.


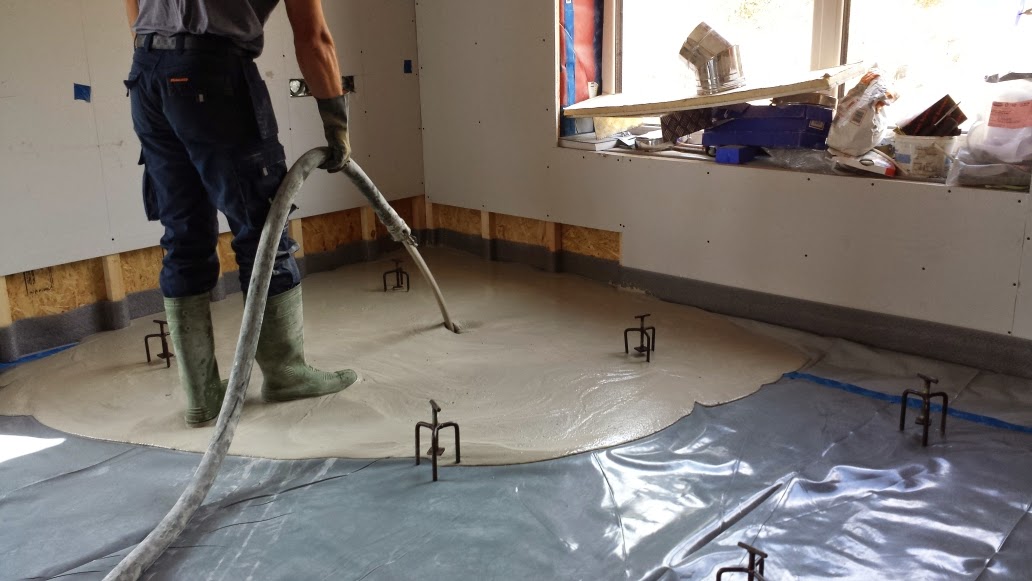
A small 75mm hose is used to bring the screed into the house from the pump.


A small pump is used to pump the screed into the house.


The screed is tested for workability and it flows into the pump. 


The screed is poured in to the corners first than into the rest of the room.


Due to the way the gauges were adjusted soon as the screed reached the bottom plate it was level.


The process is very quick.


South side of the room done now the north side.


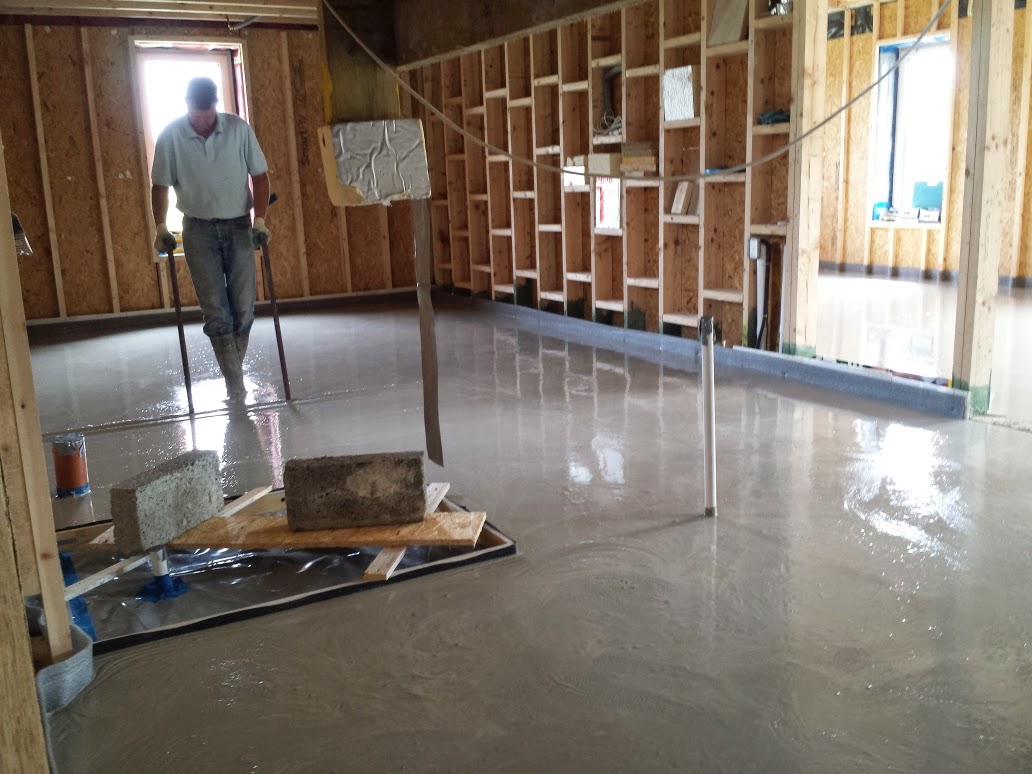
The screed is "dappled" to remove any trapped air. They use a special dappling tool.


After the dappling.


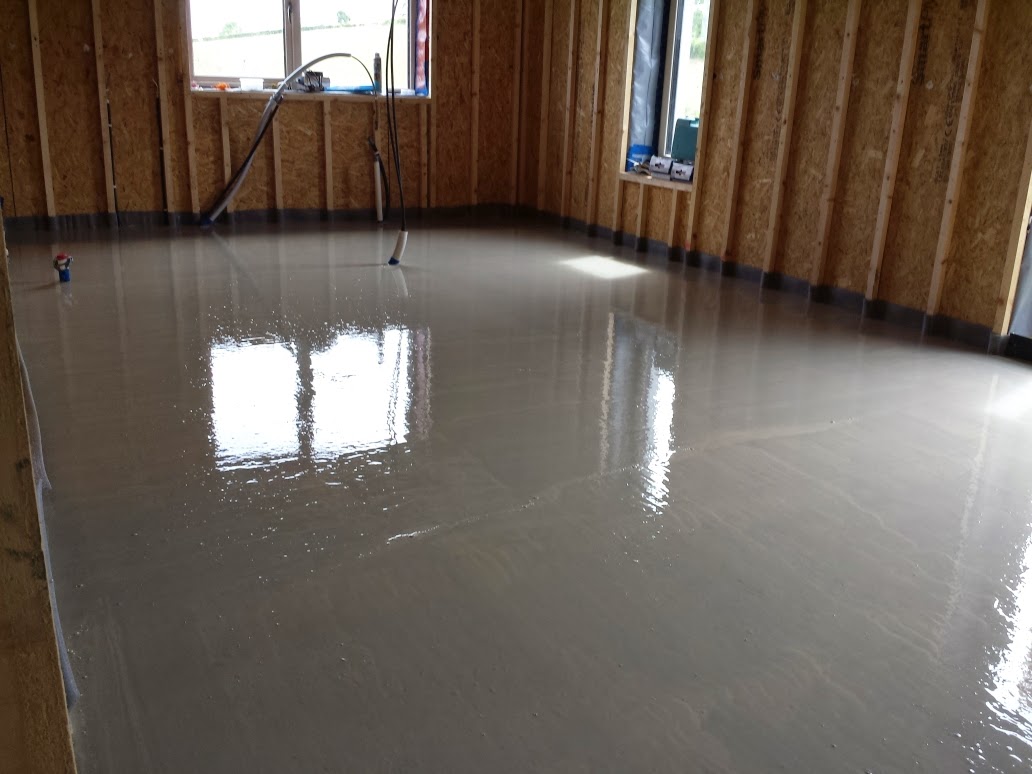
All the screeding is finished.


The north side being dappled.


The floor after 24 hours.

The two men laid a 110m2 floor in 45 mins. This was from when the concrete lorry arrived to when it left.

Conventional sand/cement screed would have taken a lot longer and would not have been so accurate. Plus you could not walk on it for several days. This screed could be walked on within 24 to 48 hours.

My daughter walking on the floor 48 hours later. Amazing.


A close-up of the gauge. The bar can be screwed up or down depending on the levels. When the screed touches the bottom plate you know its level. Simple.

The area around the shower tray this will be filled in by the tilier and tiled.
July 2015

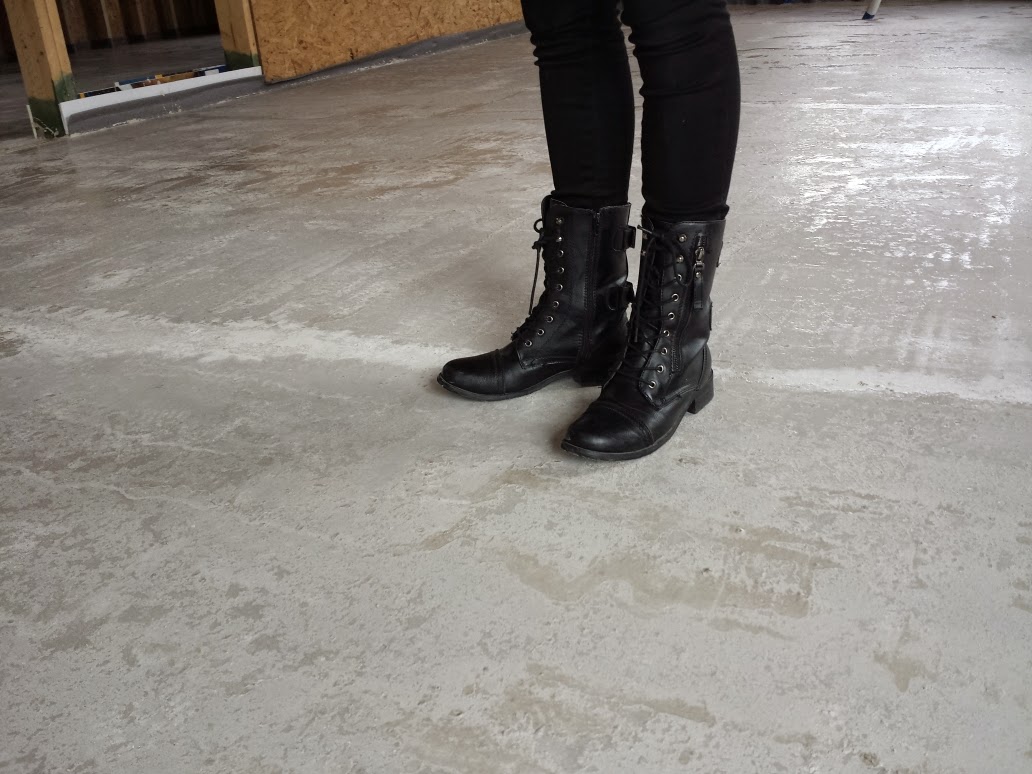
The floor screed, after a few days, needs to be sanded with a rotary sander using a 60 grit sand paper. The sanding is to remove the latents which come to the surface. The dust is then vacuumed off.
The sand paper is actually a plastic pad which looks a large scotch pad used to clean saucepans and normally green.

The rotary sander in action.


The sander plate.


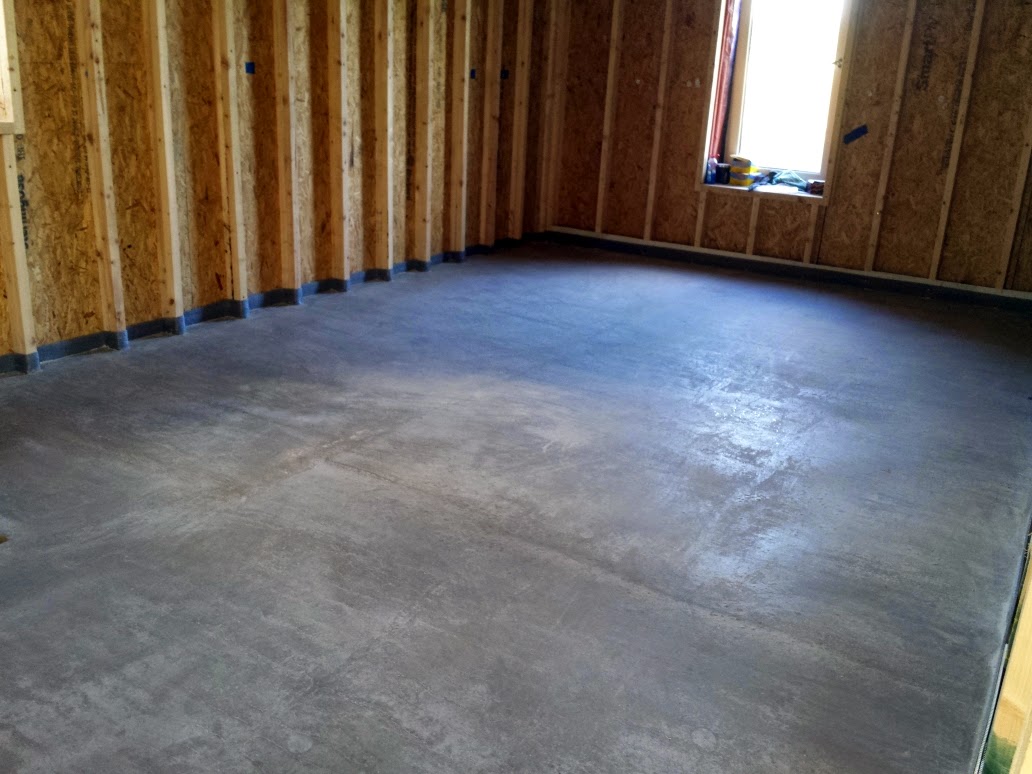
After sanding and vacuuming.
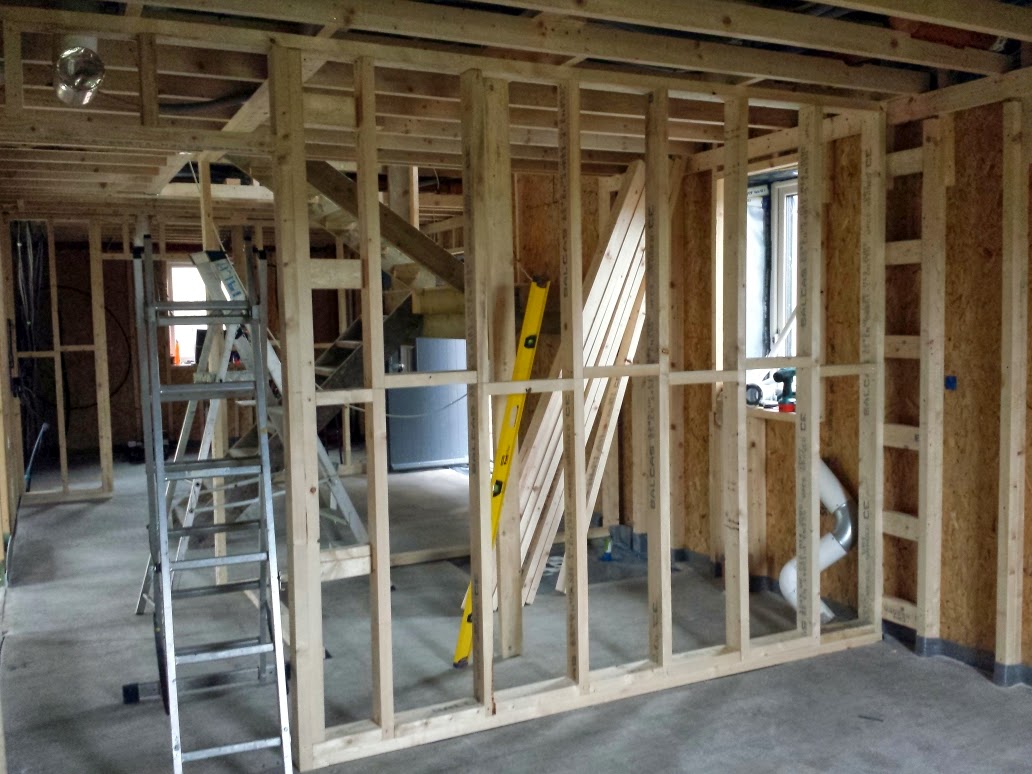
  We than started putting in the ground floor north side stud work for the utility room, downstairs wet room and the home cinema.

View from the home cinema to the bathroom and utility.

The men also arrived to fit the garage doors. They are made by Hormann and are both electrically operated. The doors have a lot of insulation in them so when they are down they should keep a lot of heat in. 

The men who fitted them arrived on site at 5.30am and left at 6.00pm.

Fitting the first track.
Adjusting the track.
Both doors fitted and configured to both work independently on the same remote.

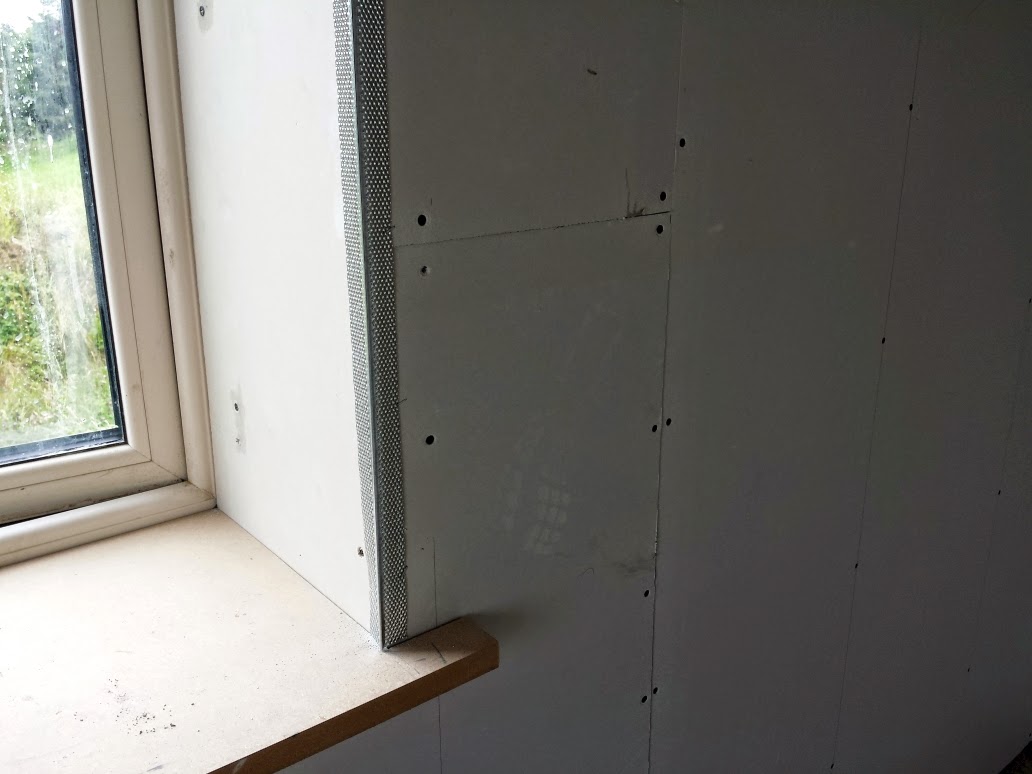
We fitted 25mm waterproof MDF window boards to all the windows. This is in readiness for the plasterer who will plaster up to them.


Window in our bedroom before the board was fitted.

After the board was fitted. The plasterer will plaster down to the board on the sides.

We also made up and fitted all the door frames so the plasterer could plaster up to them when starts to plaster the walls.

Primed and ready 

The door frames fitted. We primed the frames with Dulux aluminium primer which is brilliant and goes on very easily.


Just before we fully finished all the plaster boarding we called in a specialist to carry out a air leakage test on the house. To make the house as energy efficient as possible the house must be as air tight as possible. 

Doing the test at this stage will tell us where there are any leaks in the house and we will be able to seal them.

The figure that I needed to make sure the heat recovery system is working at its utmost efficiency was 1.00 we got 0.997. So happy days. This figure should improve when we finish all the work in the house including the floors.

I will carry out a further test just before we move in and the house is completely ready.


The fan is a very sensitive bit of equipment and very expensive.


The fan is linked to the computer which works out the figures.

The electricians came back to do the second fix downstairs this meant we could finish all the plaster boarding downstairs as well.

 
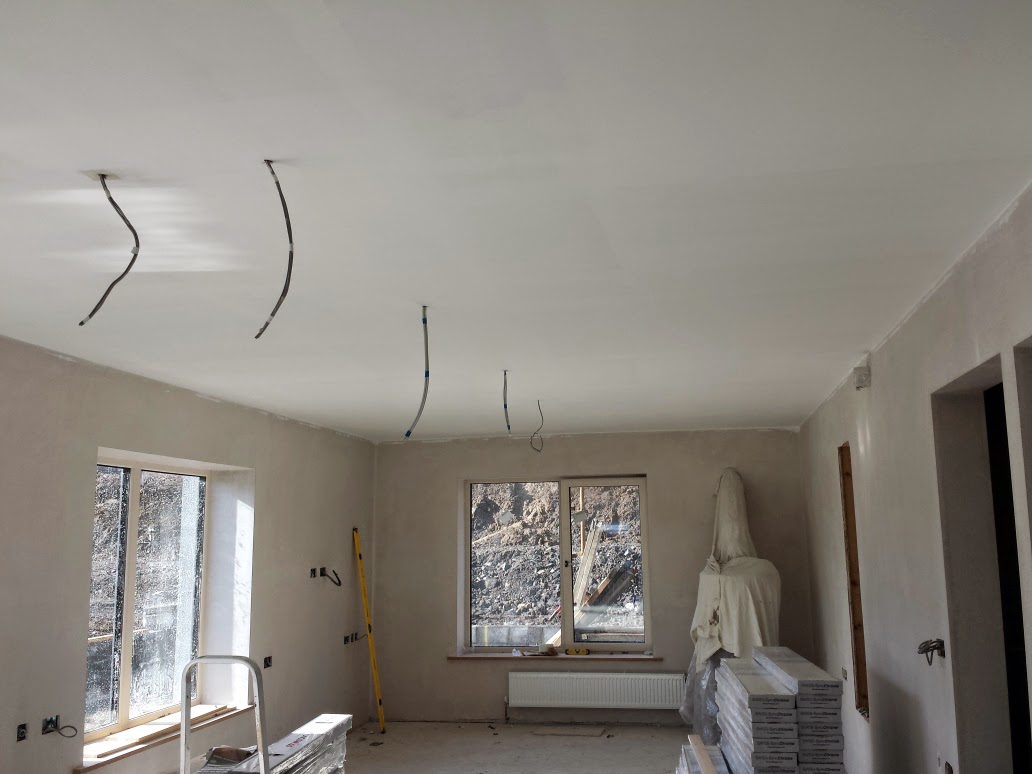
Wires for the lights above the dinning table.


Home cinema sockets and the backs of the kitchen sockets

Data cables coming into the utility room where the comms cabinet will be situated.


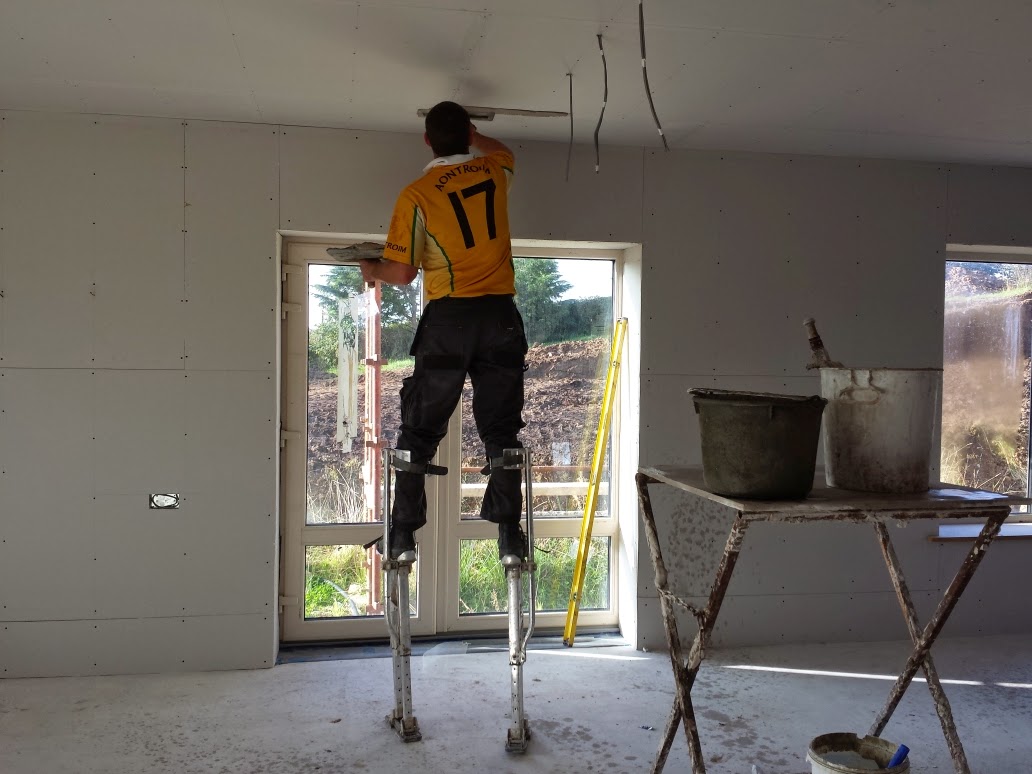
The plasterer started upstairs first. He installed the angle beads to all the window surrounds and any external corner walls. He than applied scrim tape and bonding to all the joints in the board. This is to make sure there is no cracking at the joints.

The angle beads around the windows

Scrim tape and bonding.

Using stilts to get to the ceiling.
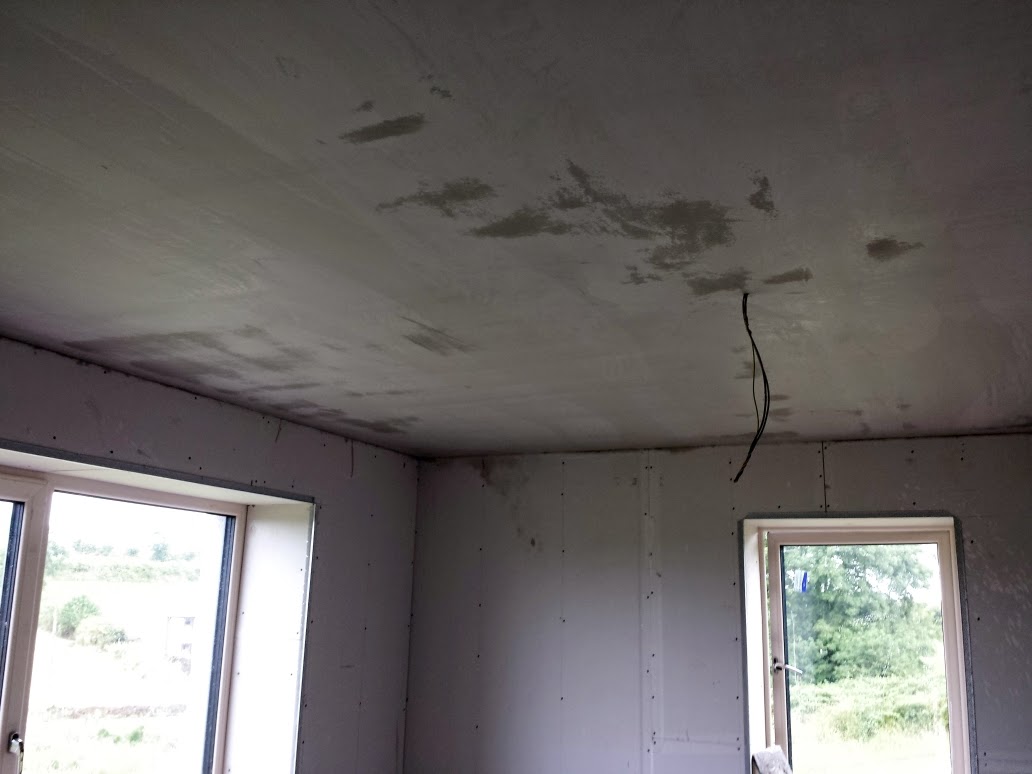
Our bedroom ceiling done.
 August 2014

During July and August all the plastering was completed upstairs

Our bedroom looking towards the walk-in wardrobe and en-suite.


The plaster boarding was started downstairs. This was all completed ready to be plastered.

All the ceiling were completed.

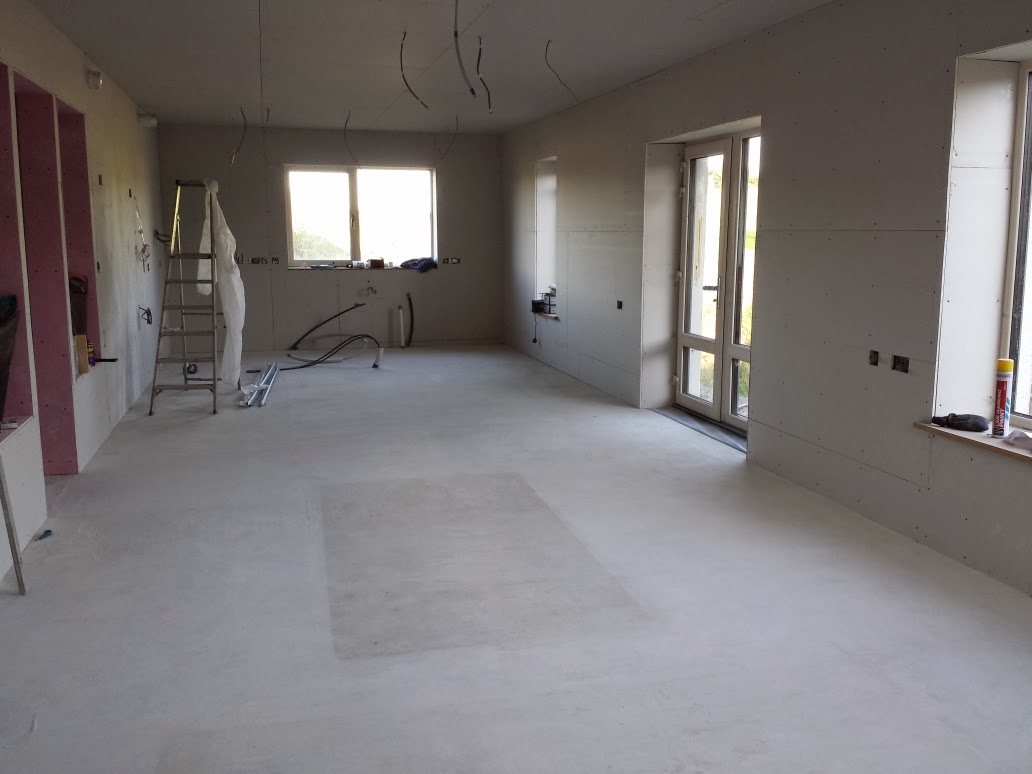
The kitchen end of the open plan room.


This whole room will remain open plan.

 
The hall with stairs removed.


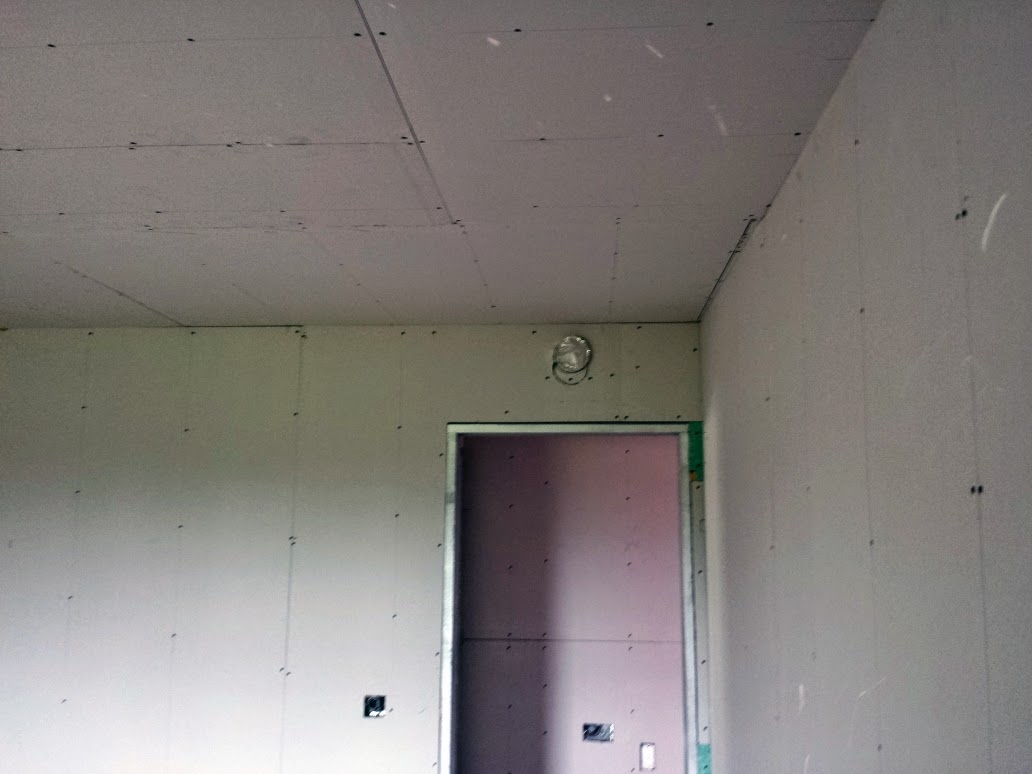
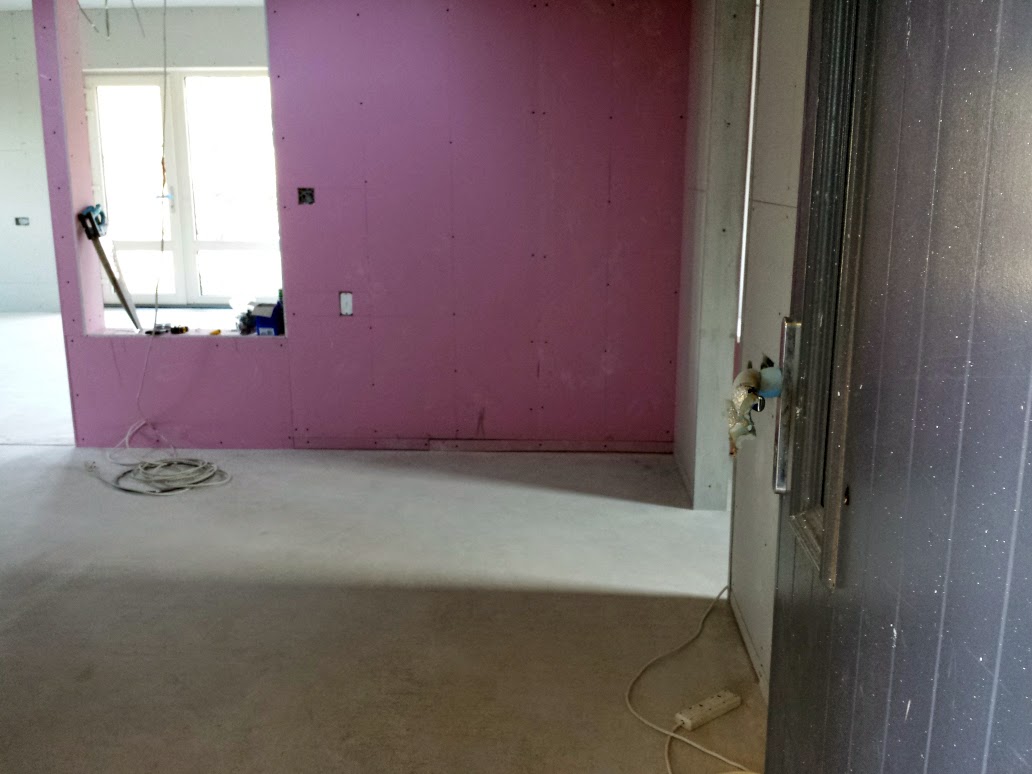
Looking from the main entrance door. Note the red plaster board this is fire proof plaster board which was used for the whole of the main spine wall downstairs and the upstairs landing spine wall. It gives a 30min fire resistance.

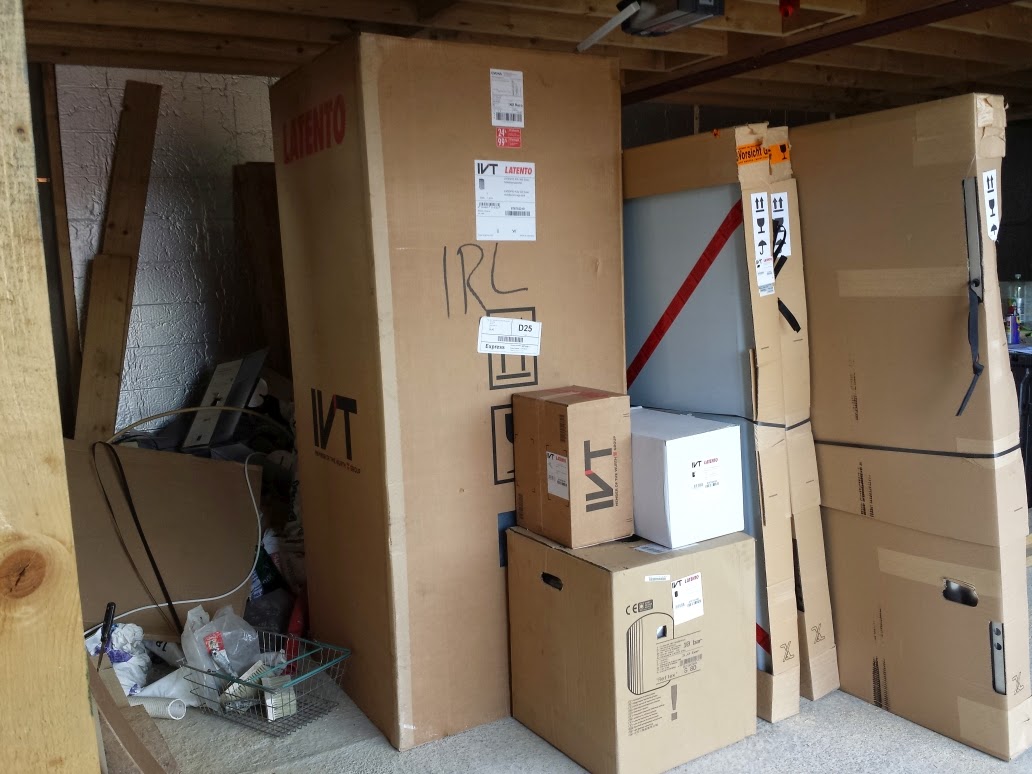
The materials for the heating system including the solar panels, hot water tank and stove all arrived from Germany.

All arrived from Germany
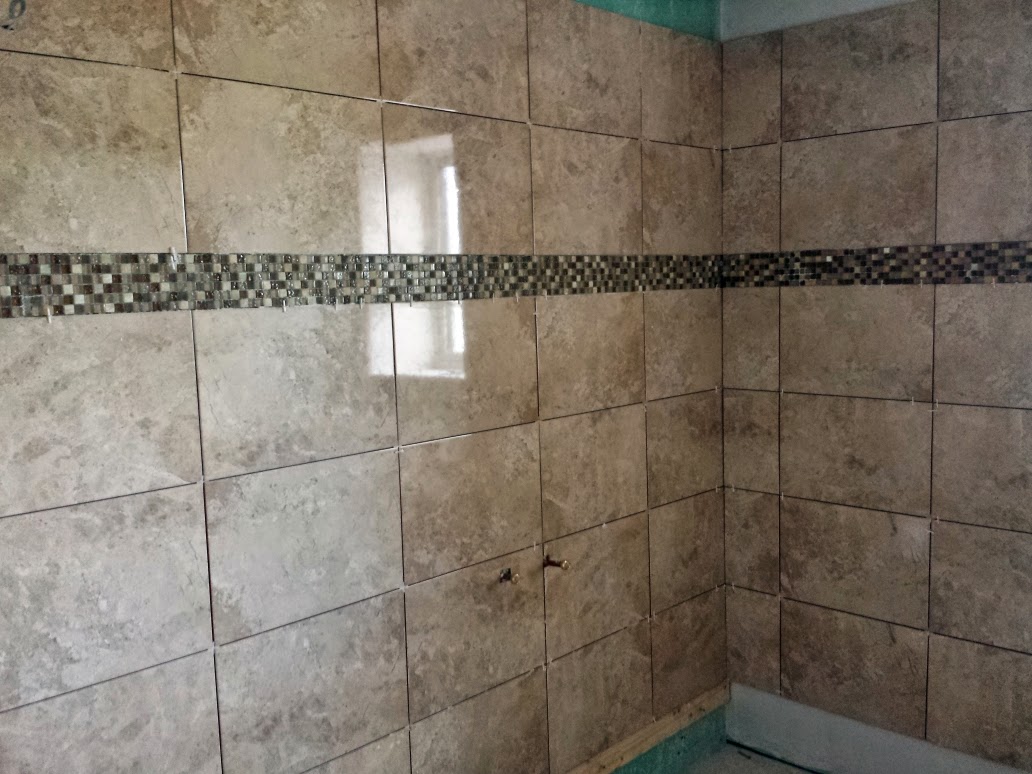
 The wall tiling for the en-suites and main bathroom were started.


Main bathroom tiles.


Plastering downstairs was started. The plasterer started with the ceilings first.


The home cinema room.
September 2014

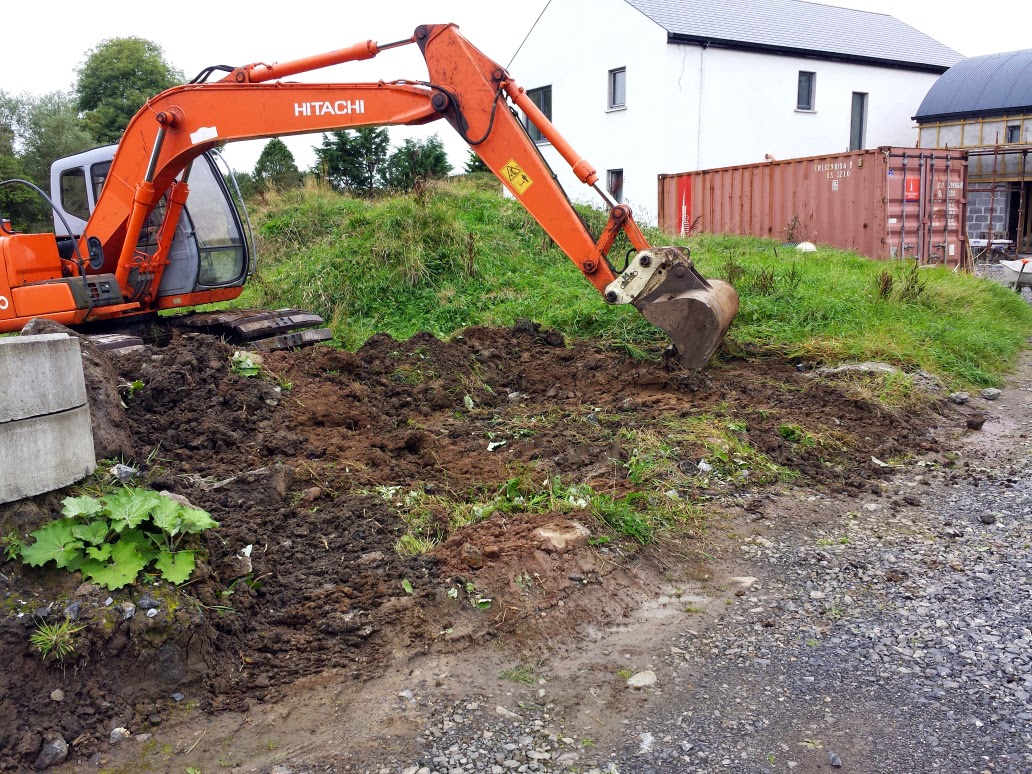
We began September by bringing in the 12 Tonne 360* excavator and two dumpers a 6 Tonne and a 9 Tonne. These
will be used to start the major job of landscaping around the house.
We will be creating a large pond in front of the house, a large flat area which will be laid to lawn and will accessed from the decking and terracing to the back of the house.
The terracing will be made into different types of gardens. The terracing will accessed from timber steps leading from the house to the different gardens.
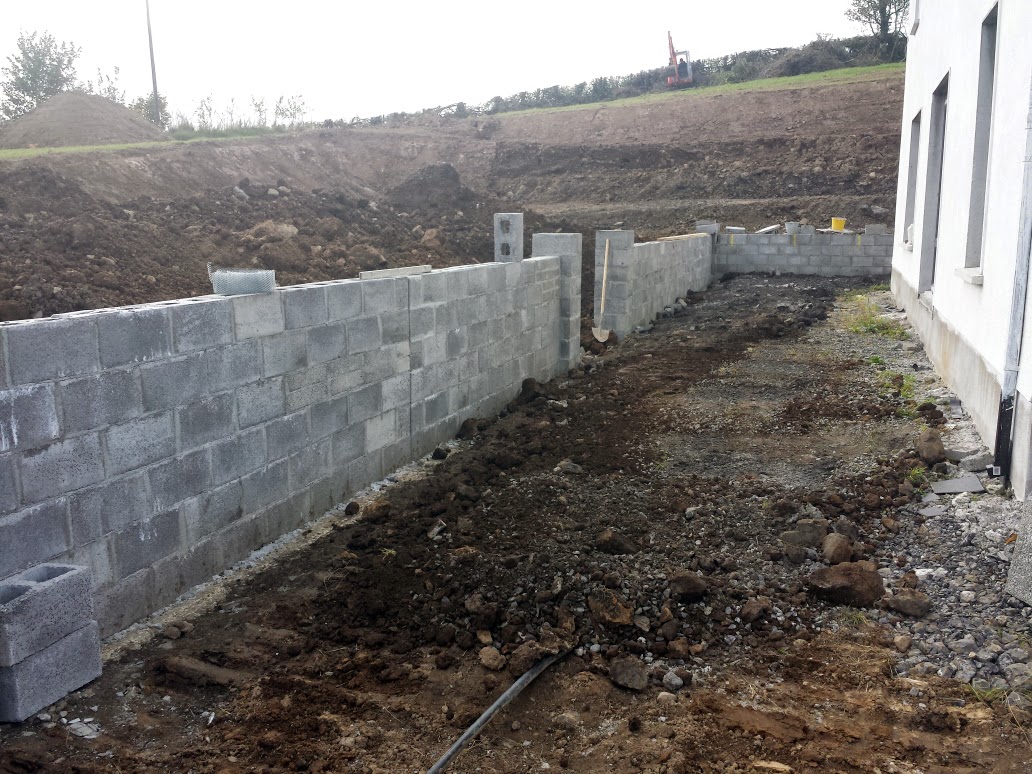
We have had to build a retaining wall and built boundary walls on the two other sides of the house. All the walls are 4m away from the house.

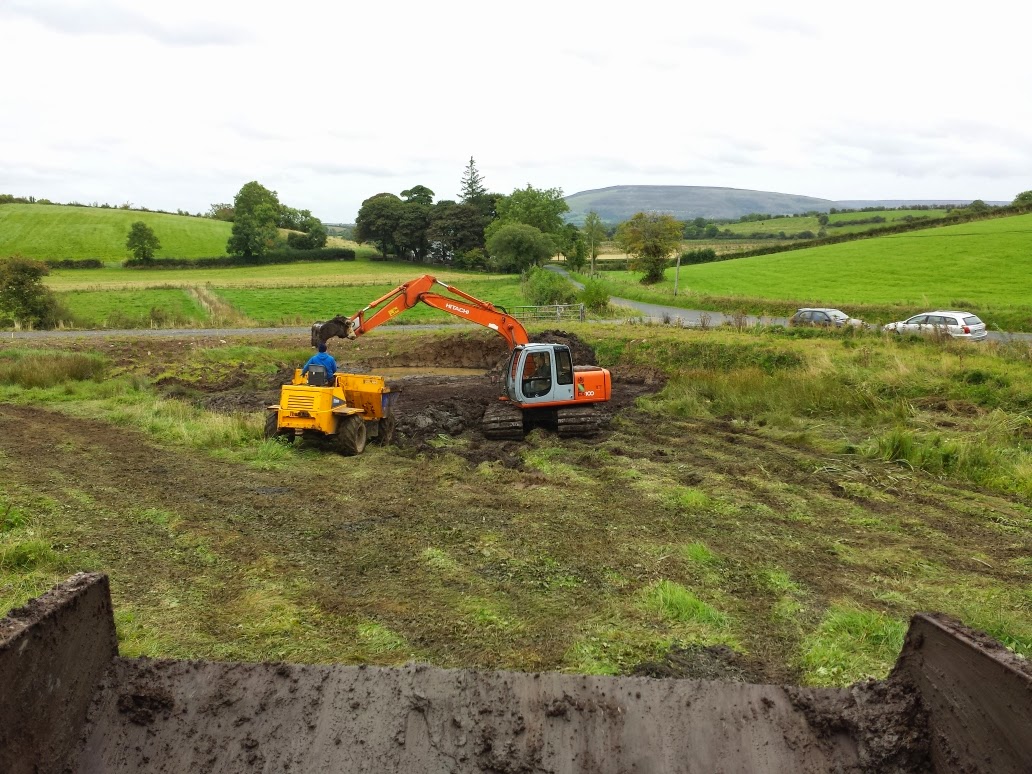
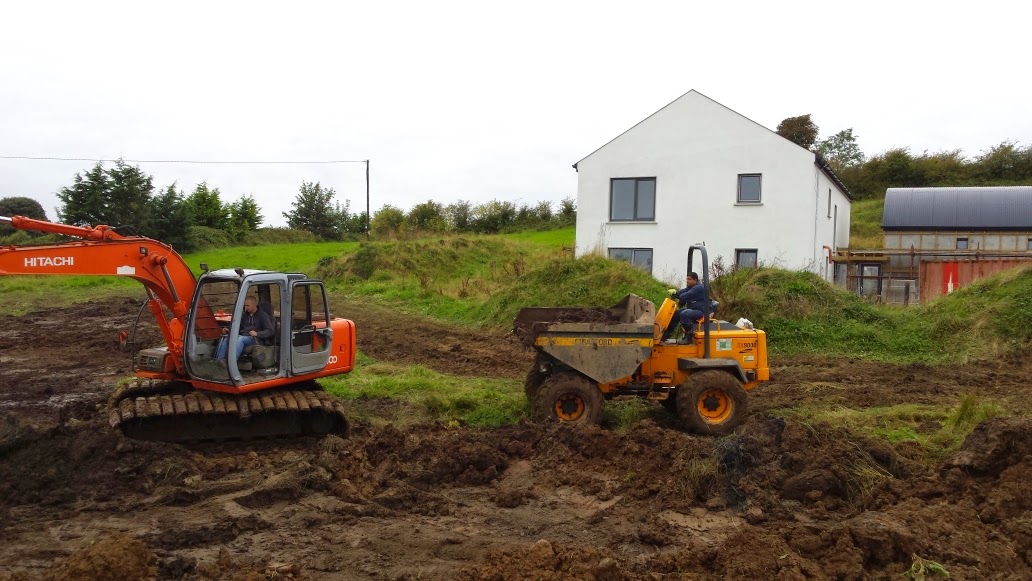
The excavator started by creating a way to the pond. 

Watching the 6 Tonne getting filled.

My turn.


Lots of loads to go.

Big Boys Toys!!!


Getting there.


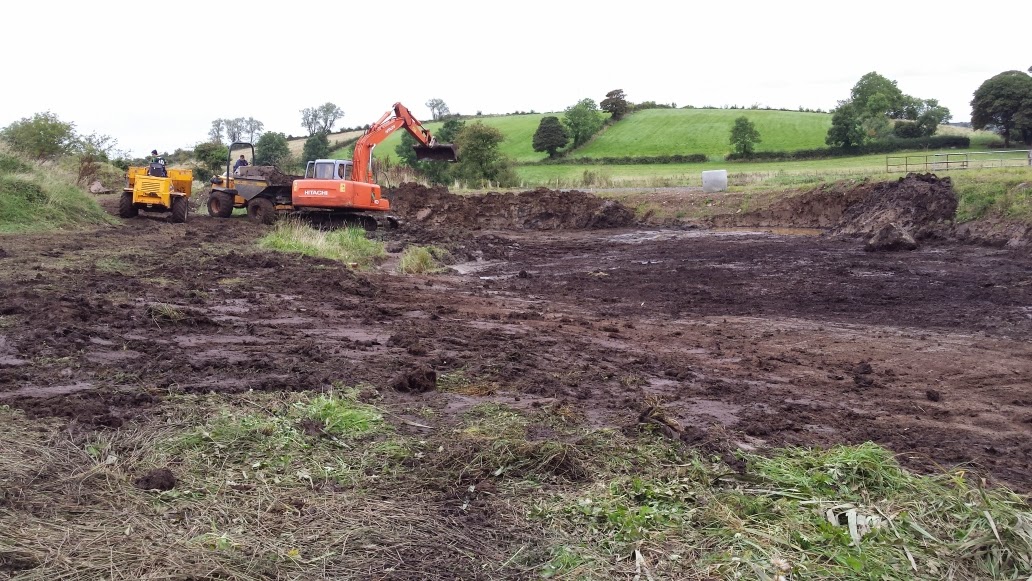
Shaping up the sides.


All finished. The mound in the middle is top soil which we will use later as a top dressing. We have added an outlet so the pond doesn't get too deep.
The flat area on the south side which will be laid to lawn.


We began terracing the west side of the house.


Most of the terraces were formed but needed to be shaped up.

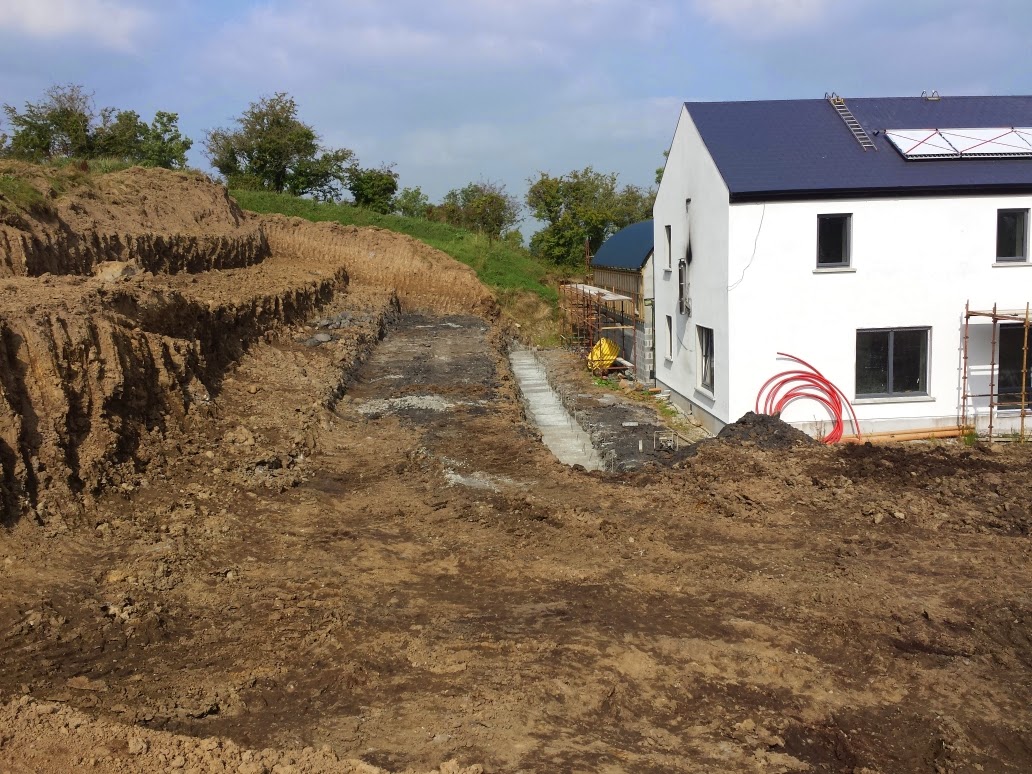
A view of the terracing and concrete foundation for the retaining wall.


Marking out for the retaining wall foundations.


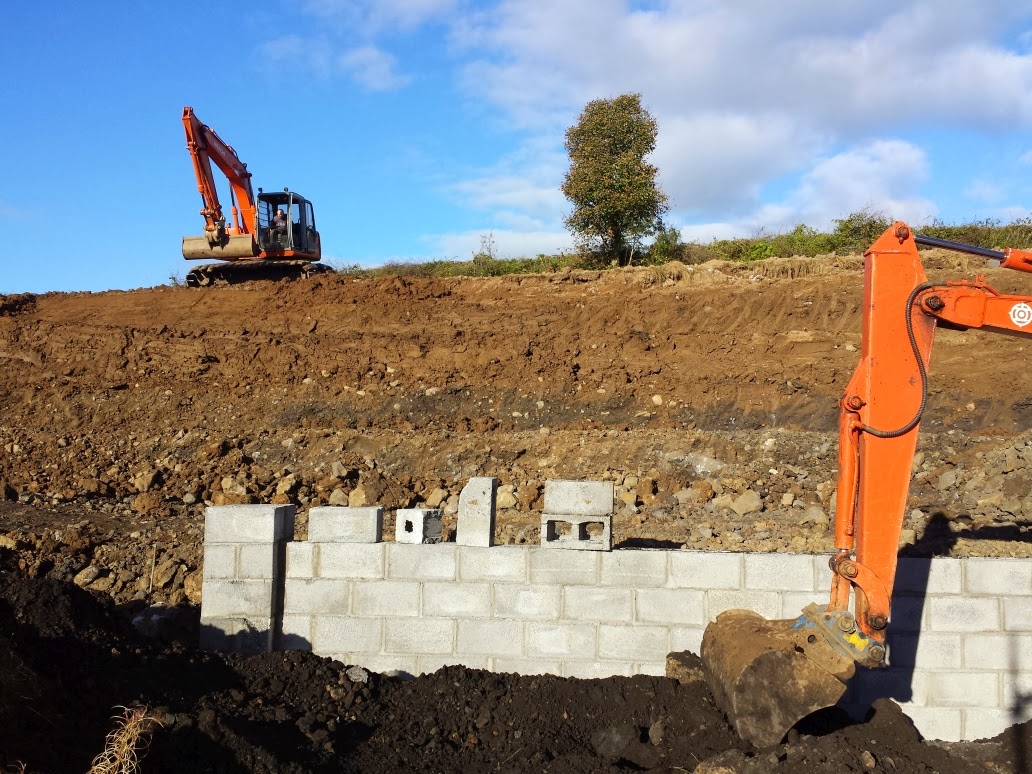
Digging out the foundations using a 3 Tonne mini digger.
 

Steel bars used to tie in the foundation to the wall.

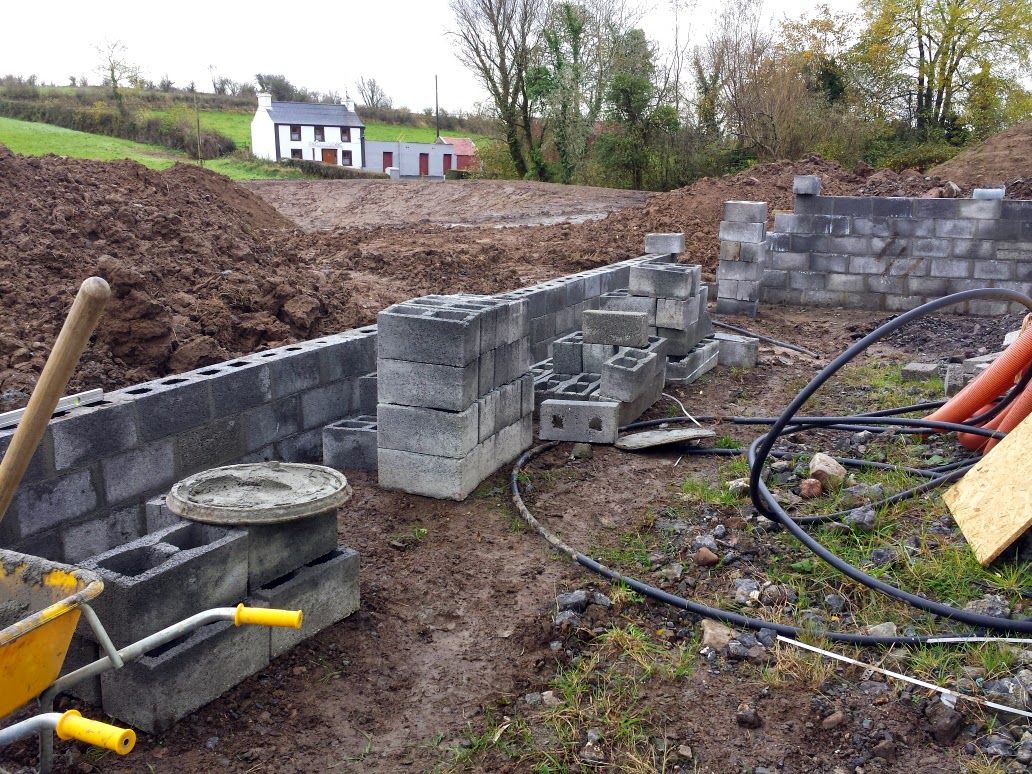
We will be using cavity blocks. The cavities will be filled with concrete.


We used concrete for the front wall foundations.


Both machines working on site. A lovely blue sky!!


Digging the foundations for the boundary walls. The retaining wall in the background now finished

Concrete foundations for the boundary walls.


Boundary walls coming along. Need another load of cavity blocks.


Just in time. Now we have enough. A few were dropped here the rest went for the boundry walls.
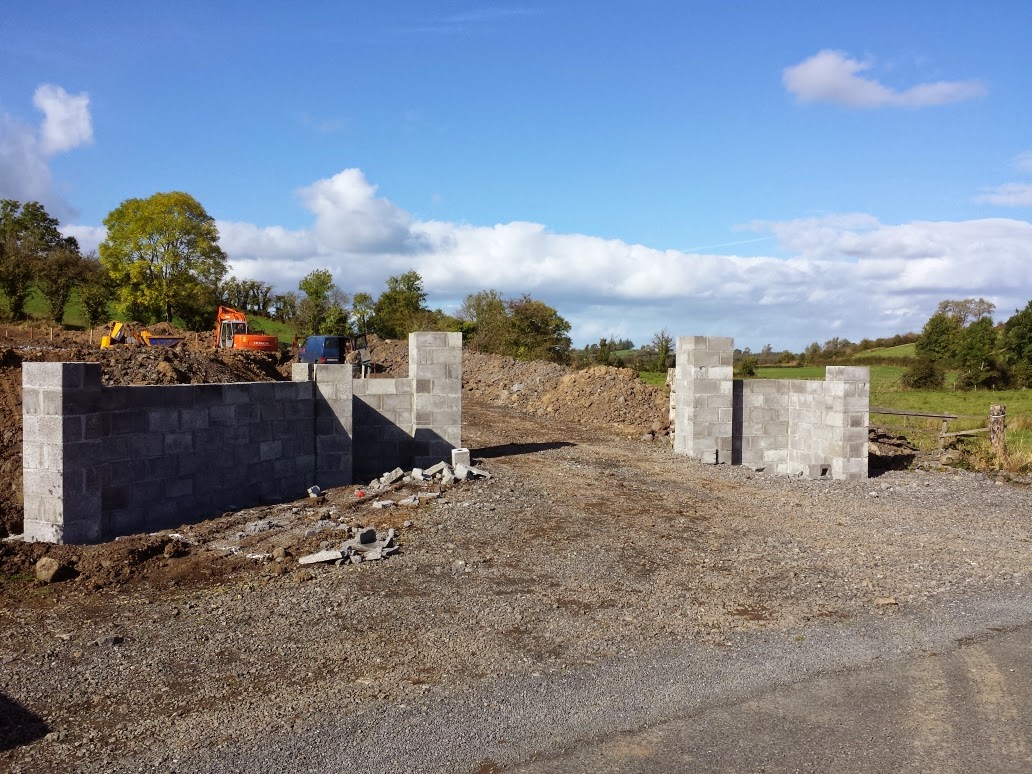
Front entrance way walls finished. The extra blocks were taken for the boundary walls.


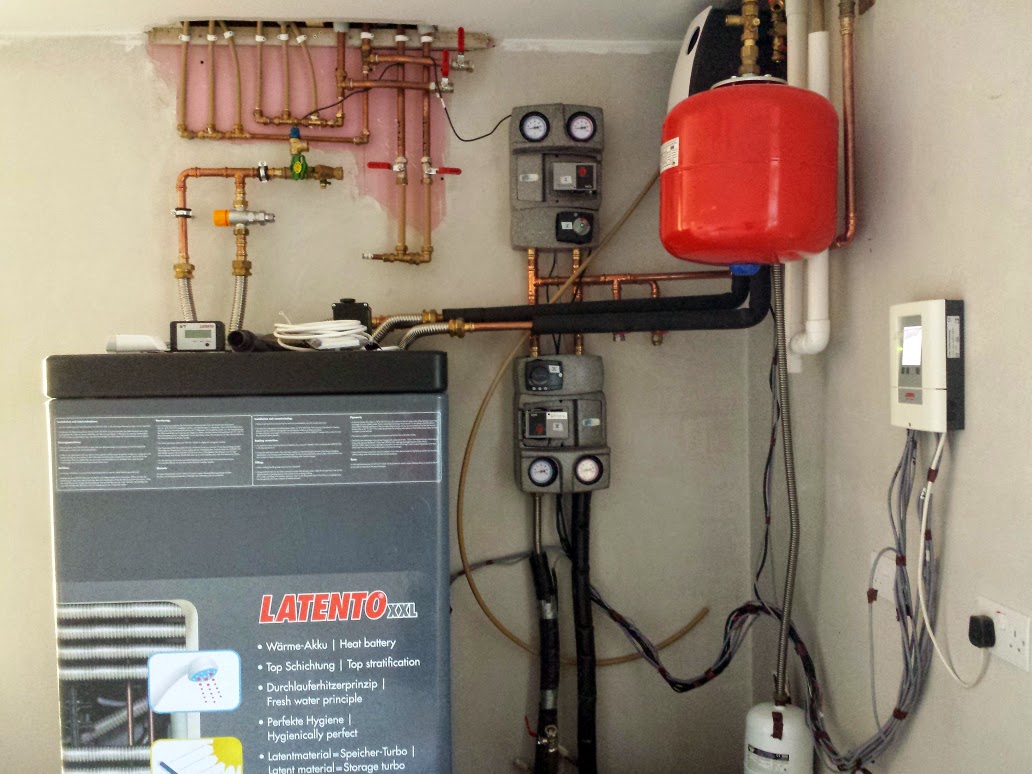
During September the German heating engineer came to first fix the solar panels, wood burning stove, hot water tank and pumps for the heating and hot water system.
The "Heat Battery" hot water tank and one of the three pumps we will be installing.


The Oldsberg Tolima Aqua Compact Wood Burning Stove.


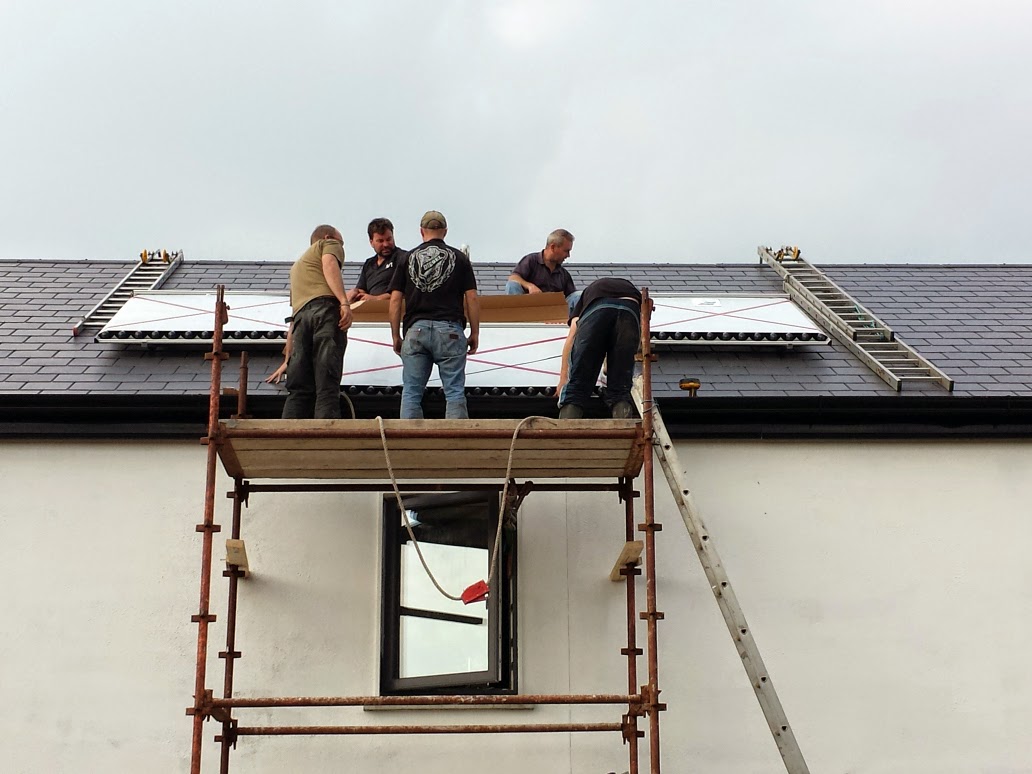
The tubes in three panels equal 6m2 of solar panels.


The plasterer started plastering the downstairs open plan room. He as always done the ceilings first than the walls. All the house plaster was completed by mid September.


He plastered all the joints first with scrim tape and bonding.

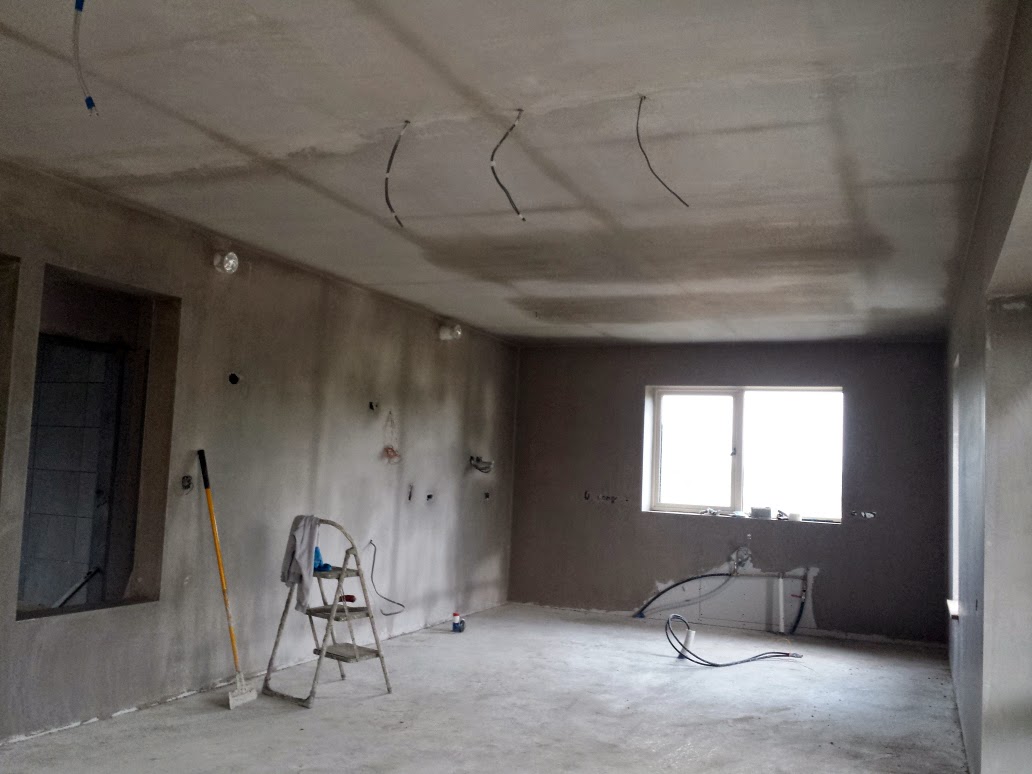
Open plan room ceiling completed.

Walls also finished.


During September all the tiling for the downstairs wet room, main bathroom upstairs, small and our en-suite was completed. We also laid a waterproof laminate flooring for the upstairs bathrooms and ceramic floor tiles for the downstairs wet room.


Downstairs wet room. 


Main bathroom upstairs

Our en-suite.
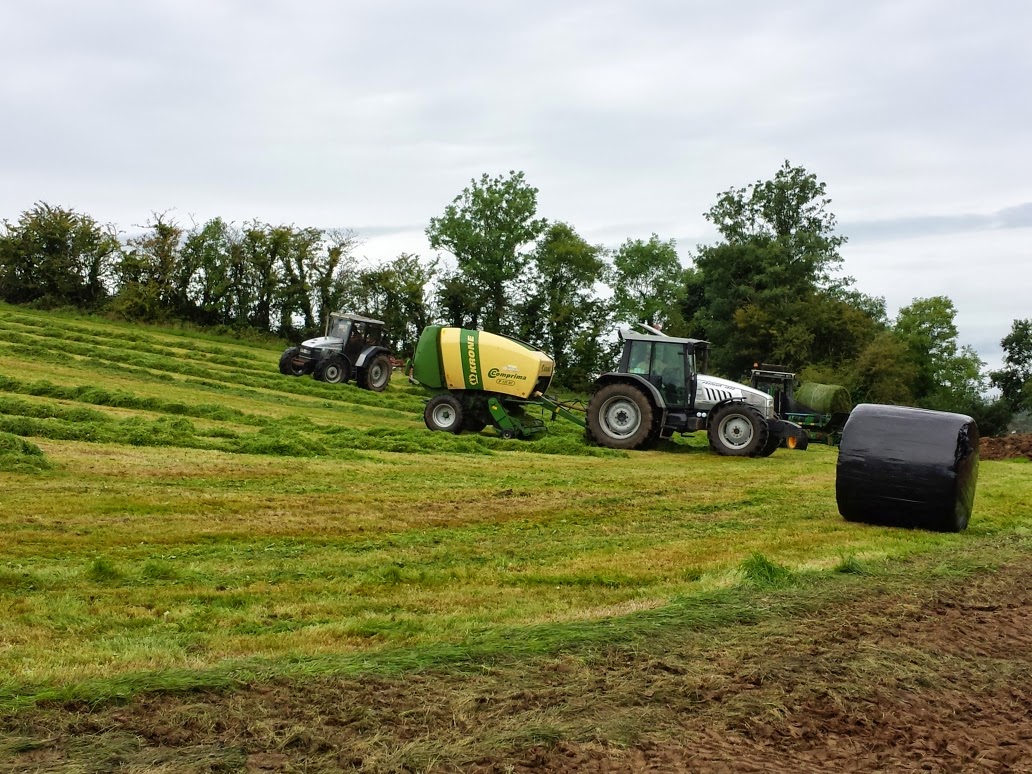
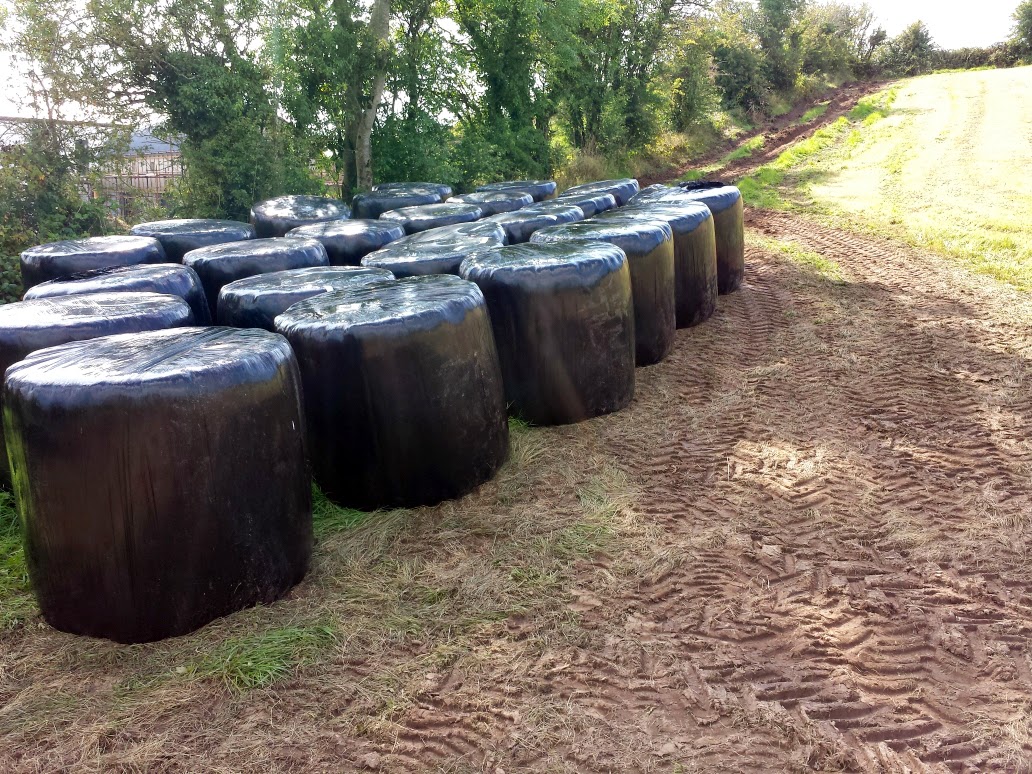
Also in September the field had bales taken from it. We were able to get 17 bales from the field. Due to the great summer we might get a second cut from this field.


The baler and plastic wrapper in the back ground.


The bales all wrapped up.


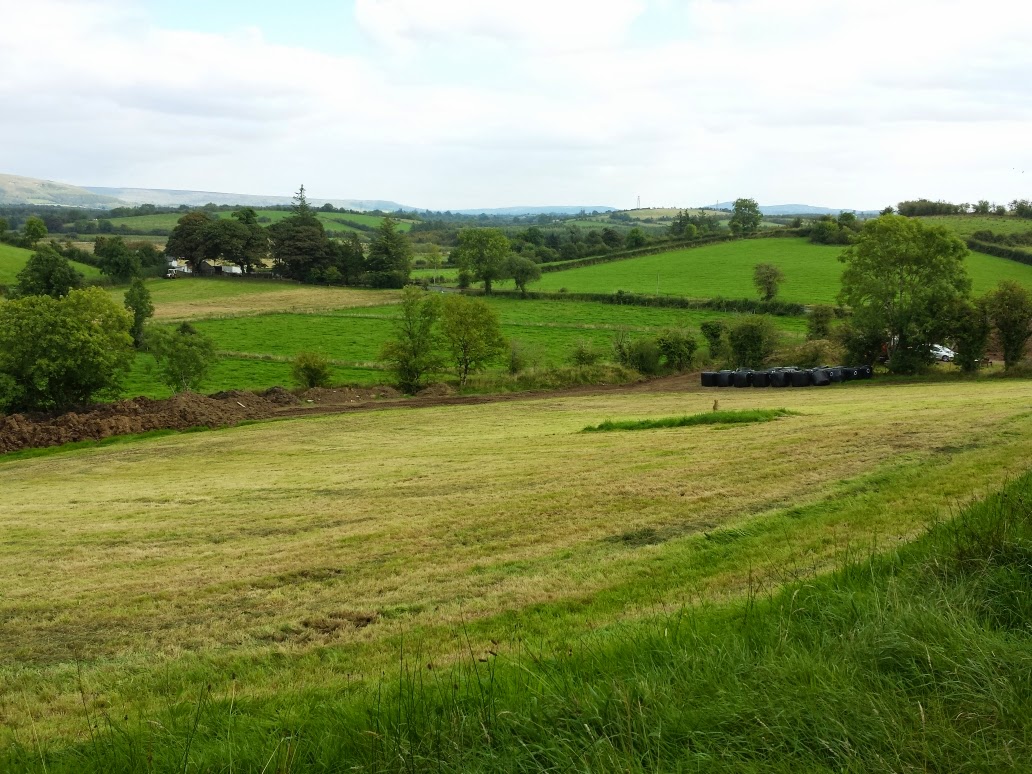
The field after the bales have been taken. The green part in the middle is a large rock which I will remove because is could cause major damage to any farm machinery that comes into contact with it.


October 2015

Since we had the excavator on site we removed the rock from the middle of the big field. It turned out to be a much bigger rock than we first thought

The rock found in the field.

We completed the front entrance wall and the house boundary wall during this month.

Front wall finished.

The boundary wall leading to the lawned area form the side where the decking will go.

The eastern boundary wall.
 
We started the painting in the house. All the ceilings were fully painted and finished and some walls received a bit of colour. 
We also started laying the laminate flooring upstairs this will also be laid throughout the house. The laminate flooring is all manufactured by Quickstep. We are just using different colours, sizes and finishes..
All the doors, skirting and architrave has also been purchased and is on site.


All the flooring for the whole house is on site. Also the door, skirting and architrave.

All ceiling painted and most of the wall have had their first coat.

Flooring started in our room first.


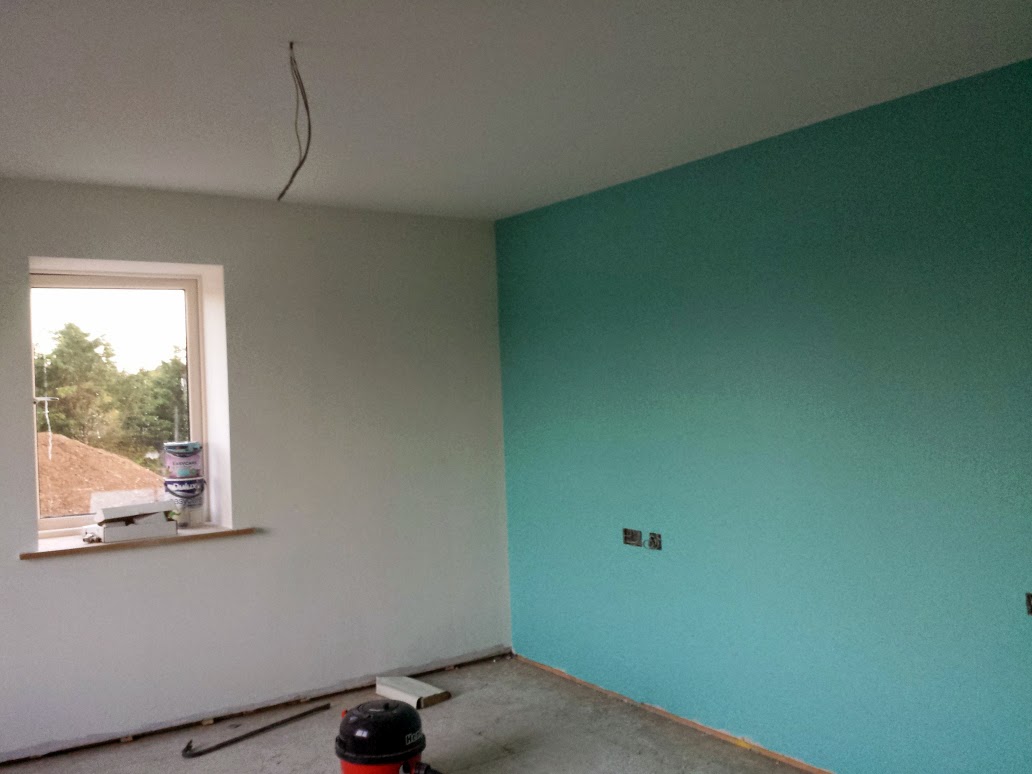
A bit of colour on the walls.
We carried on with the insulated panel roof for the link building. The panels had 100mm of PIR insulation on them and were made of steel with a heavy duty PVC coating and are very durable.


The roof panels going on.


Back of the link building. We will be putting a door of some sort into this side.


The heating engineer came back to commission the solar panels and hot water tank. The panels can now heat up the water in the tank.


All the panels working.

View from the top of the house.
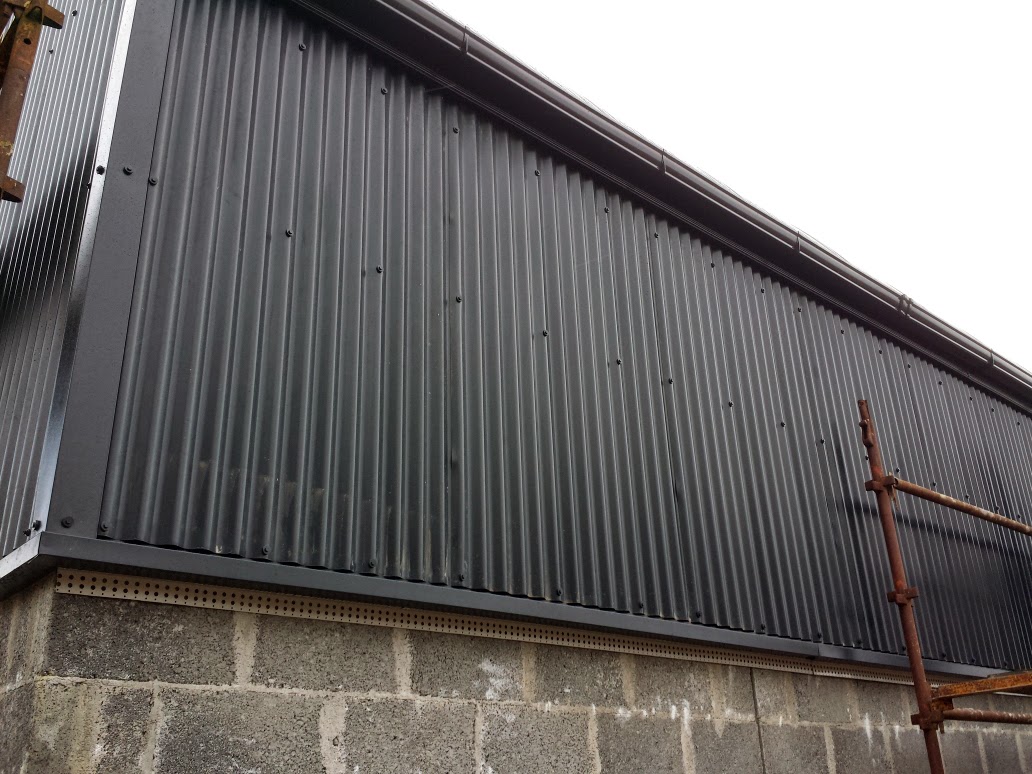
The corrugated cladding for the house was completed. Only the side nearest the house needs to be done.


Cladding done on the west side of the garage.

We will the rendering on the walls next.

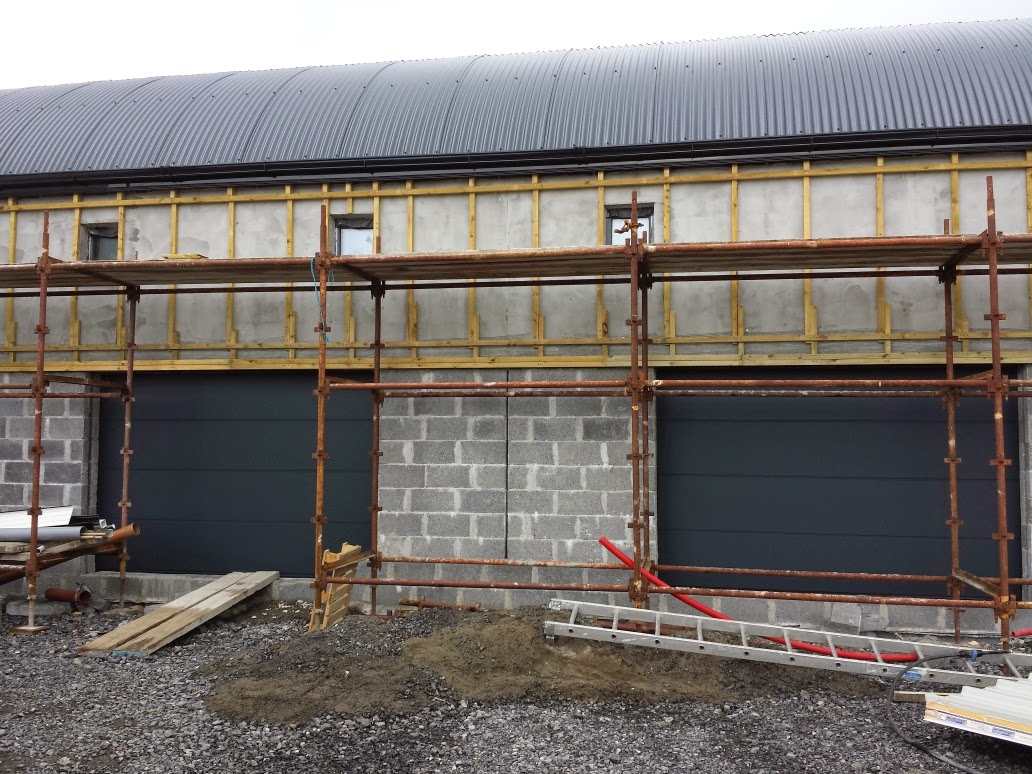
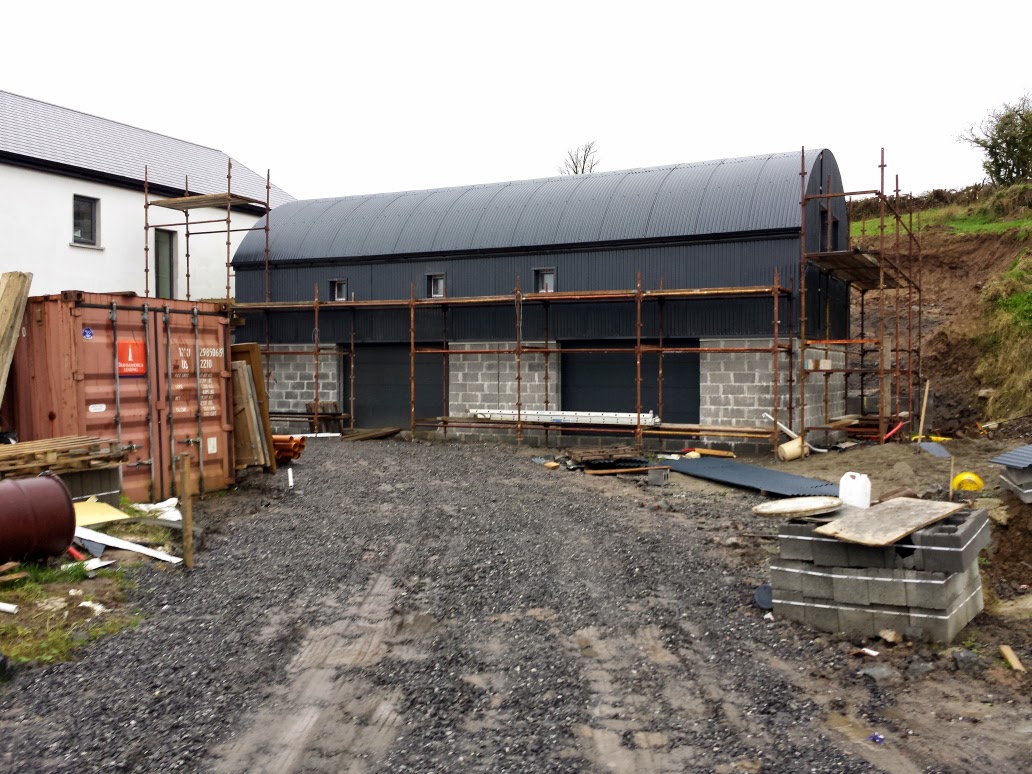
The front side of the garage.


Garage almost done only one side left to do.


We also had the water meter fitted. We also tided up the driveway with a few loads of crushed rock.

New water meter.


We used 2 loads of rock.
 November 2014


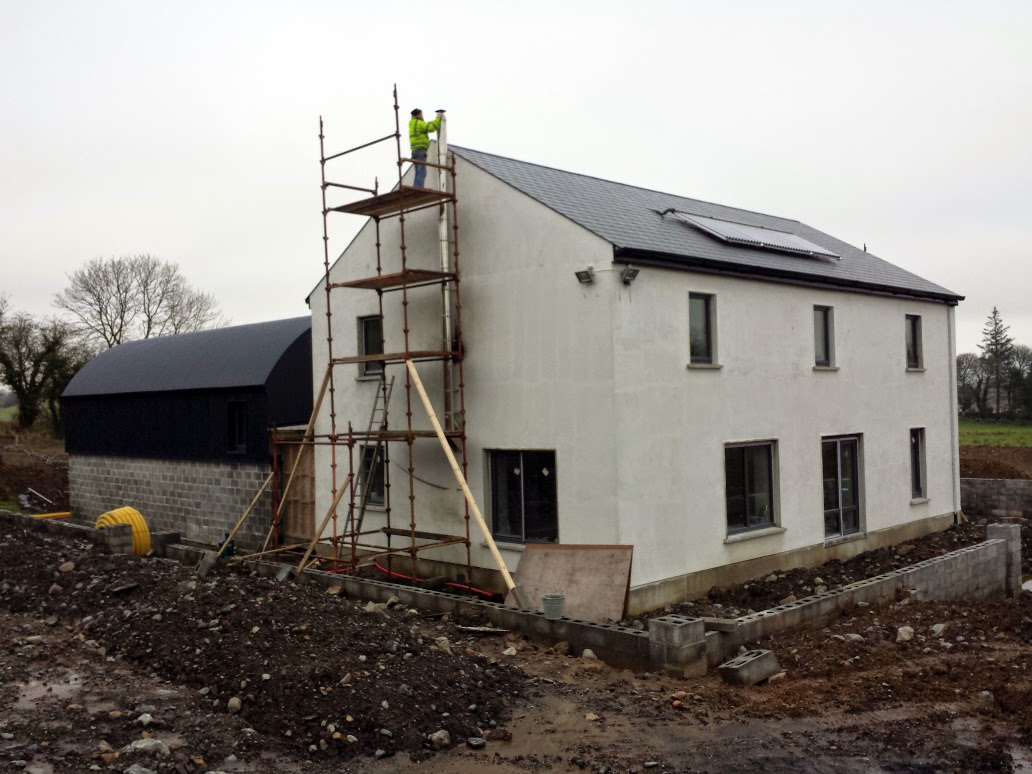
We connected the rest of the flue to the temporarily sections we had for "Thomas". The flue is double skinned with insulation between the stainless steel skins.

We also connected the mains supply to the house. 

The heating engineer came back to connect the stove and instal it's pump to the water tank. The stove now can also heat the water in the tank. He will come back in December and connect up the heating system to the tank and to the stove. So all the radiators should then work when they are fitted.


Now the flue is fitted, we can get the stove connected.
 
We put two 270 litre tanks in the loft. They are sitting on waterproof trays with outlets connected to the waste pipe in the loft. So if the tanks leak, water will go into the trays and not on the floor.


The first firing of the stove.

Need to source seasoned timber for next year.

The stove pump is also fitted.

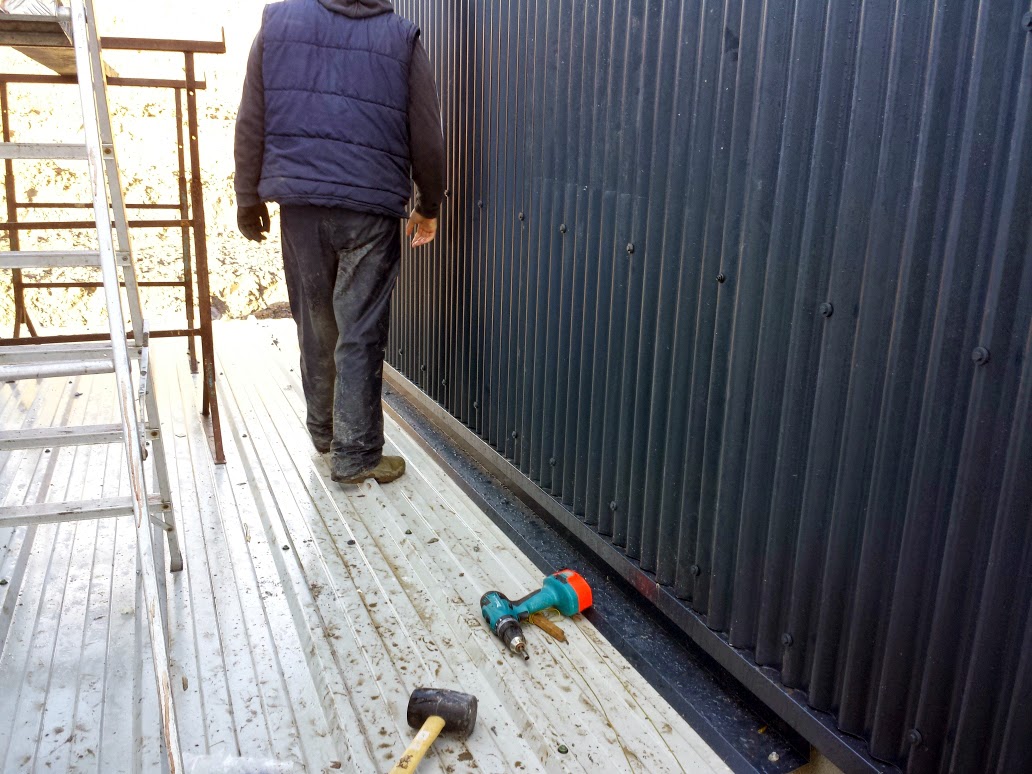
We completed the link building roof and the unfinish side of the garage cladding.

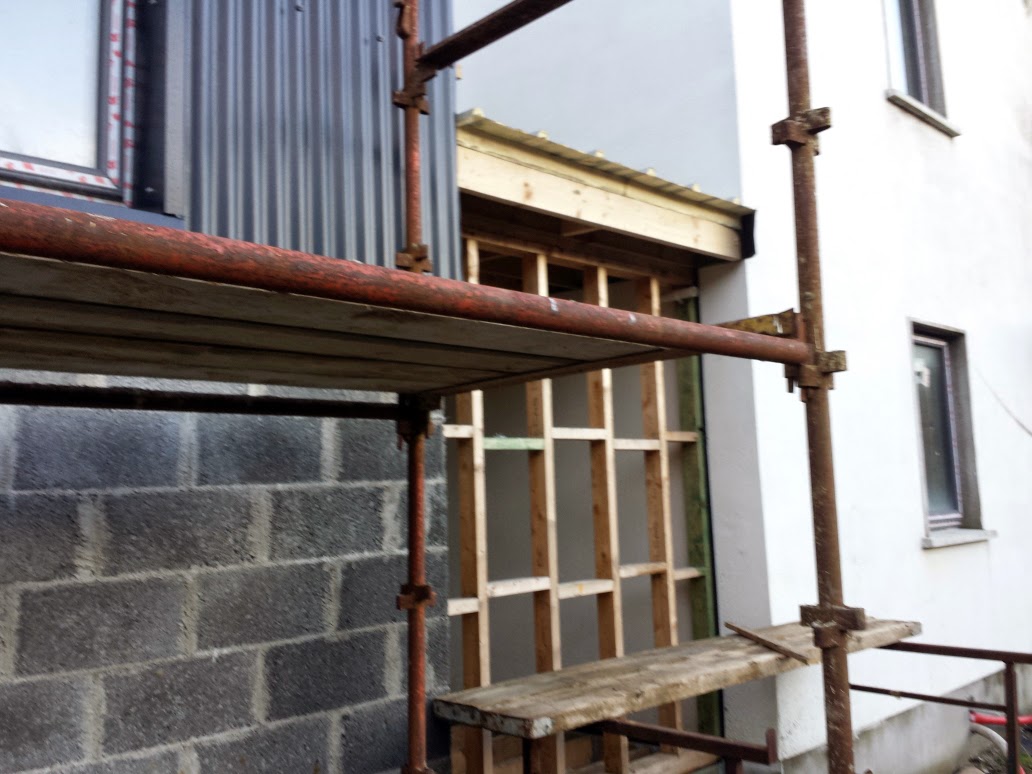
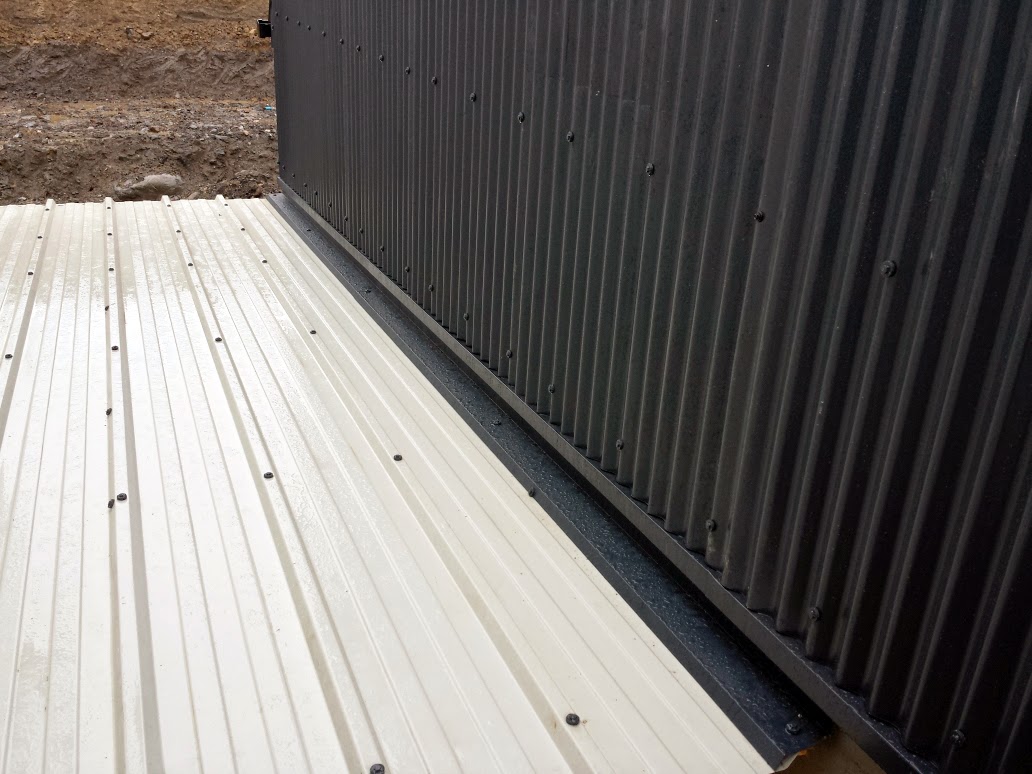
The waterproof joint detail from the garage cladding and the link building roof was designed by the architect and has proved excellent.

The plastic caps have been changed to match the roof colour.
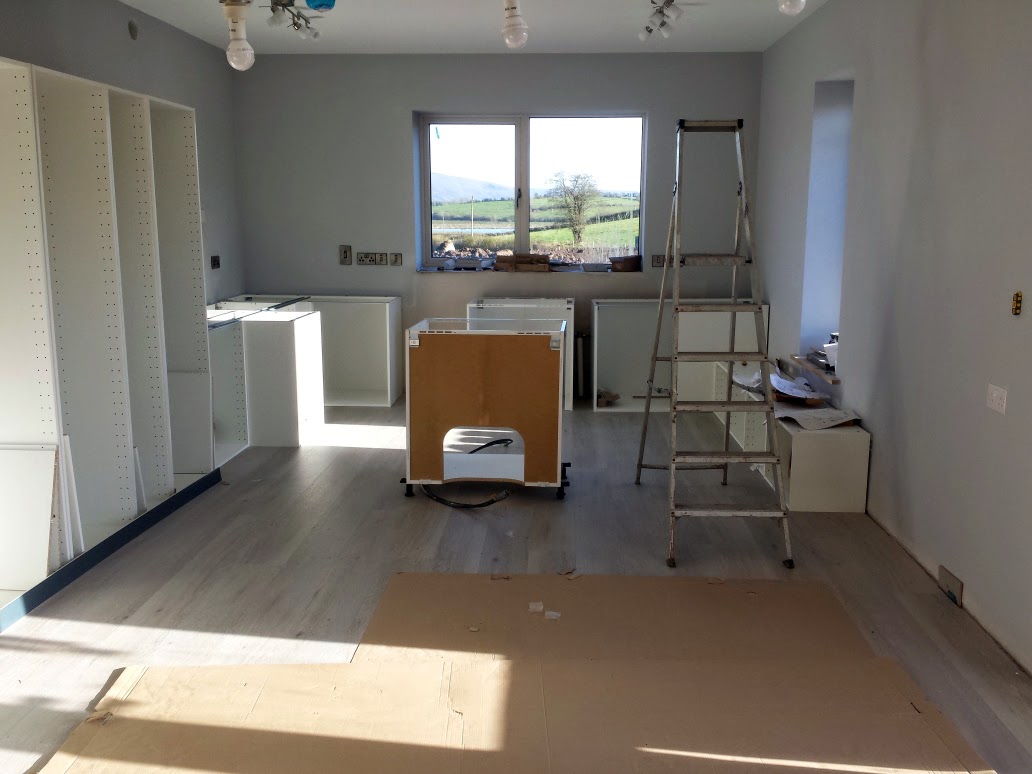
We had a delivery from Ikea of the complete kitchen including, dishwasher, fridge/freezer, built-in oven and built-in microwave and a induction hob.
The worktops and island will be delivered in the new year directly from Germany where they are made for Ikea. 

Stuff from Ikea.

Something for me to do over the Christmas break!!
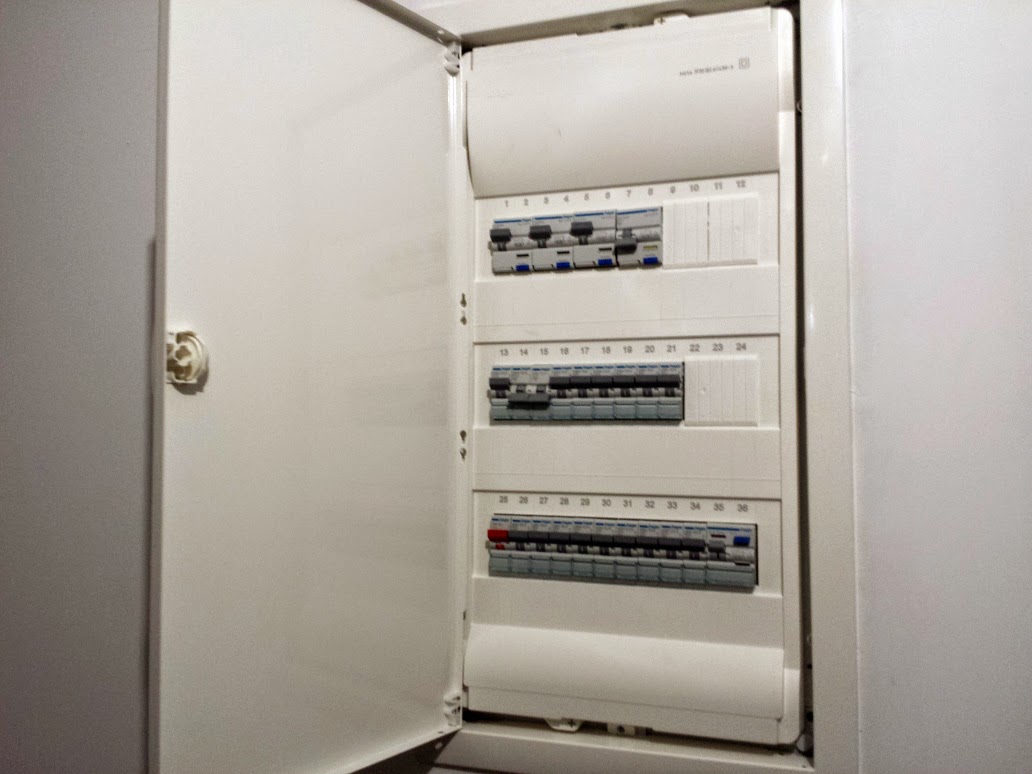
During the month the electricians completed a good bit of the second fix electrics and fitted the fuse board. All the lights now work and nearly all the sockets. They will all work by the time we break for Christmas.

Plenty of spare capacity left.

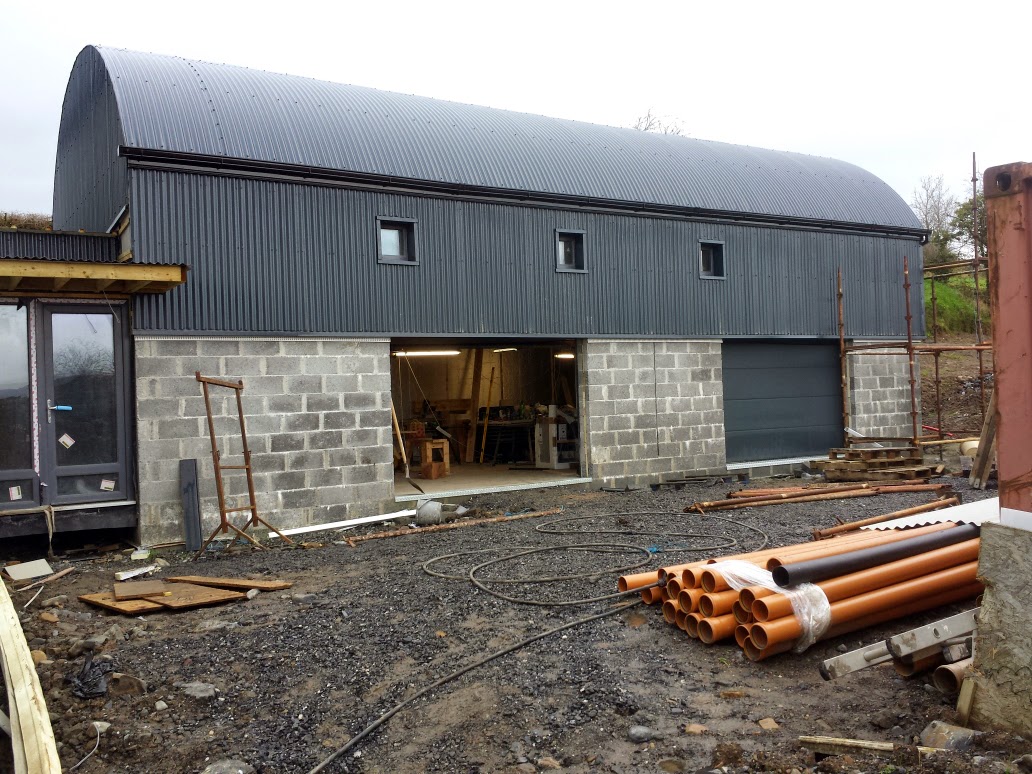
Now the garage cladding was completed we took down most of the scaffolding from the garage.
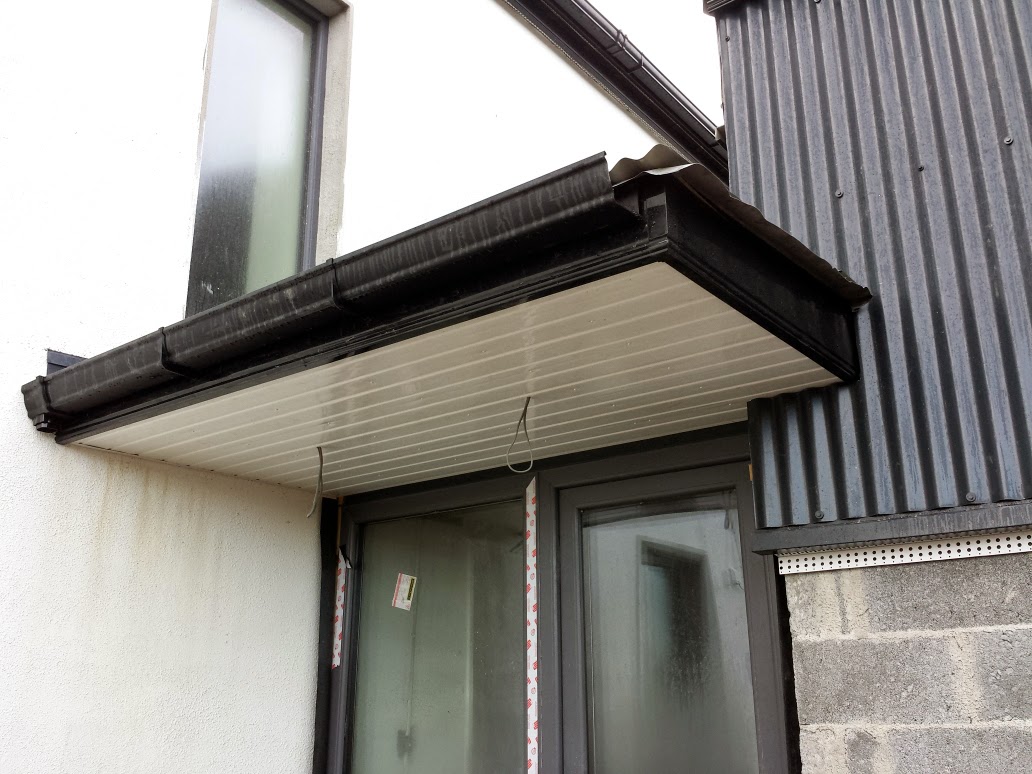
We completed the porch roof and ceiling. We used PVC sections for the porch ceiling so they will never need any painting.
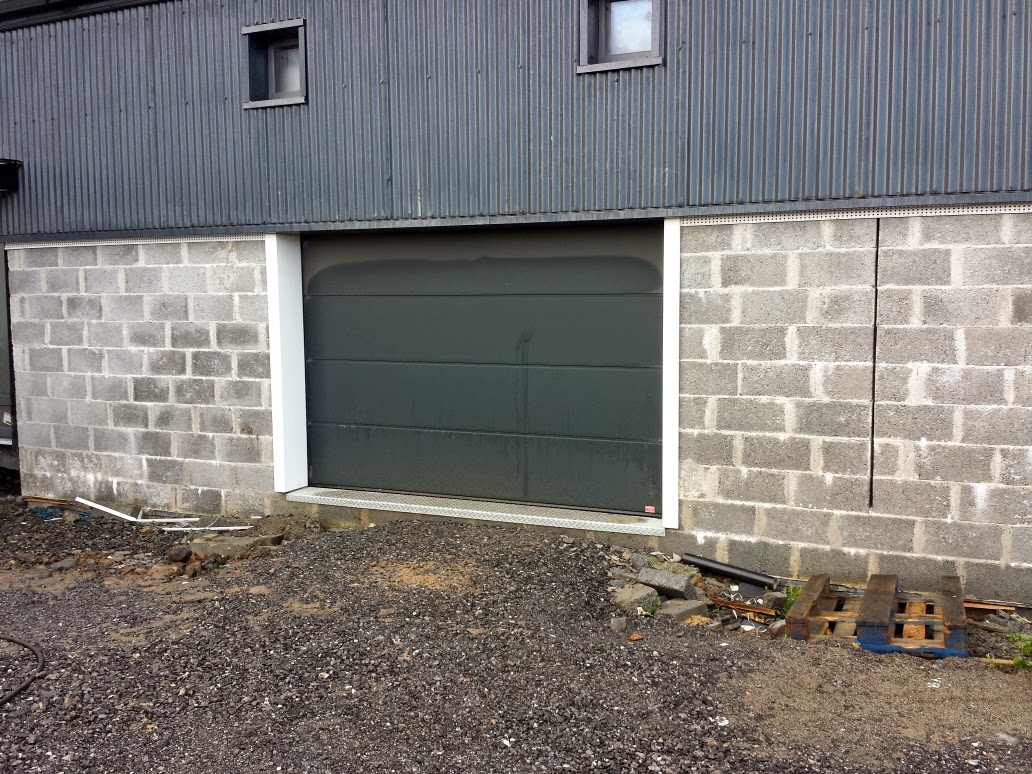
On the sides of the garage opening we installed steel panels with a white heavy duty PVC coating. This was used to close up the cavity between the blockwork.


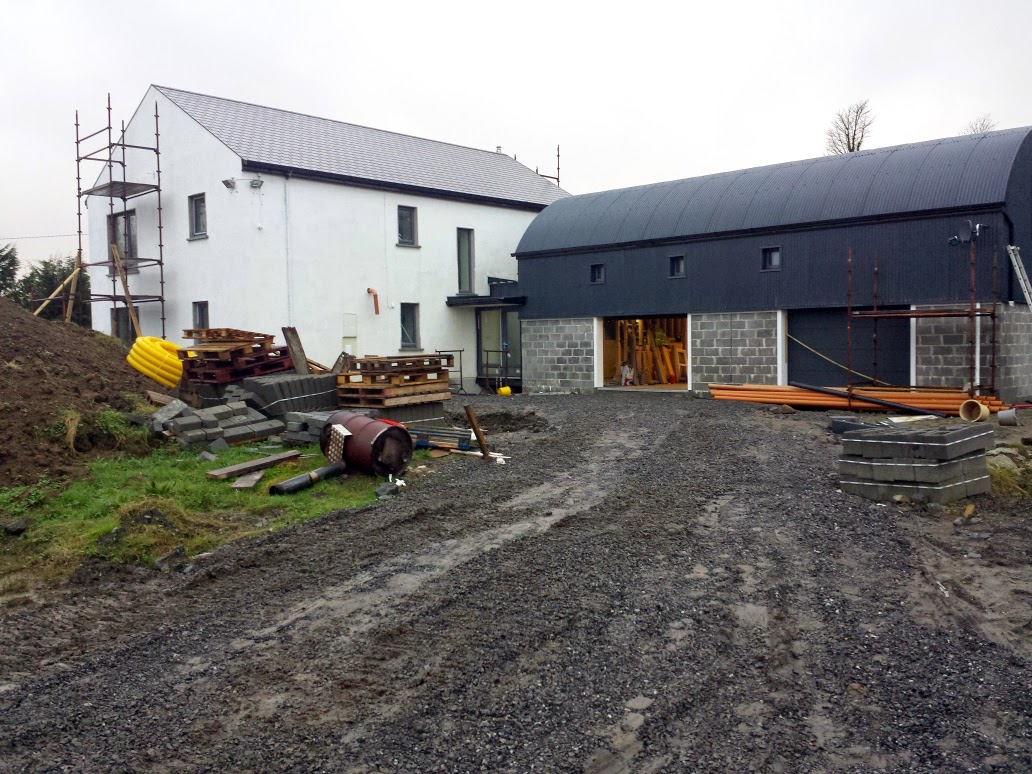
Looks even bigger with the scaffolding gone.


We will be installing exterior grade down-lights into the ceiling.
 
The side panels really finish the opening off.

A local neighbour bought the site container, he will be using it to store cattle food for the winter. The food comes as pellet's and are in 25kg bags.


A really useful bit of kit.


Sad to see it go.


Makes the place look a lot bigger.

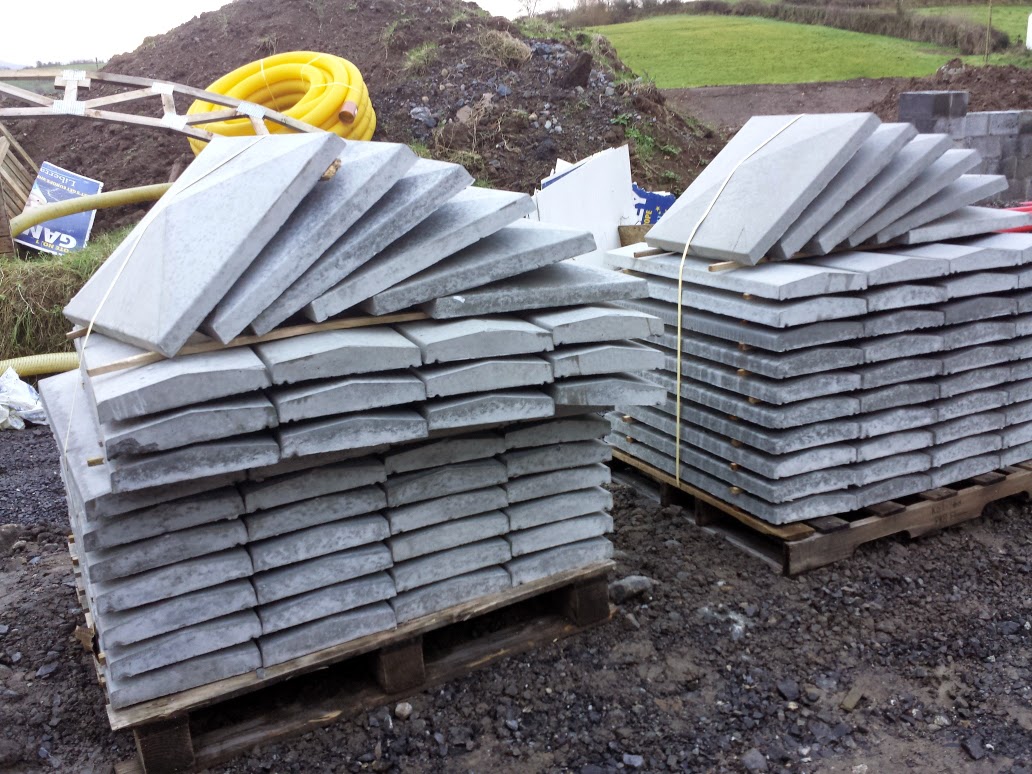
We bought the wall caps and pier caps for the retaining, boundary and front walls.
The front wall has two extra large piers which will need larger pier caps.


Wall and pier caps


The extra large caps were left near the front entrance wall to made it easier for us to place.

I made a start of putting the kitchen together. I have put together a few Ikea kitchens, but this time Ikea have changed the way they are fixed to the wall. It proved to be a much easier system.

Should get most of it done by the new year.
December 2014

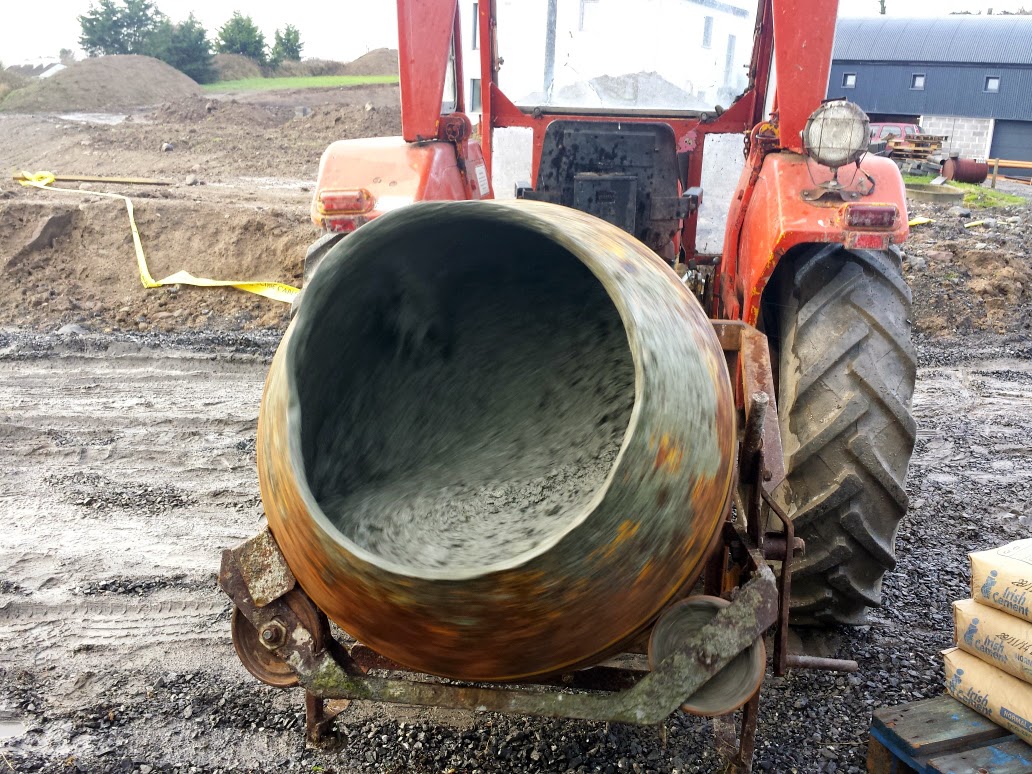
We started to infill the cavity blocks that we had used for the retaining and boundary. We used a tractor driven concrete mixer to mix the concrete and drive it to wherever it was needed. 
The tractor was a 1976 Massey Ferguson 135 and has proven to be one of the best tractor around. The tractor is very light but extremely strong and has 1000's of attachments that can be fitted to it including the mixer. It's still very prised by many farmers, even today.

We used a strong mix for the concrete.

Wall filled.


The piers also filled. The wall will not be going anywhere.

During the Christmas break I came in and carried on with the kitchen install. The doors have a protective plastic coating on them. The blue doors are actually gloss white and the black doors are a gloss dark grey. 


The satin sockets look great.


The wall fixing system can be seen. The cabinets just hang on these steel rails.


Getting most of the doors on. Should be ready just before the worktops and island arrive.


Happy New Year